You need to enter the exact frequency of the transponder that you want to scan.
4 Symbol Rate
You need to enter the exact symbol rate of the transponder that you want to scan
5 Polarity
Here, you have options for Horizontal, Vertical, Circular Left and Circular Right. You need to know the polarity of the
transponder that you want to scan.
6 FEC (Forward Error Correction)
You need to enter the exact FEC value of the transponder that you want to scan
7 Modulation
Here you have two options for QPSK (SD) and 8PSK (HD).
8 Network Scan
Here you have two options for YES and NO. NO is used to scan the transponder (TP) based on the data that your ET
9000 currently has. YES is used to scan the TP not just based on the existing TP data but also using new TP data, if
there is TP data newly transported from the TP. Naturally, YES option takes longer while it may results in a better scan
result.
9 Clear Before Scan
YES is used when you want to delete the existing channel list before you start the automatic scan. If you want to keep
the existing list, select NO.
10 Only Free Scan
Here you have two options for NO and YES. If you want to scan only Free to Air channels without any encryption, select
YES. Otherwise, select NO to scan all FTA and CAS channels.
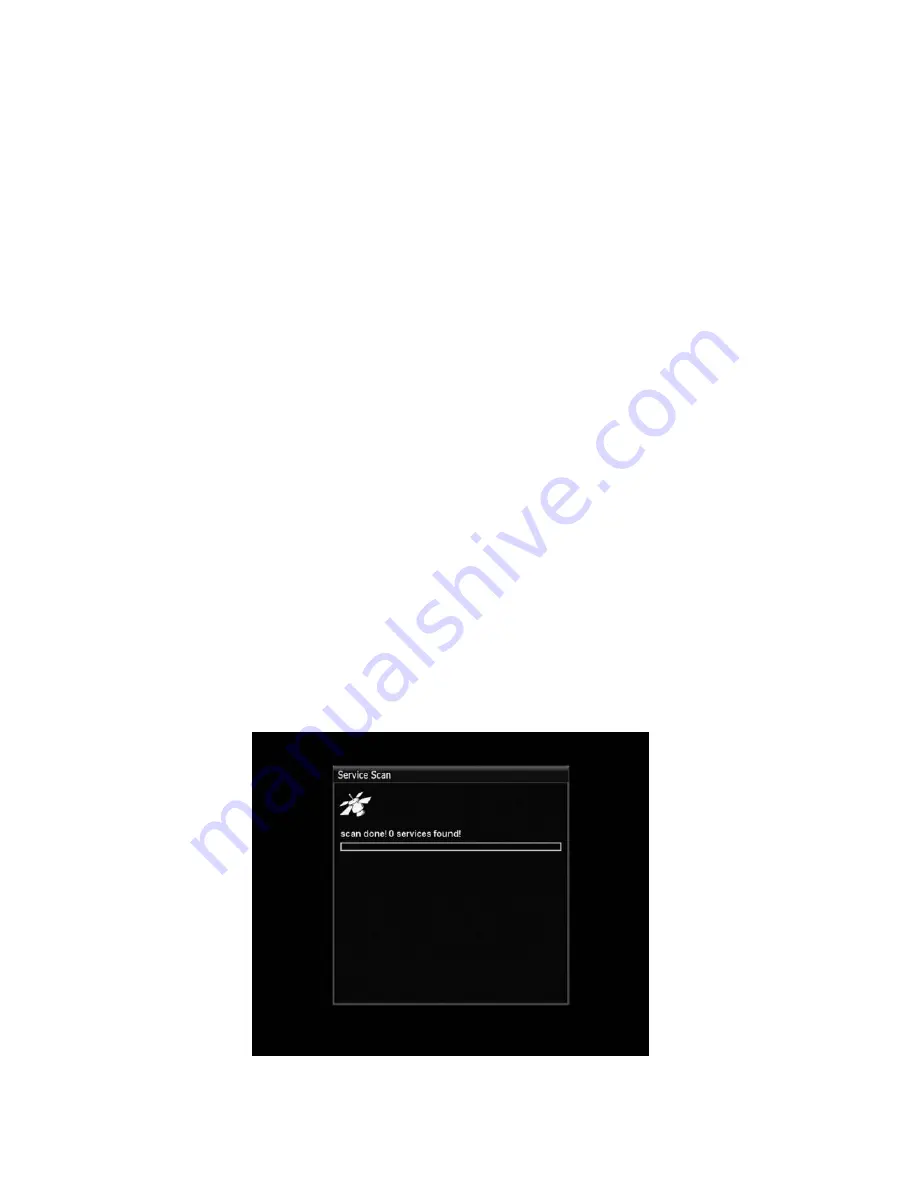
Press OK to activate the manual scan. This will take some minutes. As the scan proceeds, you will see the progressive
bar and the newly found services underneath.
Summary of Contents for ET9000
Page 1: ......
Page 65: ...3 Transponder 4 Tuner Status...
Page 75: ......
Page 76: ......
Page 77: ......
Page 78: ......
Page 79: ......
Page 80: ......
Page 81: ......
Page 82: ......
Page 83: ......
Page 84: ......
Page 85: ......
Page 86: ......
Page 87: ......
Page 88: ......
Page 89: ......
Page 90: ......


