www.XtremeAirUsa.com
PAGE
8
v
vddd
‘ .
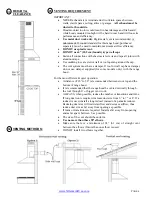
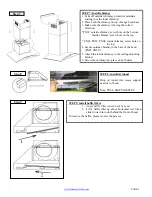
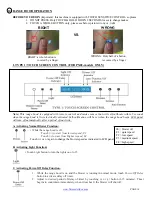
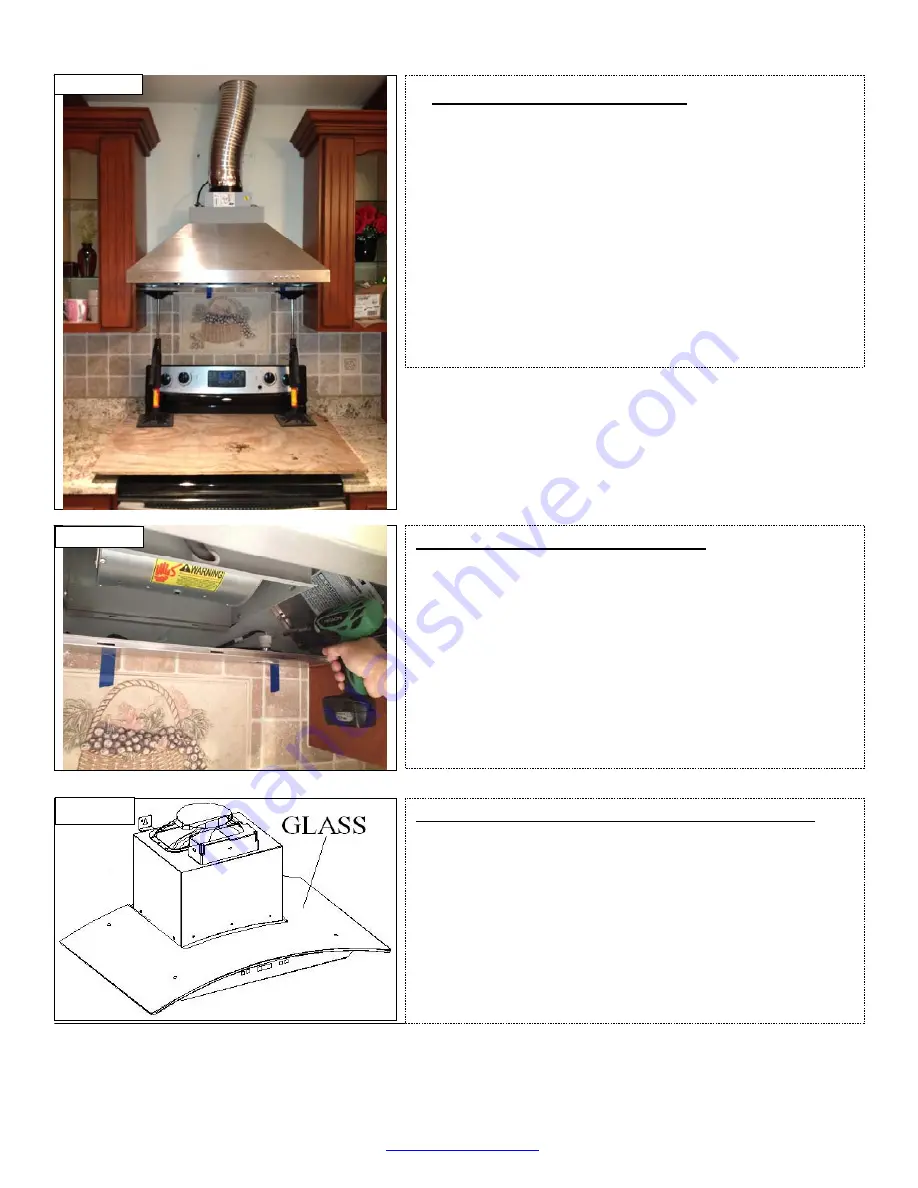
STEP 6; Secure the hood body & test run
1.
Use stud finder to find all studs below the hood body then
put the blue tape on every stud found.
2.
use 1/8” drill bit to drill though the back of hood inline
with blue tape
3.
Secure the hood body by using about 1.5 inches long
wood screws (not provided) through the back of hood to
the stud.
4.
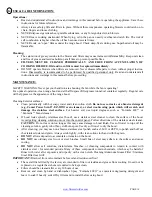
Refer to page 7, range hood operation, try a few test runs
to ensure machine is running properly.
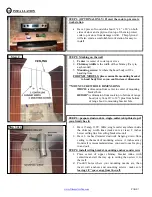
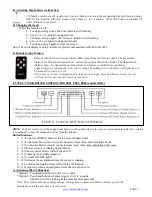
STEP 5: Hang the hood and connect
1. Carefully hang the hood body on the wall, attaching it to
the 2 screws already in place.
2. Level the hood body by using horizontal level
3. Use hand screw driver to tight those 2 mounting screws
4. Connect the exhaust on the hood to the ductwork above.
Use a luminum tape to make all joints secure and all tight
5.
Find the three pronged plug and connect to an electrical
outlet
CAUTION: Do not release the hood yet until you finish
Step 6 below.
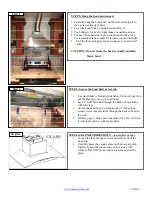
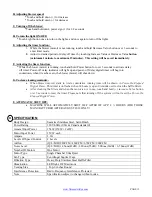
STEP 6A: for PX01 MODEL ONLY
– install glass canopy
1.
Loosen the four canopy screws and washers from the
hood top.
2.
Carefully place the canopy glass on the hood top then
slightly tighten the four canopy screws along with
washers. DO NOT put excessive pressure against the
glass.
Step 6A
Step 5
Step 6

