Operation Manual
41
Operation Manual
Operator Cab
CLOCK SETUP
Pressing the CLOCK SETUP soft button will enter a menu
where the clock can be setup or adjusted.
Figure 41. Clock Setup Menu
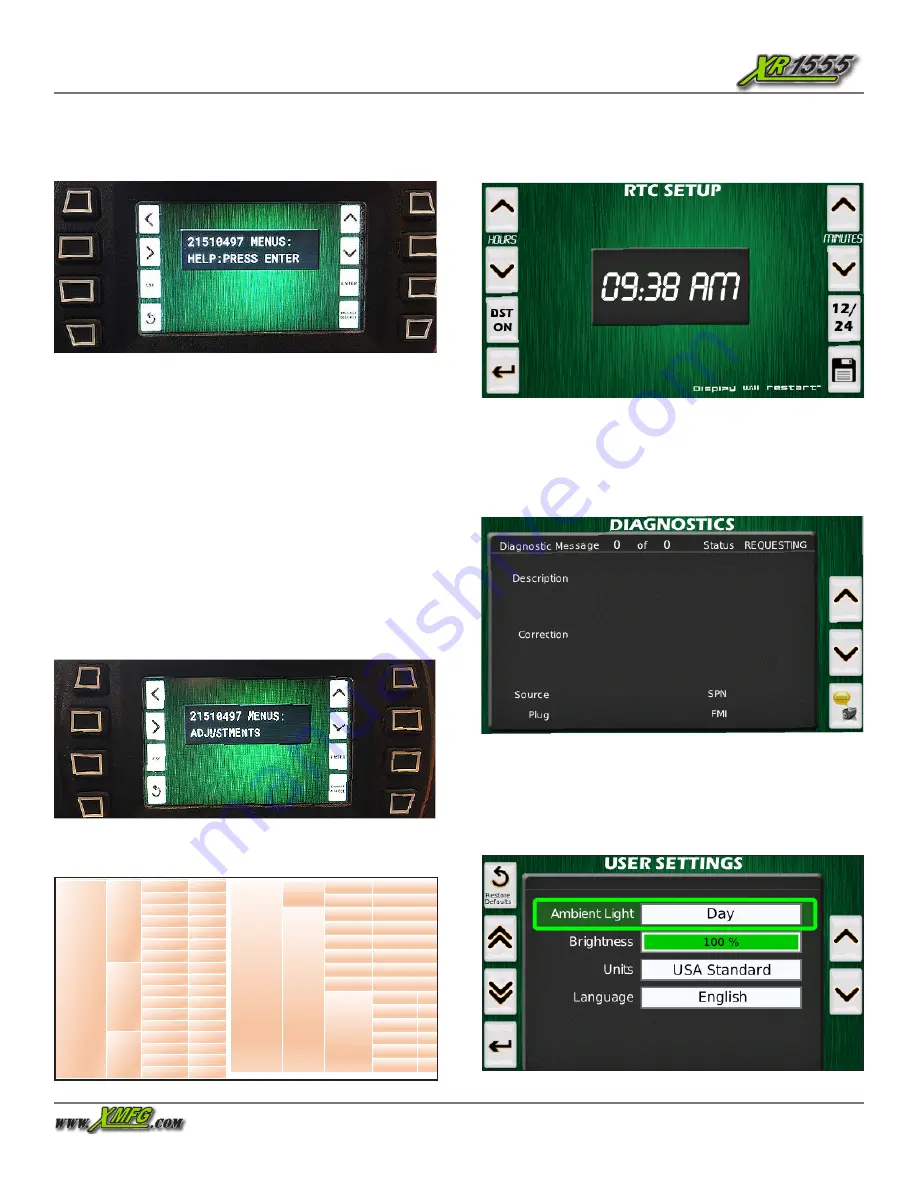
Figure 39. EZCal Main Screen
EZCal MAIN SCREEN
Use the upper left buttons to navigate; use the upper right
buttons to change settings.
Use the left/right buttons to navigate to the “Access Level 3”
screen and press enter. Use the up/down buttons to change
the code and left/right to scroll. Enter code “1010” and press
enter. Screen now show s“Access Level 1” if entered correctly.
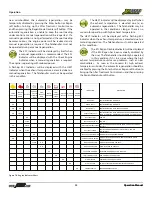
ADJUSTMENT SCREEN
Using the left/right buttons, navigate to adjustments and
press enter. From here adjust the following settings to match
the settings below. Once adjustments are complete press
the lower left hand button repeatedly till you are at the main
gauge screen.
NOTE:
Speeds and Accel can be adjusted to preference.
Increasing Decel will increase stop times. Keep this setting to
0.3 or lower.
Figure 40. Adjustment Screen
Adjustments
Boom
Up Min
35%
Up Max
75%
Down Min
35%
Down Max
63%
Accel
2.5 sec
Decel
0.3 sec
Lift not ELEV
0.0 sec
Tele
Out Min
37%
Out Max
70%
In Min
37%
In Max
65%
Accel
2.0 sec
Decel
0.0 sec
Fork
Up Min
37%
Up Max
60%
Down Min
35%
Down Max
60%
Adjustments
Fork
Continued
Accel
2.0 sec
Decel
0.0 sec
Frame
Left Min
40%
Left Max
60%
Right Min
35%
Right Max
55%
Accel
0.0s
Decel
0.0s
Frame/Elev
Left Min 30%
Left Max 40%
Right Min 30%
Right Max 40%
Accel 0%
Decel 0%
EZCal RECOMMENDED SETTINGS
DIAGNOSTICS
Pressing the ENGINE DIAGNOSTICS soft button will display
engine information. Use the up/down buttons to navigate
Press the MENU button to return to the GAUGE DISPLAY mode.
Figure 42. Diagnostics Menu
USER SETTINGS
Pressing the USER SETTINGS soft button will enter a mode
where some display settings may be adjusted using the Up/
Down buttons. The top left button restore the default settings.
Figure 43. User Settings


