18
Step 5: Adjusting the Slipper Clutch
The slipper clutch is a traction control device that uses two metal plates and fiber pads to control how much power is transmitted from the
engine to the gear box and drivetrain. Adjusting the slipper clutch allows you to fine tune how your truck reacts when giving it throttle.
Driving the truck with the slipper clutch too tight will usually result in the truck doing wheelies or spinning out of control instead of
accelerating. Driving the truck with the slipper clutch too loose will result in very poor or no acceleration at all.
●
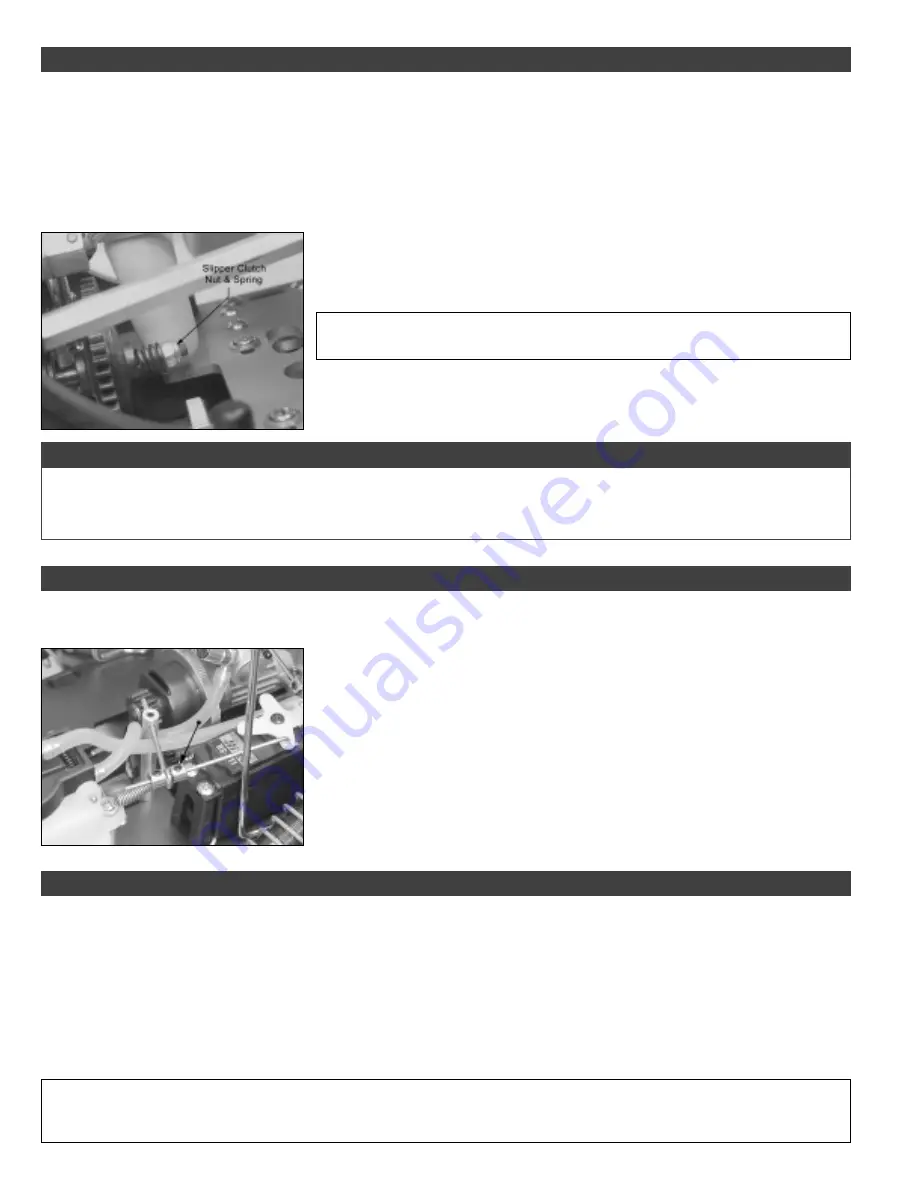
To adjust the slipper clutch simply turn the hex nut either clockwise to tighten the clutch (less slip) or counterclockwise to loosen the
clutch (more slip). After making each adjustment, accelerate the truck for a short distance while carefully watching the slipper clutch.
Ideally the clutch should slip for about the first foot under acceleration.
RECOMMENDED INITIAL SETTINGS:
●
The slipper clutch comes factory preset, so no initial adjustment should be necessary.
✦
✦
✦
✦
✦
IMPORTANT
✦
✦
✦
✦
✦
Running the slipper clutch too loose can cause the fiber pads to wear out
very quickly and replacement under this circumstance will not be covered under warranty.
☞
If and when you adjust the slipper clutch, make adjustments in 1/4-turn increments
until you are satisfied with the result.
If you need to reset the slipper clutch to the factory setting, follow these simple procedures:
●
Hold the spur gear firmly, tighten the slipper clutch adjustment nut completely, then loosen the nut 2 full turns.
RESETTING THE SLIPPER CLUTCH
With the transmitter and receiver turned on, and the throttle/brake trim lever centered, the
truck should roll smoothly (i.e., the brakes should be disengaged). If the brakes are
dragging when the throttle trigger is at neutral, the brake discs will wear out very quickly.
To ensure that the brakes are disengaged, always make sure that there is a 1/16" gap
between the rear adjustment collar and the brake lever.
●
To make adjustments to the brake linkage, simply loosen the grub screw in the
adjustment collar behind the brake lever and reposition it, then retighten the grub screw.
Moving the collar forward, toward the brake lever will result in the brakes coming on sooner
and more forcefully.
The brake linkage in your X-Factor2 is preset from the factory; however, after running the truck for awhile you may find that the brake
linkage needs adjusting.
Step 6: Adjusting the Brake Linkage
The X-Factor2 features front and rear gear differentials that each feature o-ring seals and cup-style housings. Both differentials are
packed with differential grease that is good for most driving conditions.
You can make fine-tuned adjustments to each differential by removing the differentials from the chassis, opening them up and replacing
the grease already inside the differentials with heavyweight silicone differential oil. Removal, disassembly and reinstallation of the
differentials can be done using the exploded parts diagram included with your kit.
●
Adding heavier silicone oil will tighten the differentials and adding lighter silicone oil will loosen the differentials. If your truck feels
loose during turns, you can tighten the front differential or loosen the rear differential. If your truck is pushing during turns, you can loosen
the front differential or tighten the rear differential. We recommend using silicone oil weights between 30,000 (30K) and 100,000 (100K).
✦
✦
✦
✦
✦
WARNING
✦
✦
✦
✦
✦
We don't recommend attempting to make adjustments to the differentials unless you have knowledge of how to
remove, disassemble and reassemble gear differentials. If you don't reassemble the differentials properly, damage to the differentials
will happen quickly and will not be covered by warranty.
Step 7: Adjusting the Front and Rear Differentials
Continued On Next Page
☛
☛
☛
☛
☛
Summary of Contents for X-Factor2
Page 27: ...27 ...


