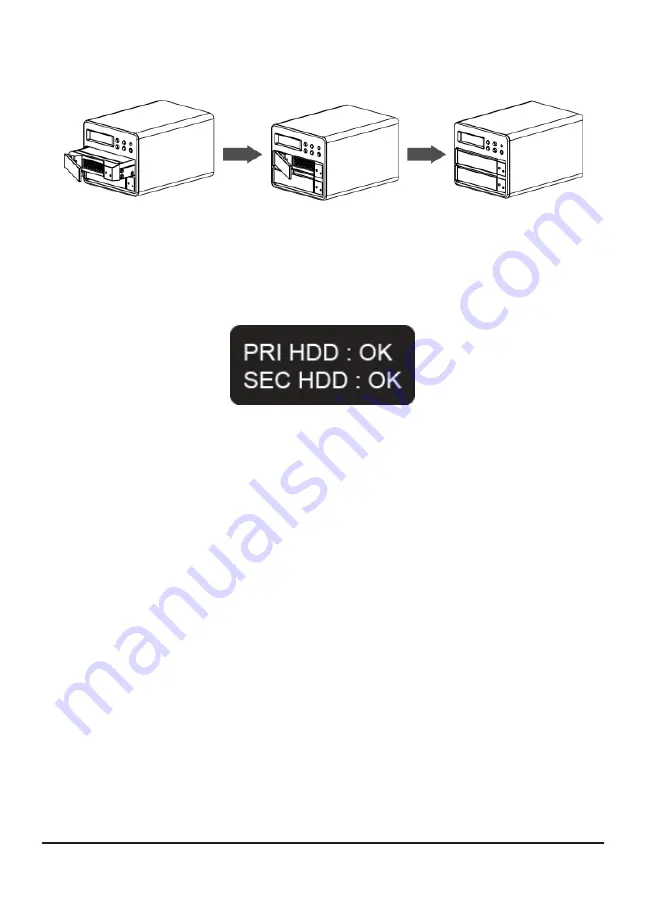
Step 3 Once the hard disks have been installed, insert the removable trays into appropriate positions of
the XL-RAID-SATA-USB unit and close the handles to secure the disks.
Step 4 Connect the cables included to the appropriate ports of the XL-RAID-SATA-USB and your PC
system.
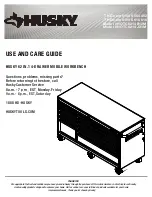
Step 5 Turn on the power of the XL-RAID-SATA-USB. Wait for the LCD display to show the OK
message before turning on your PC system.
Installation Complete.
Your operation system will automatically identify the new hardware and once
recognized, follow the operating system’s instructions to format the hard disks. Once the formatting is
complete the device is then ready for operation.
Product Installation
11
Summary of Contents for XL-RAID-SATA-USB
Page 1: ...XL RAID SATA USB Data Backup System User s Guide ...
Page 4: ......
Page 9: ...7 Product Outline ...
Page 20: ......


