43
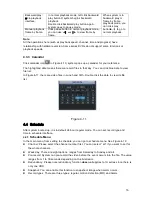
4.6.1 Go to alarm setup interface
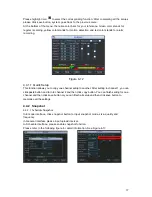
In the main menu, from Setting to Alarm, you can see alarm setup interface. See
X313H313H313H317H
Figure 4-23
X
.
4.6.2 Alarm
setup
Alarm interface is shown as below. See
X314H314H314H318H
Figure 4-23
X
.
z
Alarm in: Here is for you to select channel number.
z
Event type: There are two types. One is local input and the other is network input.
z
Type: normal open or normal close.
z
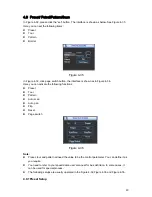
PTZ activation: Here you can set PTZ movement when alarm occurs. Such as go to preset,
tour& pattern when there is an alarm. Click “select” button, you can see an interface is
shown as in
X315H315H315H319H
Figure 4-27
X
.
z
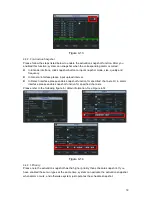
Period: Click set button, you can see an interface is shown as in
X316H316H316H320H
Figure 4-25
X
. Here you can
set for business day and non-business day. In
X317H317H317H321H
Figure 4-28
X
, click set button, you can see an
interface is shown as in
X318H318H318H322H
Figure 4-29
X
. Here you can set your own setup for business day and
non-business day.
z
Anti-dither:
Here
you
can set anti-dither time.
z
Show message: System can pop up a message to alarm you in the local host screen if you
enabled this function.
z
Alarm upload: System can upload the alarm signal to the network (including alarm centre)
if you enabled current function.
z
Send email: System can send out email to alert you when alarm occurs.
z
Record channel: you can select proper channel to record alarm video (Multiple choices). At
the same time you need to set alarm record in schedule interface (Main Menu->Setting-
>Schedule) and select schedule record in manual record interface (Main Menu->Advance-
>Manual Record).
z
Latch: Here is for you to set proper delay duration. Value ranges from 10 to 300 seconds.
System automatically delays specified seconds in turning off alarm and activated output after
external alarm cancelled.
z
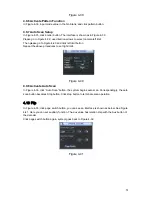
Tour: Here you can enable tour function when alarm occurs. It is a one-window tour: Please
go to chapter 5.3.9 Display for tour interval setup.
For snapshot operation, please refer to chapter 4.4.2.
Please highlight icon
to select the corresponding function. After setting all the setups
please click save button, system goes back to the previous menu.
Summary of Contents for 1U J Series
Page 1: ...1U J Series Standalone DVR User s Manual 1...
Page 44: ...44 Figure 4 23 Figure 4 24 Figure 4 25...
Page 78: ...78 Figure 6 11...

