background image


Notes: 

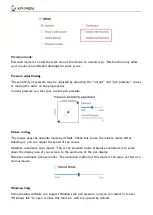
When the pen is within the working range of the device, single-click the key to switch the pen or 
eraser mode. When other functions are switched, the current switching mode will be displayed 
at the bottom of your screen. 

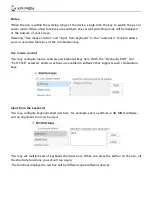
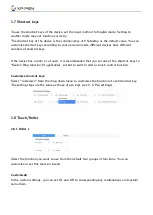
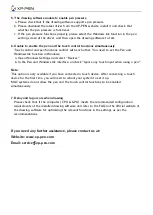
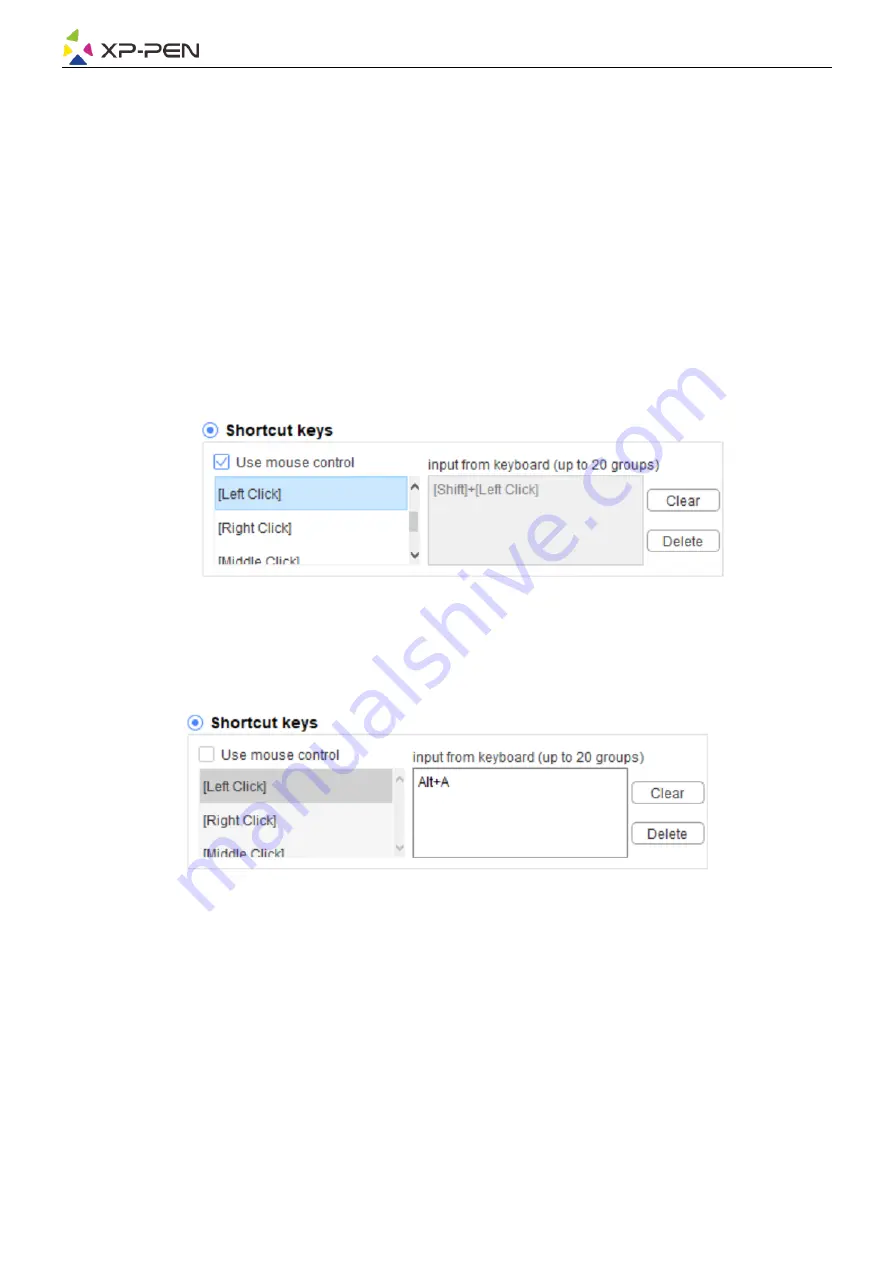
Selecting "Use mouse control" and "input from keyboard" in the "customize" function allows 
you to customize functions of the combination key. 


Use mouse control: 

You may configure mouse controls and keyboard keys here. With the "Keyboard Shift" and 
"Left Click" selected, shortcut actions are enabled in software that supports such combination 
keys. 


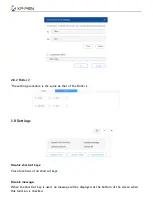
Input from the keyboard: 

You may configure keyboard shortcuts here, for example, set it as Alt+A in 3D MAX software, 
and an alignment tool can be used. 


You may set multiple sets of keyboard shortcuts here. When you press the button on the pen, all 
the shortcuts functions you set will run again. 

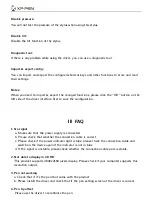
The functions displayed in red box will be different upon different devices. 


Summary of Contents for Artist Pro 16TP

Page 1: ...User Manual Artist Pro 16TP Pen Display...

Page 2: ...Packing List 1 3 Specifications 1 4 Functions 1 5 Connection Get started with your pen display 2 1 Download 2 2 Installation 2 3 Introduction to Driver 2 4 Work Area 2 5 Application 2 6 Pen Settings 2...

Page 3: ...you a better understanding and using of your product please read this user manual carefully The specifications of the products and the contents of the manual are subject to change without prior notice...

Page 4: ...e temperature and humidity 20 C 60 C 10 90 non condensing Screen Specifications Type IPS LCD Size 15 6 inch 16 9 Resolution 3840x2160 Display area 345 6x194 4mm Color gamut typical value Adobe RGB 92...

Page 5: ...ns 1 4 1 Pen display 1 Mode switching key for switching between three modes a Enable both the pen and the touch control functions supported only on Windows b Enable the pen priority mode which is the...

Page 6: ...ss b In the OSD mode press the buttons to switch between function options 5 Display Working Touch area 6 Full featured USB C port 7 Security slot 8 Full featured USB C port Note After there is no vide...

Page 7: ...connect another USB C cable from the accessories to the power adapter for power supply 2 2 in 1 cable connection for computers without a full featured USB C port Connect the HDMI and USB A ends of the...

Page 8: ...n is completed Notes 1 Before installation please temporarily close the antivirus software and firewall and all opened software 2 If other drivers have been installed on the computer please uninstall...

Page 9: ...d mode it is necessary to select the work area of the device on the driver interface to map to the corresponding monitor The driver provides three modes to set the display area of the screen 1 Set ful...

Page 10: ...the positions of top left corner and bottom right corner to be selected 4 Customize Manually enter coordinates in the corresponding input boxes below X Y W and H to determine the size of the work area...

Page 11: ...the running program or click the browse button to add from the installed software after the application is selected the path of the selected application will be displayed at the bottom c Click the OK...

Page 12: ...e mouse control You may configure mouse controls and keyboard keys here With the Keyboard Shift and Left Click selected shortcut actions are enabled in software that supports such combination keys Inp...

Page 13: ...de The mouse uses the absolute mode by default Check this to use the relative mode After selecting it you can adjust the speed of the cursor Absolute coordinate pen mode This is the standard mode Abso...

Page 14: ...is recommended that you set one of the shortcut keys to Switch Ring function if applicable so that to switch roller or touch control function Customize shortcut keys Select customize from the drop dow...

Page 15: ...the same as that of the Roller 1 1 9 Settings Disable shortcut keys Close functions of all shortcut keys Disable message When the shortcut key is used no message will be displayed at the bottom of th...

Page 16: ...1 No signal a Make sure that the power supply is connected b Please check that whether the connection cable is correct c Please check if the power indicator light is blue please check the connection c...

Page 17: ...Windows Settings and select Devices b In the Pen and Windows Ink interface uncheck Ignore any touch input when using a pen Note This option is only available if you have connected a touch device Afte...

Reviews: