background image


Mouse mode


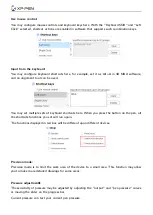
The mouse uses the absolute mode by default. Check this to use the relative mode. After selecting 
it, you can adjust the speed of the cursor. 

Absolute coordinate (pen mode): This is the standard mode. Absolute coordinate is to scale down 
the display area of your screen to the work area of the pen display. 

Relative coordinate (mouse mode): The operation method of this mode is the same as that of a 
normal mouse. 


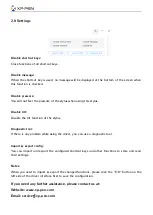
Windows Ink


Some  drawing  software  can  support  Windows  Ink  pen  pressure,  and  you  can  select  or  cancel 
"Windows Ink" to open or close this function, which is opened by default. 

2.7 Shortcut keys 

To use the shortcut keys of the device, set the input method to English mode. Setting to another 
mode may not function correctly. 

The shortcut key of the device is the command key of Photoshop as the default value. You can 
customize shortcut keys according to your personal needs, different devices have different numbers 
of shortcut keys. 

If the device has a roller or a touch, it is recommended that you set one of the shortcut keys to 
"Switch Ring function"(if applicable), so that to switch roller or touch control function. 

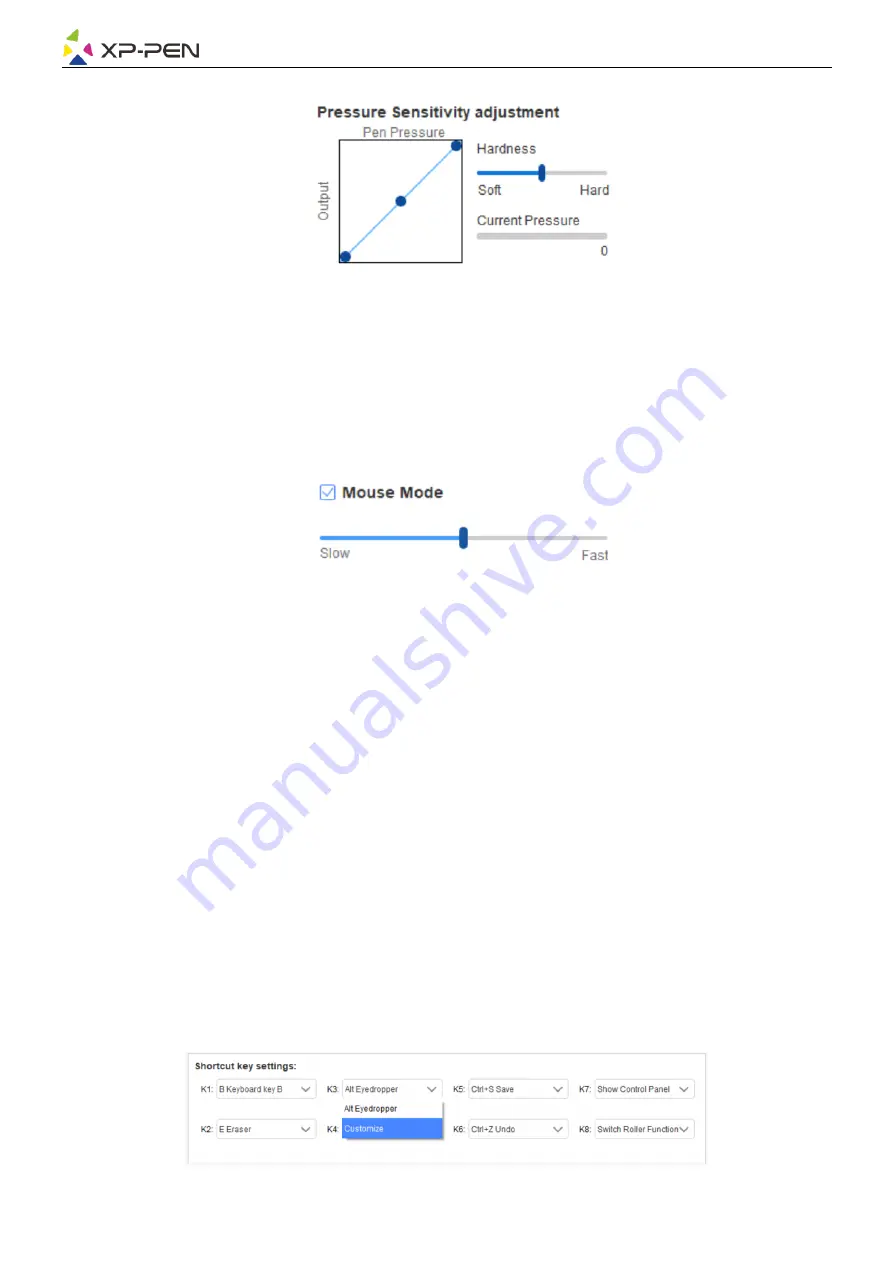
Customize shortcut keys: 

Select "customize" from the drop-down menu to customize the function of each shortcut key. 
The setting steps are the same as those of pen keys (see 2. 6 Pen settings). 


Summary of Contents for Artist 24

Page 1: ...User Manual Artist 24 Pen Display...

Page 2: ...Product Introduction 1 2 Connection Get started with your pen display 2 1 Download 2 2 Installation 2 3 Introduction to Driver 2 4 Work Area 2 5 Application 2 6 Pen Settings 2 7 Shortcut Keys 2 8 Touc...

Page 3: ...urn on 7 Power LED White a Always On When the pen display is connected to the computer and the power supply is switched on the indicator will be on b Flashing When the power supply of the pen display...

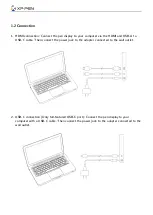
Page 4: ...HDMI and USB A to USB C cable Then connect the power jack to the adapter connected to the wall outlet 2 USB C connection Only full featured USB C port Connect the pen display to your computer with a U...

Page 5: ...hly recommend you check and update the driver regularly from XP PEN website 2 3 Introduction to Driver After the driver is installed connect your device to your computer and then open the driver to st...

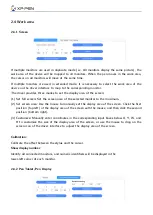
Page 6: ...of the selected monitor to the maximum 2 Set screen area Use the mouse to manually set the display area of the screen Click the first position top left of the display area of the screen with the mouse...

Page 7: ...the stylus to drag on the device icon on the driver interface to set the size of the work area Rotation setting You may set the device to 0 90 180 270 After finishing the setting you also need to rot...

Page 8: ...e drop down menu to use Customize to do so Notes When the pen is within the working range of the device single click the key to switch the pen or eraser mode When other functions are switched the curr...

Page 9: ...le sets of keyboard shortcuts here When you press the button on the pen all the shortcuts functions you set will run again The functions displayed in red box will be different upon different devices P...

Page 10: ...ion which is opened by default 2 7 Shortcut keys To use the shortcut keys of the device set the input method to English mode Setting to another mode may not function correctly The shortcut key of the...

Page 11: ...om the default four groups of functions You can customize or set this function invalid Customize In the custom settings you can set KL and KR to corresponding key combinations and custom name them 2 8...

Page 12: ...tilt function of the stylus Diagnostic tool If there is any problem while using the driver you can use a diagnostic tool Import export config You can import and export the configured shortcut keys an...

Reviews: