


Basic Call Features
85
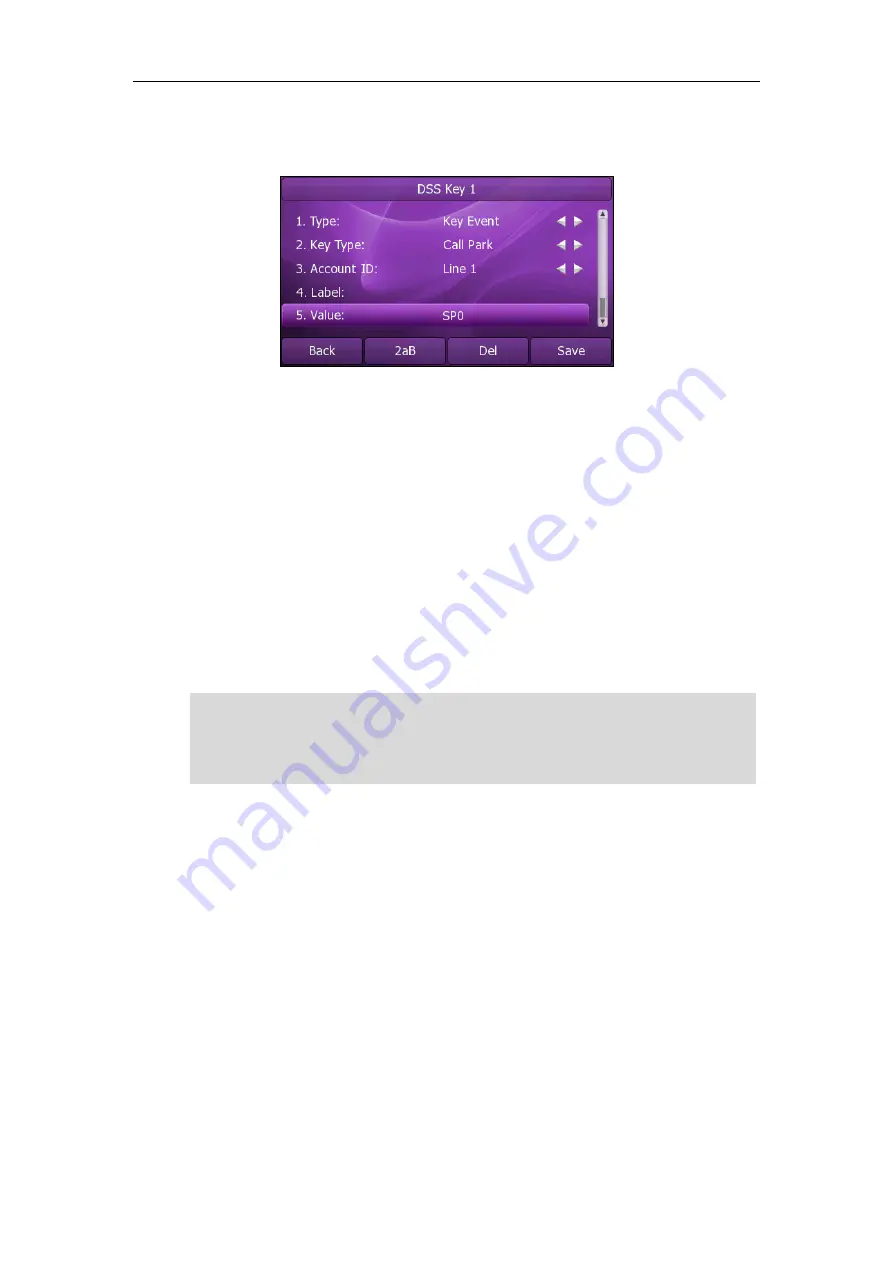
6.
Enter the call park feature code (contact your system administrator for it) in the
Value
field.
7.
Press the
Save
soft key to accept the change or the
Back
soft key to cancel.
You can also configure a call park key via web user interface at the path
DSS Key
.
To use the Call Park feature:
1.
User on phone A places a call to phone B.
2.
User on phone A wants to take the call in a conference room for privacy, then
presses the call park key on phone A.
3.
User on phone A walks to an available conference room where the phone is
designated as phone C. The user dials the call park retrieve feature code to
retrieve the parked call.
The system establishes call between phone C and B.
Note
Call Pickup
You can use call pickup feature to answer someone else’s incoming call on the phone.
The Xorcom XP0150G IP phone supports the direct call pickup and group call pickup
features. Direct call pickup is used for picking up a call that is ringing at a specific
phone number. Group call pickup is used for picking up a call that is ringing at any
phone number in the group. The pickup group should be predefined, contact your
system administrator for more information.
The call park feature code and call park
retrieve feature code
are predefined on the
system server. Contact your system administrator for more information.
If the parked call is not retrieved within a period of time assigned by the system, the
phone performing call park feature will receive call back.


