


2019-06-19
Copyright © 2019 XMOS Ltd, All rights reserved XM-013899-PC
VOCALFUSION DEV KIT - USER GUIDE
5
3. GETTING STARTED - CAPTURE AND PLAYBACK OVER USB
The quickest way to test the microphone array capture is to use the integrated VocalFusion USB interface, with the
default USB In/Out firmware.
3.1. USB IN/OUT CONFIGURATION HARDWARE CONFIGURATION
The USB configuration uses the USB interface for the audio output, control and the AEC reference signal.
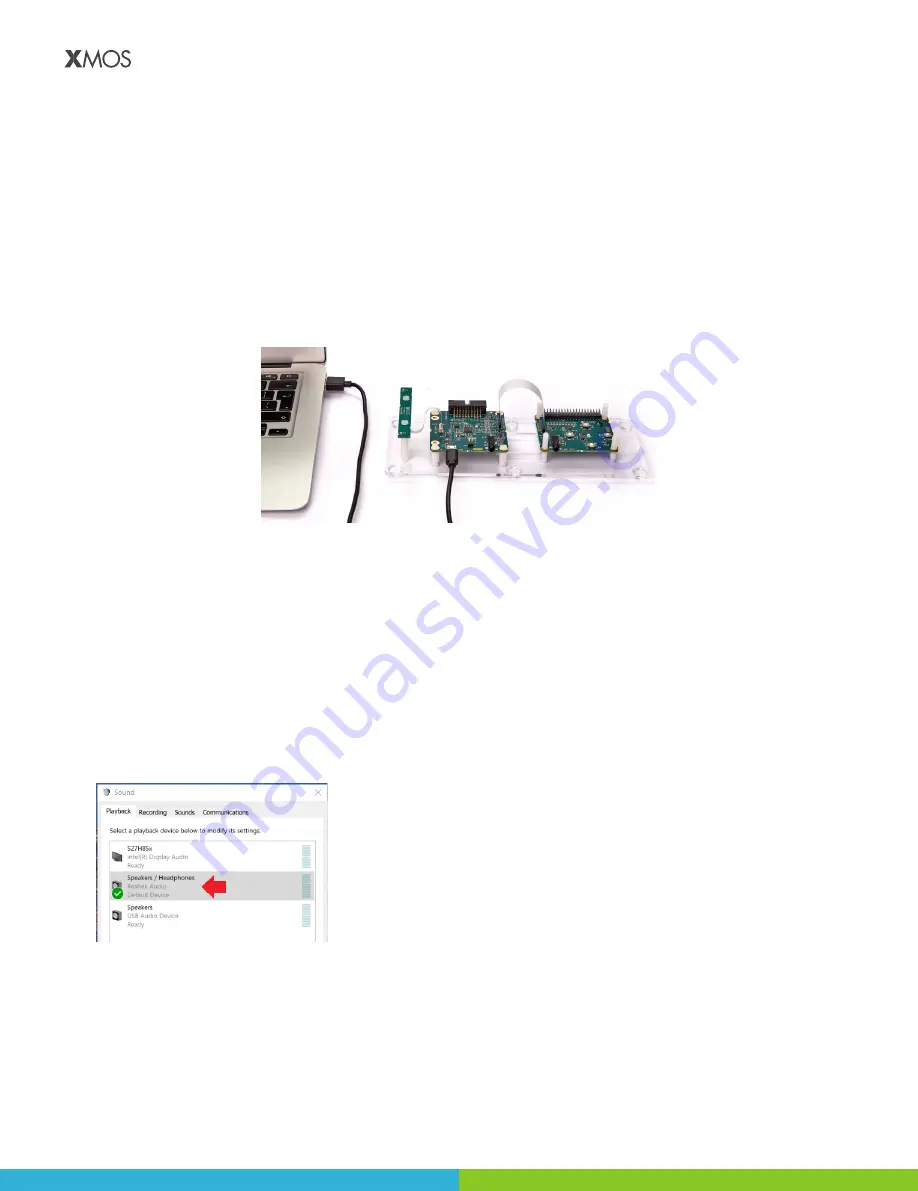
1. Connect the powered speaker to the 3.5mm audio socket on the host laptop/PC.
2. Connect the host PC to the micro-USB socket on the XVF3510 base board using the supplied cable.
3. Configure the sound settings for your platform.
3.2. CONFIGURING THE SOUND SETTINGS
The XVF3510 uses Adaptive USB transport, which means that developers can use the USB configuration to test on
all platforms.
3.2.1. WINDOWS SOUND SETTINGS
1.
Open
Sound
settings window (click
Start
menu and search for
Sound
.)
2.
On the
Playback
tab, make sure that the powered speakers are set as the default device.
3.
On the
Recording
tab, select
Show Disabled Devices
, right-click on the
Stereo Mix
device (may be called
“Wave Out Mix”, “Mono Mix”, or “Stereo Mix”) and select
Enable
.
4.
Double-click the
Stereo Mix
device to open the Properties window.


