


12
13
V
ehicle Ins
tallation
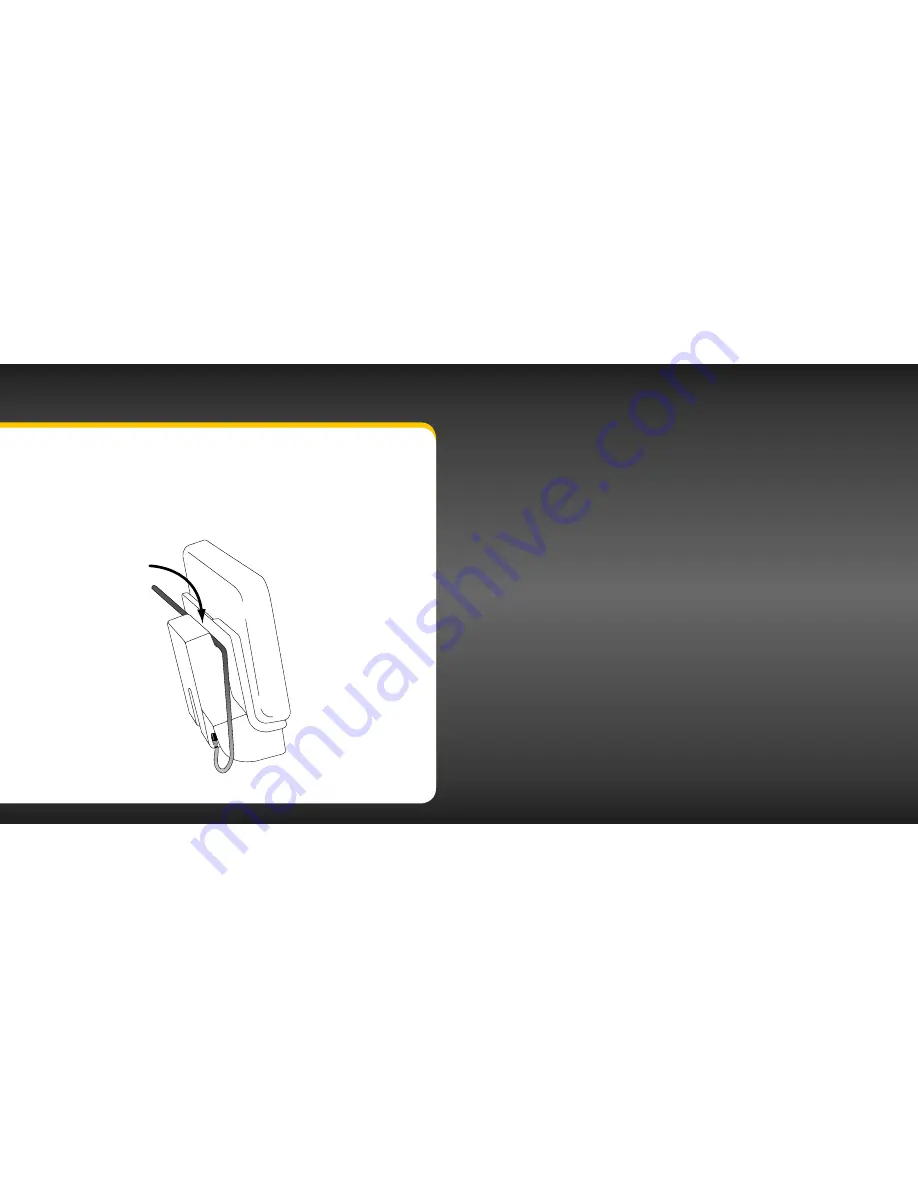
Wire Guide
The PowerConnect Vehicle Dock has a wire guide at the top rear that can help
you to organize the cables and wires connected to the dock . If you need to bring
a cable or wire from one side of the dock to the other, utilize the wire guide by
looping the cable though the wire guide as shown .
Wire Guide
Introduction
Summary of Contents for Onyx XDNX1V1KC
Page 1: ...User Guide...
Page 3: ...4 5 Introduction...
Page 25: ...48 49 Activation...
Page 32: ...62 63 Special Features...
Page 38: ...74 75 Where Else Can You Use Your onyX...
Page 51: ...100 101 Troubleshooting...
Page 54: ...106 107 Product Specifications...


