background image


2. Operating instruction 


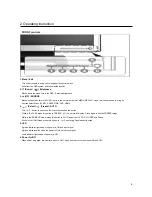
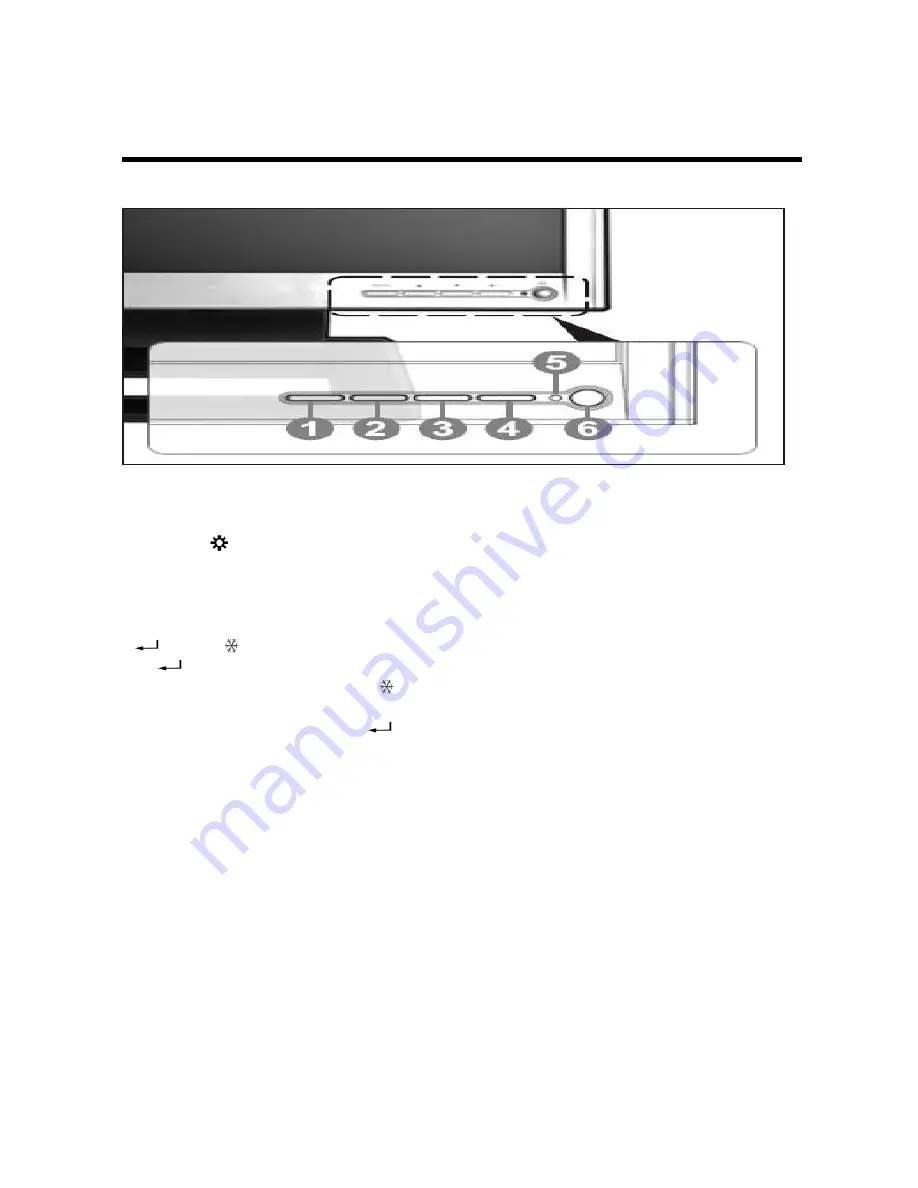
FRONT controls 


1. Menu / Exit 

This button is used to bring up or disappear the controls menu. 

Exits from the OSD system and the selected function 

2. 

 (Down) / (    ) Brightness 

Moves down the menu lists in the OSD / Selected brightness 

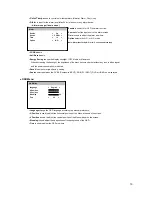
3. 

 (UP) / SOURCE   

Moves up the menu lists in the OSD / while in the normal active (Not MENU DISPLAY) mode, this button is used to bring up   

Sources select Menu (CVBS1, CVBS2, RGB, DVR, HDMI) 

4.      (Select) /    (Freeze) / AUTO  

This           


button to choose on the menu then pushes the button. 

While in the CVBS press this button to FREEZE (      ) the picture for display. Press again to exit the FREEZE image. 

While in the RGB/DVR mode, press this button to AUTO adjust the H/V POS, H/V SIZE and Phase.   

While in the HDMI mode, press this button to 


operating Panel aspect function. 

5. LED 

A green indicator lights when the power is ON and input signal. 

A green indicator blink when the power is ON and Input no signal. 

A red indicator lights when the power is OFF   


6. Power On/Off   

When power is applied, the monitor will come ON. This button then turns the monitor ON and OFF.


6

Summary of Contents for HEM171BP

Page 1: ......

Page 2: ...2...

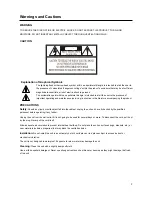
Page 3: ...Should any liquid or solid object fall into the cabinet unplug the unit and have it checked by the qualified personnel before operating it any further Unplug the unit from the wall outlet if it is not...

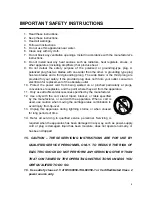
Page 4: ...pinched particularly at plugs convenience receptacles and the point where they exit from the apparatus 11 Only use attachments accessories specified by the manufacturer 12 Use only with the cart stan...

Page 5: ...ve Scan 3D Comb Filter Function Clear image Superior Color Reproduction VESA Wall Ceiling mount Compatible Noise Reductions Single control operated On Screen Display user interface Energy Saving funct...

Page 6: ...ze AUTO This button to choose on the menu then pushes the button While in the CVBS press this button to FREEZE the picture for display Press again to exit the FREEZE image While in the RGB DVR mode pr...

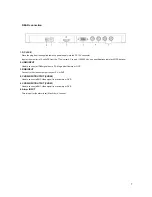
Page 7: ...ions table for AC DC details 2 HDMI INPUT Used to connect a HDMI signal from a PC Mega pixel Camera or DVR 3 RGB INPUT Connect to the video output port on your PC or DVR 4 CVBS INPUT OUTPUT CVBS2 Used...

Page 8: ...r jack may be optionally connected to another user of the same signal Auto Termination The input circuit of the monitor normally terminates the incoming cable in 75 but these BNCs jack are auto termin...

Page 9: ...hange the contrast brightness according to personal preference 1 100 Advanced Menu pull down menu 9 H Position is used to adjust the horizontal position of the image on the screen V Position is used t...

Page 10: ...light OFF Medium Maximum When decreasing the backlight the brightness of the black becomes darker without any loss in video signal and the power consumption is reduced Recall the monitor original fact...

Page 11: ...el Max 5Vdc of sensor or any alarm device 3D NR reduces the noise in the picture due to poor reception or poor picture quality Off Low Middle High Anti Burn This is to prevent the pixel burn on LCD af...

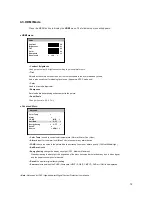
Page 12: ...vanced Menu Advanced Color Temp Alarm 3D NR MID Anti Burn OFF Energy Saving OFF Recall Source HDMI Color Temp is used to control color temperature Normal Warm Cool User Alarm is input for the alarm le...

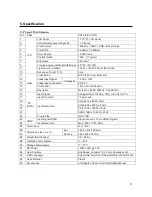
Page 13: ...olution More than NTSC 600TVL PAL 625TVL 16 Input Signal Analog RGB 0 714Vp p 75 H V Sync TTL 17 Input Connector 15 pin D sub 18 VGA 640 x 480 60 75Hz 19 SVGA 800 x 600 56 75Hz 20 XGA 1024 x 768 60 75...

Page 14: ...tion More than NTSC 600TVL PAL 625TVL 16 Input Signal Analog RGB 0 714Vp p 75 H V Sync TTL 17 Input Connector 15 pin D sub 18 VGA 640 x 480 60 75Hz 19 SVGA 800 x 600 56 75Hz 20 XGA 1024 x 768 60 75Hz...

Page 15: ...6 Dimensions drawings 15...

Page 16: ...50302918C...

Reviews: