KC705 Getting Started Guide
11
UG913 (v4.1.1) March 7, 2014
Introduction
2.
Set the IP address of the host PC to 192.168.1.100. Return the IP address of the PC back
to its original setting after running the demonstration.
Note:
The demonstration uses a hard-coded MAC address and a fixed IP address of 192.168.1.10
and does not connect to the regular LAN network using DHCP. Do not connect more than one board
to the same network segment.
Running the Video Demonstration
To run the video demonstration, copy and unzip the demonstration package files from the
Web to the host machine and use the following steps:
Note:
Because the package has a deep hierarchy structure, unzip the package at a user location so
that the overall path length is smaller.
1.
If the KC705 board is not already powered on, plug in the power adapter to local AC
power. Plug the 12V power cable into the board connector on J49. Turn on the power
by switching the SW15 to the ON position.
2.
Open and configure a serial communications terminal utility program with these
settings:
•
Baud Rate:
9600
•
Data:
8 bit
•
Parity:
None
•
Stop:
1 bit
•
Flow Control:
None
Note:
Refer to
Appendix A, Communicating with the KC705 USB-UART
for setting up the
UART communication.
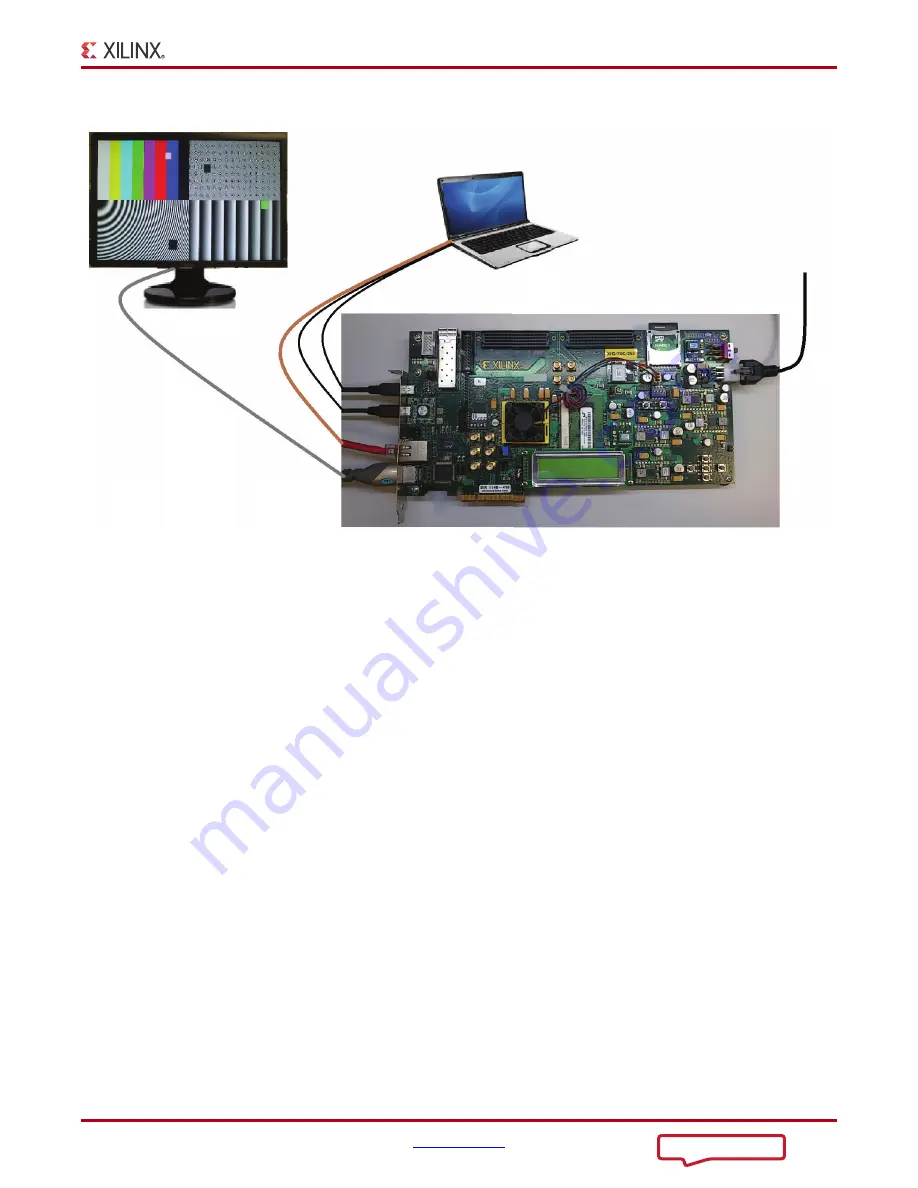
X-Ref Target - Figure 1-2
Figure 1-2:
Kintex-7 FPGA Video Demonstration Hardware Setup
POWER
SUPPLY
HDMI_OUT
1080P
UG913_c1_02_051612
Ethernet
UART
KC705 Evaluation
Board
JTAG


