background image

WorkCentre 7328/7335/7345

WorkCentre 7328/7335/7345

Quick Use Guide

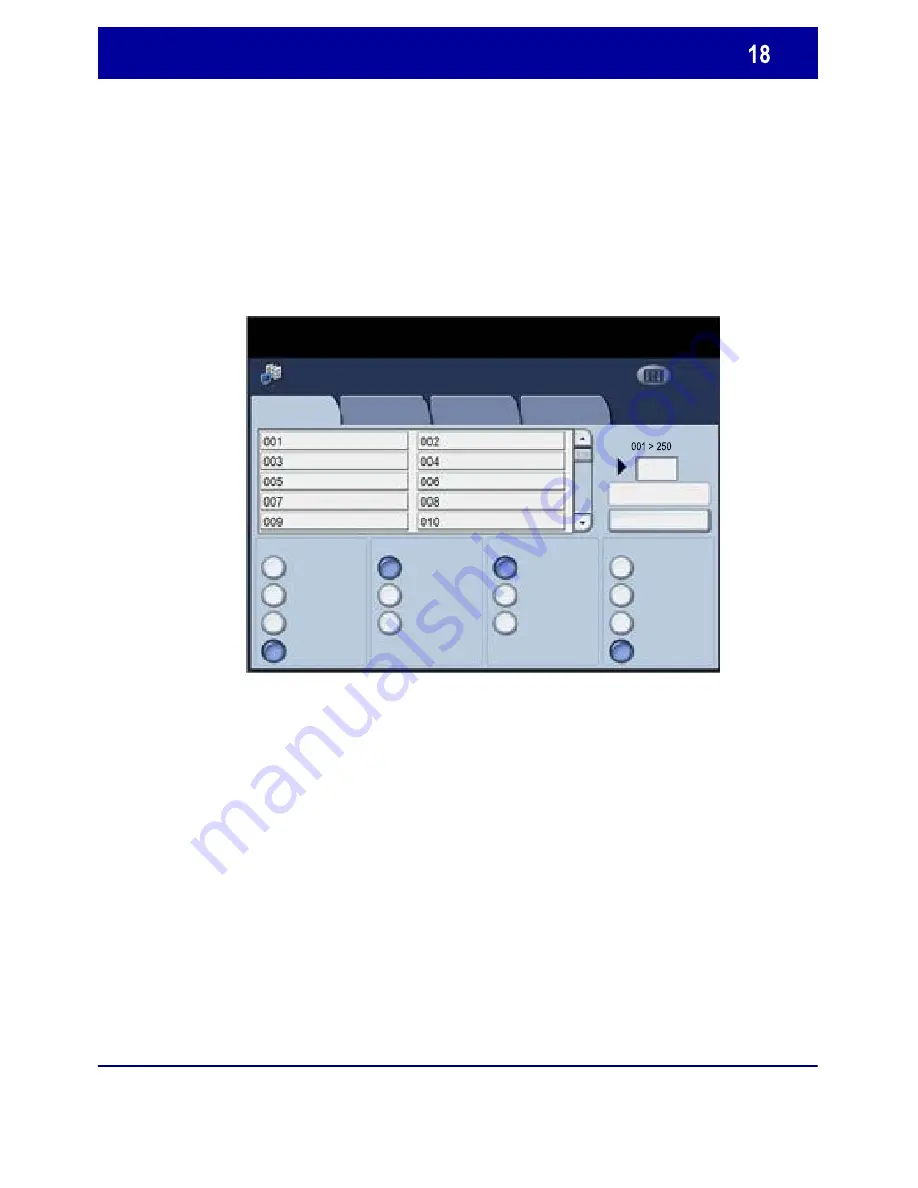
Scan to Home

Network Scanning must be installed before using this 
feature, but it is not necessary for the repositories and 
templates to be configured.

The system administrator enables the feature using Internet 
Services. They also have to enable Network Authentication 
for this feature to be available. Lightweight Directory 
Application Protocol (LDAP) connectivity may also be used.

Network 
Scanning

Color Scanning

Black and 

Quantity

Network Scanning

Advanced 

Settings

Layout 
Adjustment

Filing Options

Go to

Color

Grayscale

Original Type:

Photo and 

Text

Photo

Scan Presets

for Sharing & 

Printing

for Archival Record

for OCR

More...

2 Sided

2 Sided Scanning

1 Sided

2 Sided 

Rotate Side 

2

Auto Detect

All Services

Template Description

Update Templates

Scan to Home

Summary of Contents for WorkCentre 7328

Page 1: ...Xerox WorkCentre 7328 Quick Use Guide...

Page 2: ...The data saved in the hard disk of the machine may be lost if there is any problem in the hard disk Xerox is not responsible for any direct and indirect damages arising from or caused by such data lo...

Page 3: ...tus Button Displays job progress information on the touch screen 4 Machine Status Button Displays the current status of the machine on the touch screen Copy Paper Supply 2 Sided Copying Output Color A...

Page 4: ...Temporarily stops the current copy job to allow a priority job to be run Clear Deletes numeric values or the last digit entered Log In Out Provides password protected access to the Tools used to adju...

Page 5: ...n Out button on the Control Panel An Are you sure you want to logout Session will end and all settings will return to default message will be displayed 2 Select the required logout option on the Touch...

Page 6: ...pacity feeders holding 8 5 x 11 or A4 paper sizes only When a paper tray is opened your machine assumes that more paper is to be loaded Depending on the machine setup the touch screen displays a pop u...

Page 7: ...be displayed on the touch screen If the tray information is correct select the Confirm button Alternatively change the paper size or paper type by selecting the Change Settings button on the touch sc...

Page 8: ...t creation by selecting the Output Format tab the Booklet Creation button and the On button The Booklet Creation feature enables the production of booklets or multi page copies from 1 or 2 sided origi...

Page 9: ...ollowed when making booklets First select the tray that contains the paper you want to use Always load your documents with the long edge to the left 1 2 Cancel Save Booklet Creation Off On 1 Sided Ori...

Page 10: ...aper Output Image Options Layout Watermark Advanced Xerox WorkCentre 7345 Fax OK Cancel Job Type Paper 2 Sided Printing Stapling Output Color Output Destination OK Defaults Auto Color 1 Staple 1 Sided...

Page 11: ...mation screen will appear with the list of recipients you have chosen If the details are correct select the OK button and your fax will be submitted to the machine fax queue ready to be transmitted Pa...

Page 12: ...at the device The device displays one Scan to Home template When a document is scanned the authentication server produces the information as to who is logged in at the device Network Scanning Color S...

Page 13: ...e Network Authentication for this feature to be available Lightweight Directory Application Protocol LDAP connectivity may also be used Network Scanning Color Scanning Black and Quantity Network Scann...

Page 14: ...how to remove a used toner cartridge and replace it with a new toner cartridge The machine will tell you when you will need to order a new cartridge and when to install it Follow the disposal instruct...

Page 15: ...7328 7335 7345 Quick Use Guide Replacing the Toner Cartridges 3 Remove the toner cartridge by pulling it straight out Be careful to not get toner on clothing 4 Dispose the toner cartridge as normal o...

Page 16: ...rkCentre 7328 7335 7345 Quick Use Guide Replacing the Toner Cartridges 5 Remove the new toner cartridge from its packaging 6 Shake the new toner cartridge several times in an up and down twisting moti...

Page 17: ...unlock symbol on the printer Make sure the cartridge is fully installed then turn the cartridge clockwise to the locked position 8 Close the Front Door If the door will not close completely make sure...

Page 18: ...ver Push up on the unlock lever located on the top of the cover to access the inside of the machine The serial number is located on a colored sticker on the inside back frame of the machine 3 Close th...

Page 19: ......

Reviews: