Server Fax
WorkCentre™ 5735/5740/5745/5755/5765/5775/5790
Getting Started
24
Server Fax
1.
Load your documents face up in the
document feeder input tray
. Adjust the guide to touch the
documents.
Or...........
Lift up the
document feeder
. Place the document face down onto the
document glass
and register
it to the arrow at the top right rear corner. Close the
document feeder
.
2.
Press the
Clear All (AC)
button once to cancel any previous screen programing selections.
3.
Press the
Services Home
button and select the
Server
Fax
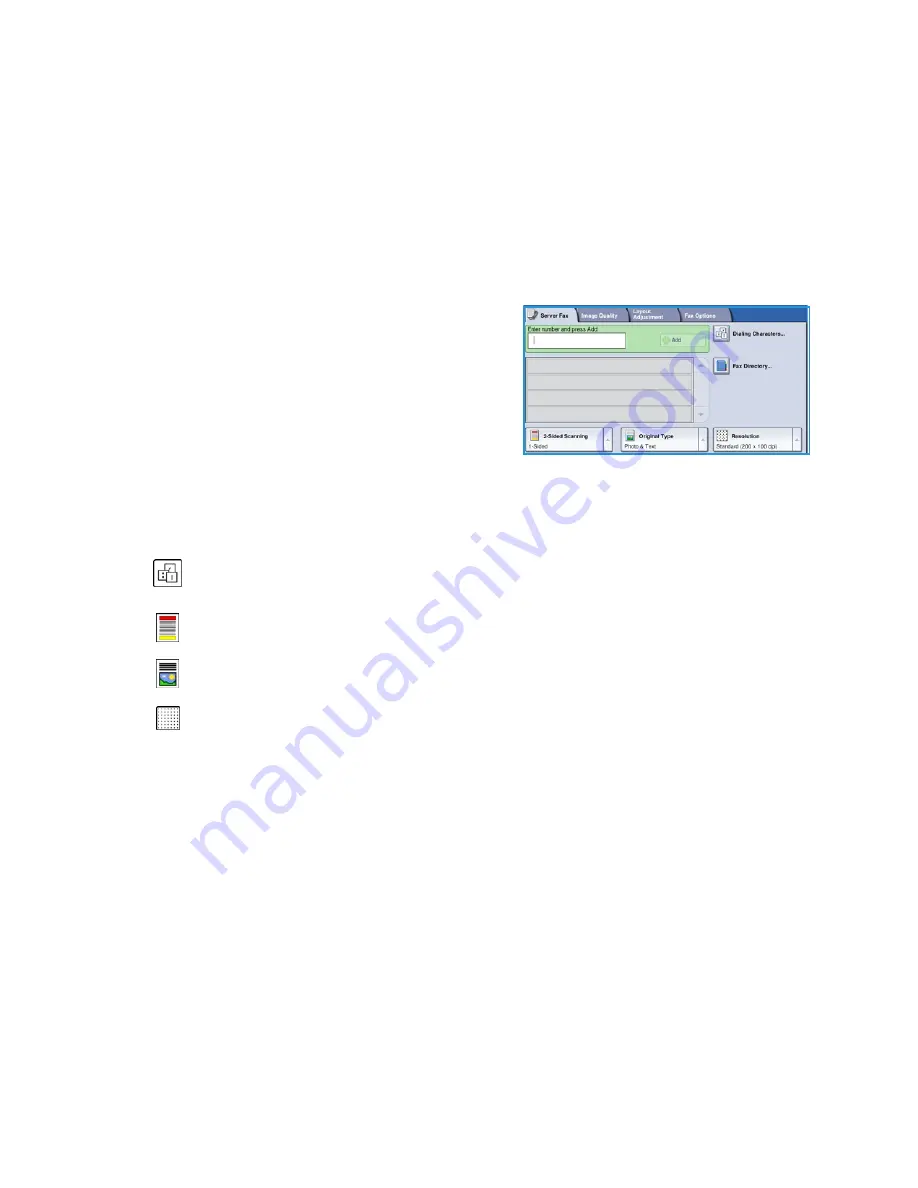
option. The
Server Fax
features are displayed.
4.
Enter the recipient’s fax number by:
•
Keypad Dial
- select the Enter Number area on
the touch screen and enter the number using the
numeric keypad.
•
Fax Directory
- Touch the
Fax Directory
button,
select an entry from the Fax Directory to add to
the Recipient list.
5.
Select
Add
to add the number to the Recipient list.
6.
Select the required features for your fax job using the touch screen:
7.
Press
Start
to scan the originals and process the
Server Fax
job.
Remove the originals from the
document feeder
or
document glass
when scanning has completed.
Note:
The
Server Fax
job enters the job list ready for sending.
8.
Select
Job Status
to view the job list and check the status of your job.
For information about additional
Server Fax
features, refer to
Sending a Server Fax
on page 92 of
Fax
.
Dialing Characters
are alphanumeric characters which have a specific fax function and can be
entered as part of the fax number.
2-Sided Scanning
is used to select whether your originals are 1-sided or 2-sided.
Original Type
is used to define the original document as text, text and photo, or photo.
Resolution
can be used to optimize the resolution settings.


