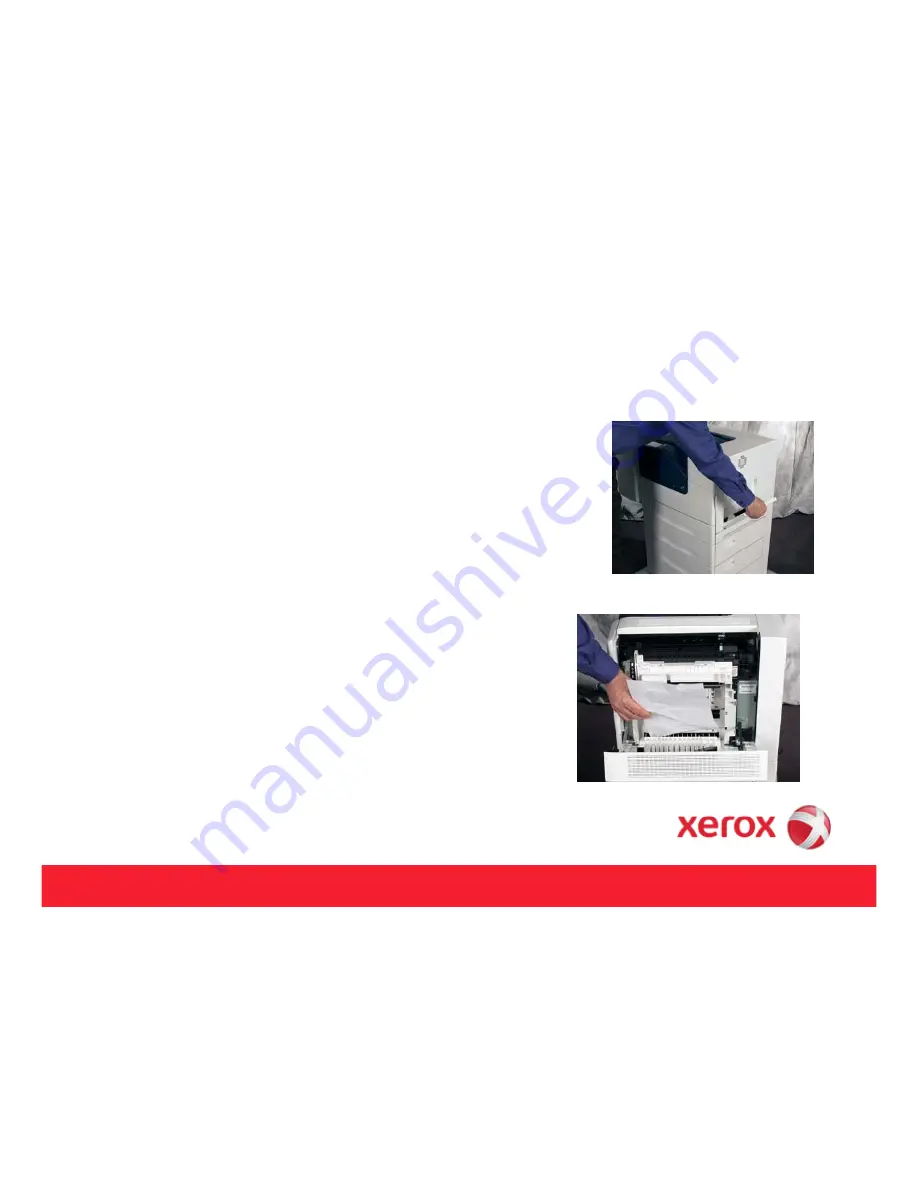
Jam clearance – jam in paper tray 2
NOTE: When a paper jam occurs, an error will be displayed on
the Control Panel as well as video instructions on clearing the
jam.
Jammed paper should be removed in the normal direction of
travel whenever possible. Make sure to remove any torn pieces of
paper from the printer.
Remove any paper from Paper Tray 1, and then close the tray.
The tray is located on the right side of the printer.
Lift p the Right Side Door Latch and open the door
Lift up the Right Side Door Latch and open the door.
Remove any jammed paper.
Close the Right Side Door
Close the Right Side Door.
Pull out Paper Tray 2.
If necessary remove any partially fed creased or jammed paper
6
If necessary, remove any partially fed, creased, or jammed paper
and insert the tray back into the printer.


