Copyright © 2015 Ruckus Wireless, Inc.
Published May 2015
and you are ready to apply configurations to the
Access Point.
4.
The Access Point’s LED color should now be
“SOLID/CONSTANT GREEN”
Option # 2- Via Harmony
1
Make sure that Wi-Fi is enabled on your tablet or
smartphone
2
Before you open the Harmony application,
connect to the “Xclaim Set-Up” Wi-Fi SSID
3
Open the Harmony application
4
Login using the password that was configured
during Harmony’s setup.
5
The Harmony application will open and locate all
Xclaim APs deployed on your network
6
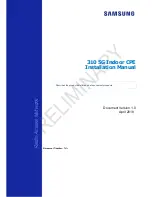
Tap on the AP to configure. This should open up
the AP configuration page. Enter the AP details
and click on Save.
The AP’s LED should now be “SOLID/CONSTANT GREEN
STEP 3: Create Network(s) / WLAN(s) / SSID(s)
Option #1 - Via CloudManager
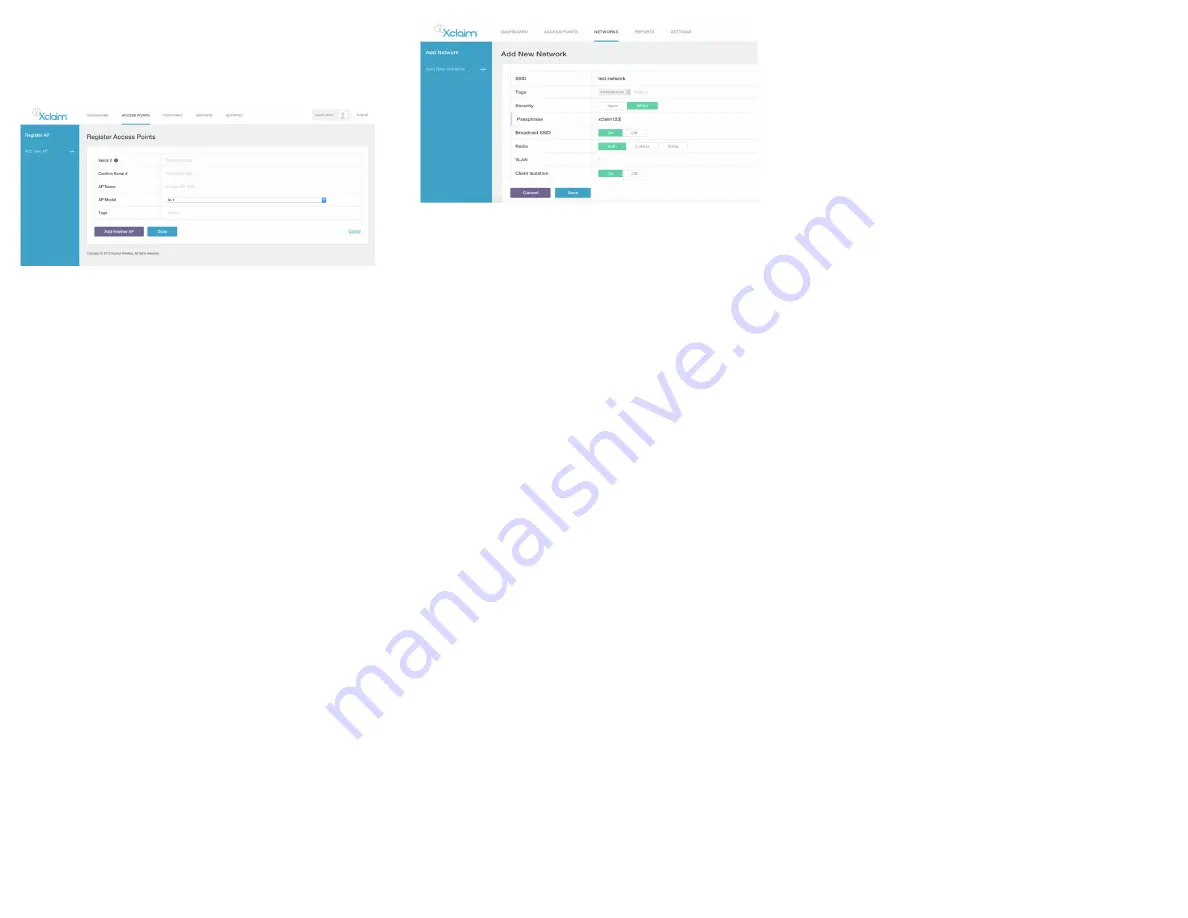
1.
Click the “Networks” tab in the top panel. This will
take you to the Networks page.
2.
Click the “Add New ” link in the left-side
panel. This will show you the “Add new network”
page.
3.
Configure the network with required parameters
and click Save.
Option #2 - Via HARMONY
1
Open Harmony and tap the Configure ->
Networks tab.
2
Click the “+” icon at the top right corner to add a
network.
3
This will allow you to create a new network.
Configure the network/WLAN with the required
settings.
4
Click Save once you are done.
STEP 3: Attaching the created network to the Access
Point.
Option #1 - Via CloudManager
1.
Click the “Access Points” tab in the top panel. This
should take you back to the Access point’s page.
2.
Click the Access Point that you would like to
configure.
3.
A right side-panel should now open up. In that
side-panel, please click the “Edit Access Point”
link. This should take you to the Edit Access Point
page.
4.
In the “Add Networks” section, type in the SSID
name of the network created in the previous step.
CloudManager should autocomplete the SSID
name for you.
5.
Click “Save” to save the configuration and apply it
to the Access Point.
6.
You will now notice that the “xclaim-setup” SSID is
automatically disabled and the custom WLAN that
you applied is enabled on the Access Point.
Option #2 - Via HARMONY
1
Open Harmony and tap the Configure -> Access
Points tab.
2
Tap the Access Point that you would like to
configure.
3
Scroll down to the bottom of the page and tap the
network name that should have been created
earlier.
4
Click “Save”, to save the configuration and apply
it to the Access Point.
5
You will now notice that the “xclaim-setup” SSID is
automatically disabled and the custom WLAN that
you applied is enabled on the Access Point.
STEP 5: Place the Access Point
1
Move the Access Point to its permanent location.
2
Use an Ethernet cable to connect the
10/100/1000 port of the Access Point to your
network.
NOTE: If you will be using PoE, you will need a
Cat 5e (or better) Ethernet cable to connect the
Access Point to the supplied PoE injector or directly
to an existing PoE switch. Also, please ensure that
the distance from the PoE switch to the Access
Point not exceed 100m(328 ft.).
3
If using the supplied PoE adapter, connect this to
a suitable power source.
4
Verify that the 10/100/1000 Ethernet ports’ LED is
lit on the Access Point.
STEP 6: Verify your installation
1
Using any wireless-enabled computer or mobile
device, search for and select the wireless
network you previously configured
2
If you can connect, open a browser and link to
any public web site.
Congratulations!
Your wireless network is active and ready for
use. If you need to configure advanced wireless settings,
such as enabling security, see the Xclaim Access Point User
Guide.