EN
Single Pass Scan Measurement
2x green flash the row was measured successfully.
2x red flash
the row was not measured successfully because not all patches
could be recognized. Measure the row again, but reduce your
measurement speed and make sure that the device starts and
ends the measurement before and after the patches of the test
chart.
4x red flash
the row was not measured successfully because you started
reading the patches too early without giving the tungsten filament
lamp enough time to warm up. Measure the row again but allow
the lamp time to heat up before you start moving the
i1
Pro device.
1x green;
2x red flash
the row was measured successfully but the software expected the
measurement of a different row. Check if the row you measured is
the row the software is expecting.
5. Position the ruler with the device in front of the next row of your test chart and
measure the next row.
1. Make sure that your device is calibrated and the
status indicators are pulsating
white.
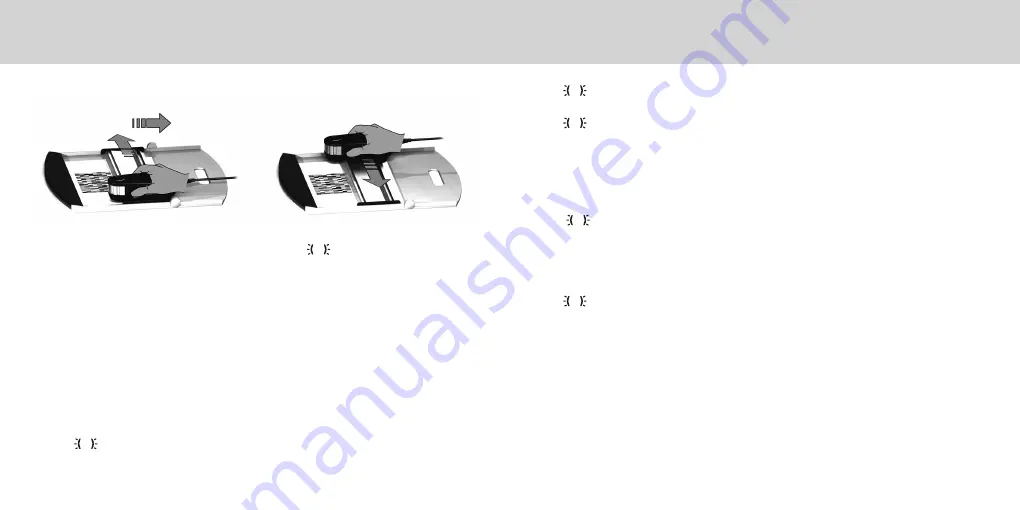
2. Position the ruler with the device on the white paper in front of row #1 of your test
chart. It does not matter if you scan the row from left to right or right to left.
3. Set your software to single scanning mode.
4. Press the measurement button on the device and wait one second before you start
moving the device to the opposite site on the ruler. Hold the measurement button
pressed until you have reached the far end of your test chart. The short delay before
the measurement process is required to warm up the tungsten filament lamp. The
status indicators on the device provides feedback if the measurement was
successful:


