C I 6 2 L + R T L S P E C T R O P H O T O M E T E R
30
NOTE: Select the backspace character (
) and use the Left navigation button to delete the
unwanted characters.
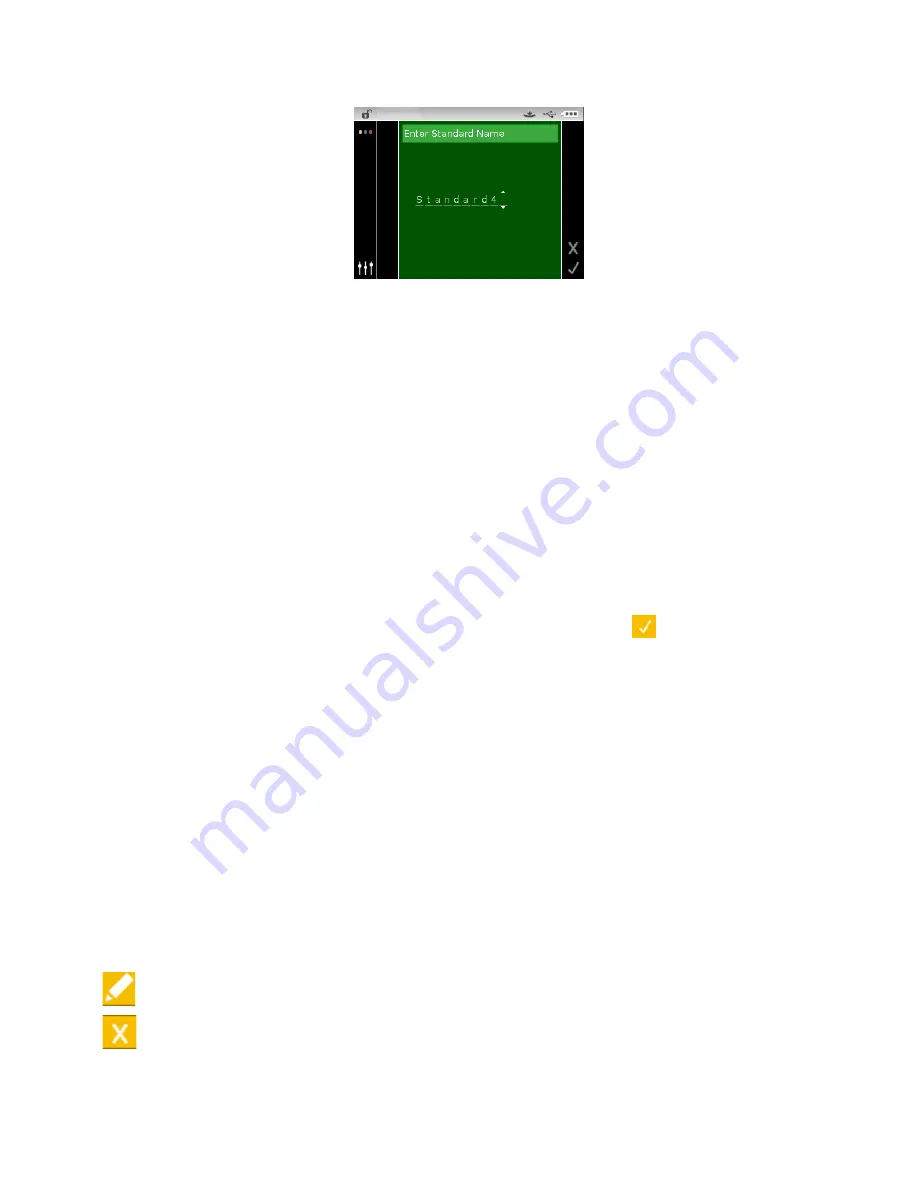
4.
Use the Left or Right navigation buttons to move the two arrows to character location and
tap the Select button.
5.
Use the Up or Down navigation buttons to page through the alphanumeric list for the
character location of the name.
NOTE: You can also use the navigation control to rapidly scroll through a list by touching the
control between the arrows and circle left or right.
6.
Tap the Select button set the character.
7.
Tap the Left or Right navigation button to move the two arrows to the next character space
and tap the Select button.
8.
Use the Up or Down navigation buttons as previously explained to set the character and tap
the Select button.
9.
Continue until all characters for the name are set.
10.
Tap the Right navigation button and highlight the Checkmark icon
in the Progress
Column.
11.
Tap the Select button to save the name for the standard.
Editing Standard Tolerances
Tolerances for newly created standards can be edited. Up to six tolerances can be created for
each standard.
The tolerance limit is the maximum allowable difference from the standard color values that is
considered acceptable. The tolerances are used to test your sample’s acceptability by displaying a
pass or fail signal, based on the pass/fail margin limits. Plus and minus limits can be set
symmetrically or individually for allowable color space attributes. Pass/fail indication appears in
QA function when set.
Tolerance Editing Icons
Descriptions of the various icons found for tolerance editing are shown below.
Access the editing screen where the standard is edited including the name.
Exit the editing screen and return to the standard selection screen.
Summary of Contents for Ci60
Page 1: ...Ci62L RTL Spectrophotometer User Guide ...
Page 2: ......
Page 46: ......
Page 47: ......
Page 48: ......


