User Manual
10
Note:
y
The batteries cannot be taken out of the camera in the charging process.
y
The temperature will be relatively high when it reaches to fully charging, if the red
indicator flickers quickly during the power on reset (to remove and insert the adapter), it
indicates the battery temperature is overly high and the charging process should be
stopped. This phenomenon is normal; you can wait till the battery turns to be lower
then continue the charging process.
y
Please ensure batteries are fully charged and discharged at the first 3 times.
y
Please choose qualified rechargeable batteries and battery charger supplied by the
camera supplier.
y
Please charge batteries when the ambient temperature is between 0
℃
to 40
℃
.
y
Do not mix new batteries and old batteries together to operate the camera.
y
Do not mix batteries of different types together to operate the camera.
y
AA Alkaline batteries are not chargeable.
y
Please take out all the batteries when the camera will be left unused for long time.
y
Insert batteries according to “+”, “-“ markers.
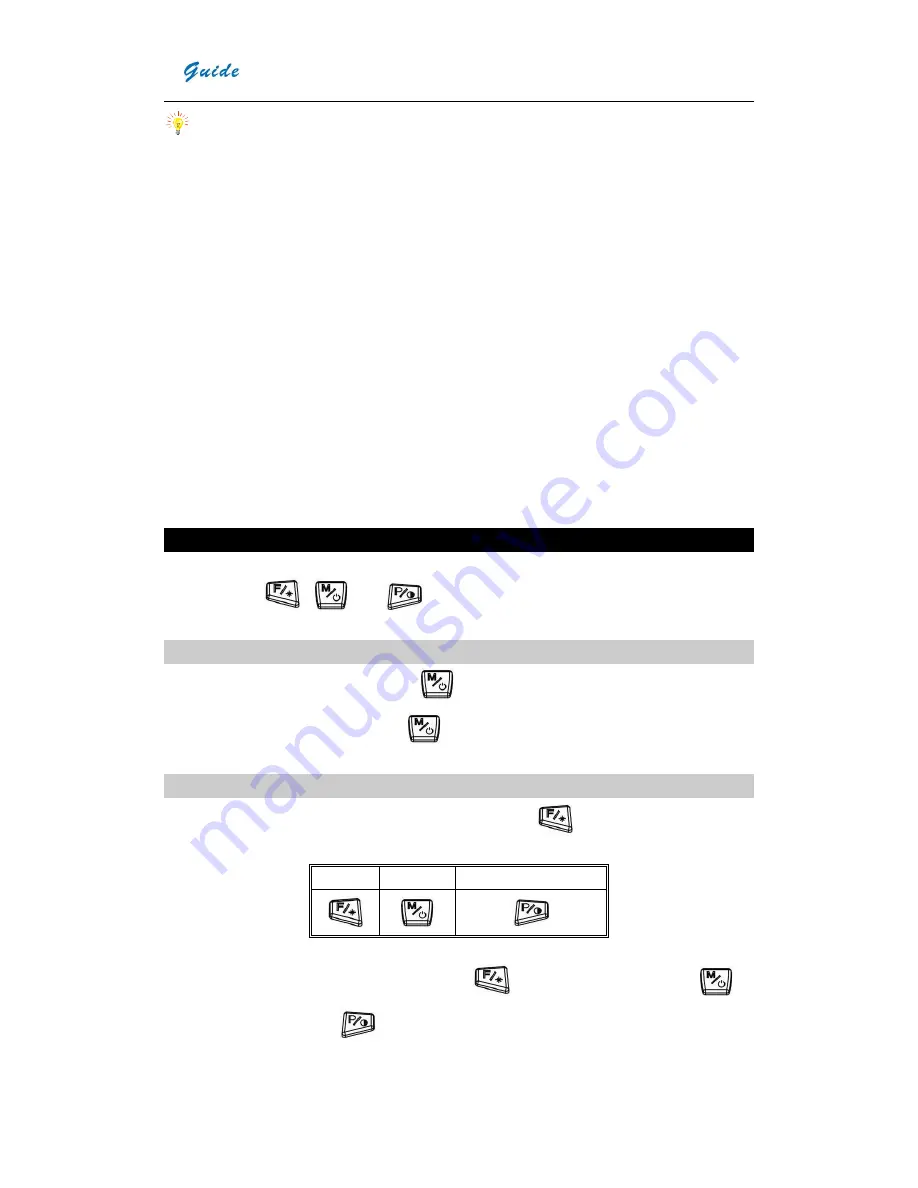
Buttons Introduction
There are three functional buttons of
EASIR
TM
-4/ EASIR
TM
-2/ EASIR
TM
-1
(
From left to
right, they are
,
and
)
and a trigger button T.
Power on /off the camera
The input voltage is 12V
,
keep button
depressed for more than 3 seconds to power
on. When powering off, keep button
depressed until the switch off bar runs fully.
Focus
When there is no menu on the screen, press button
to enter focus menu, the
following info will be displayed on the screen
:
Far Near
Auto
According to menu navigation, press button
to focus far; press button
to
focus near; press button
to auto focus. Press button T to exit the focus menu.
When doing auto focus, please keep the camera steady to ensure image quality.
Summary of Contents for EasIR-1
Page 29: ...User Manual 26...


