12
For Warranty information, please visit ElectroBraid.com
13
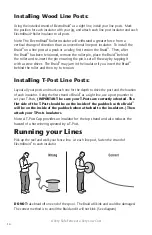
Installing Line Posts
When you have completed the corner and end posts, you are ready to install your line
posts and the line post insulators and start running your lines.
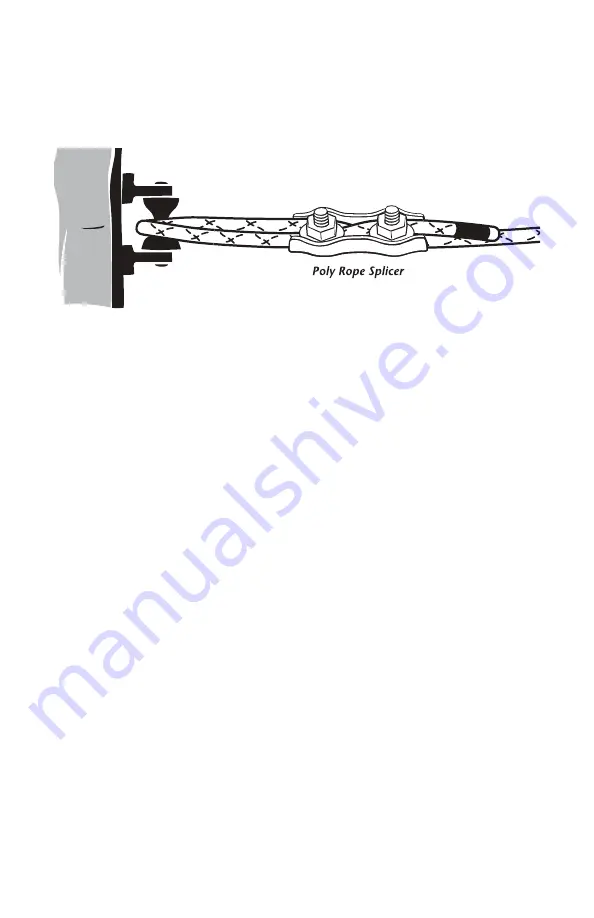
First you need a sight line. Starting at a gate or end post, feed the ElectroBraid
®
through
the second insulator from the bottom and secure it using a poly rope splicer. Pick up
the reel and begin to walk the fence line. Insert the ElectroBraid
®
behind each corner
post insulator. When you get to the end post, insert the ElectroBraid
®
behind the end
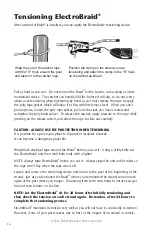
post insulator and secure it with a poly rope splicer. Attach the tensioning device and
tighten (see Tensioning ElectroBraid
®
). Then loosen the Poly rope splicer, pull out the
slack and re-tighten. The sight line you have created will help you position your line
posts in a straight line.
On hilly terrain, install line posts at the peaks and in the valleys first, and then space the
remaining line posts to suit the terrain. An ElectroBraid
®
Roller Insulator is recommended
where there is a horizontal or vertical change in direction. The use of other insulators
could allow the Braid
™
to pull out under tension.
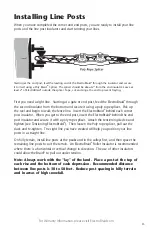
Note: Always work with the “lay” of the land. Place a post at the top of
each rise and the bottom of each depression. Recommended distance
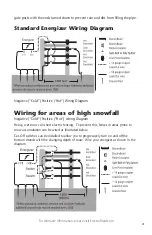
between line posts is 30 to 50 feet. Reduce post spacing in hilly terrain
and in areas of high snowfall.
Starting at the end post, feed the leading end of the ElectroBraid
®
through the insulator and secure it
to itself using a copper split-bolt connector. The split-bolt should be about 2" from the end insulator.
Leave at least 2" of ElectroBraid
®
outside the copper split-bolt connector. Tape, cut and singe the
end to prevent fraying.
Starting at the end post, feed the leading end of the ElectroBraid
®
through the insulator and secure
it to itself using a Poly Braid
TM
Splicer. The splicer should be about 2" from the end insulator. Leave at
least 2" of ElectroBraid
®
outside the splicer. Tape, cut and singe the end to prevent fraying.


