-14-
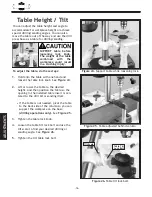
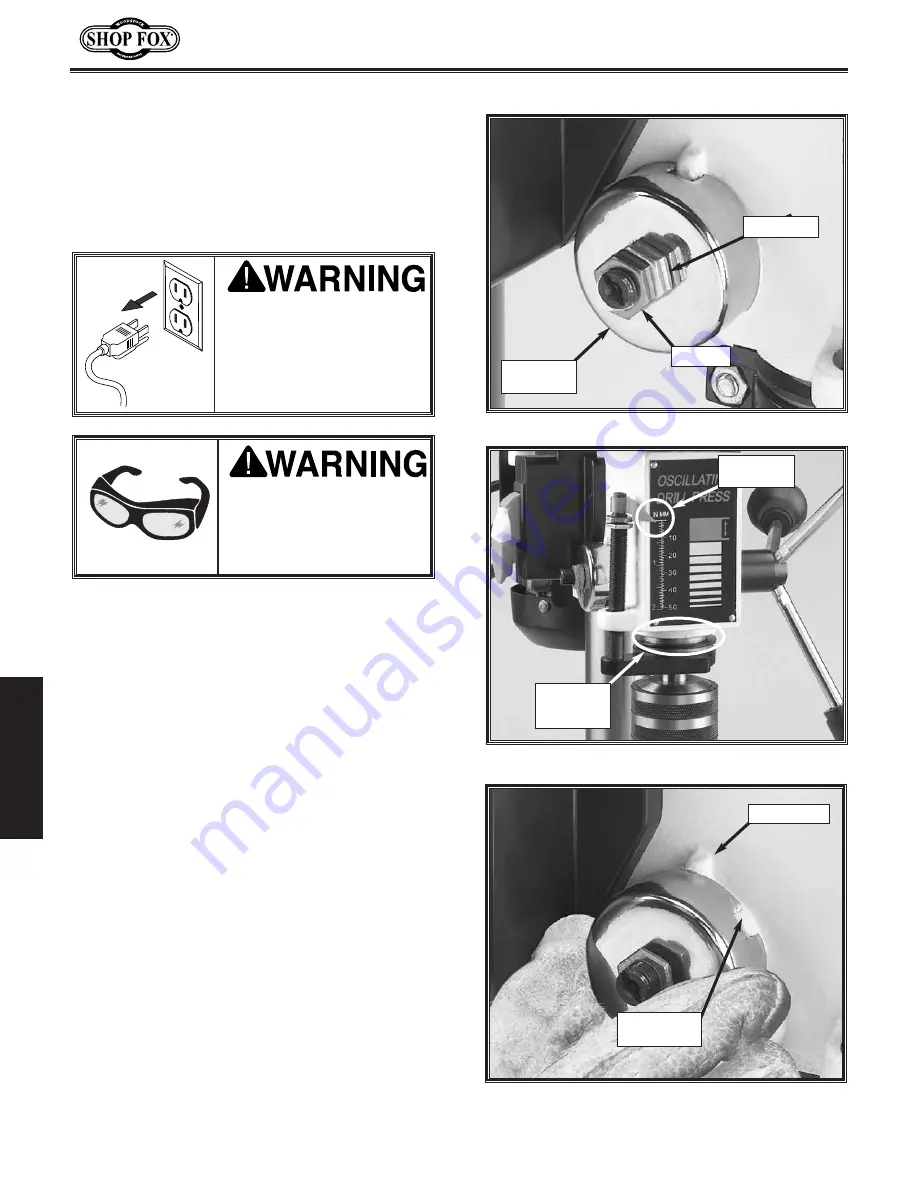
Figure 20.
Typical spring cover lock slot and
locking lug.
Spring-Cover
Lock Slot
Locking Lug
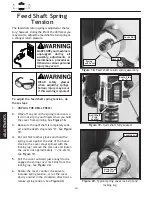
Figure 18.
Feed shaft return spring assembly.
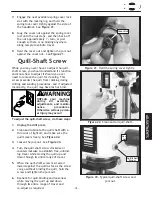
Figure 19.
Quill shaft fully seated.
Spring
Lock Cover
Cover Nut
Jam Nut
Quill Shaft
Fully
Seated
Depth Stop
at “0”
The feed shaft return spring is adjusted at the fac-
tory; however, during the life of the drill press you
may want to adjust the feed shaft return spring at
a stronger return pressure.
To adjust the feed shaft spring tension, do
these steps:
1. UNPLUG THE DRILL PRESS!
2.
Wipe off any oil on the spring lock cover so
it will not slip in your fingers when you hold
the cover from spinning. See
Figure 18.
3.
Make sure the quill shaft is completely seat-
ed and the depth stop reads “0”. See
Figure
19.
4.
Put on thick leather gloves and hold the
spring cover against the side of the head-
stock so the cover stays splined with the
locking lug; remove the jam nut and loosen
the cover nut approximately
1
⁄
4
" (6.4mm).
See
Figure 19.
5.
Pull the cover outward just enough to dis-
engage the spring-cover lock slot from the
locking lug. See
Figure 20.
6.
Rotate the cover counter clockwise to
increase spring tension, or let the cover
slowly unwind in the clockwise direction to
reduce spring tension. See
Figure 20.
MAKE SURE your machine is
unplugged during all
assembly, adjustments, or
maintenance procedures.
Otherwise serious personal
injury may occur!
WEAR safety glasses
when adjusting springs.
Serious injury may occur
if this warning is ignored!
ADJUSTMENTS
Feed Shaft Spring
Tension
Summary of Contents for SHOP FOX W1667
Page 21: ... 19 ADJUSTMENTS ...
Page 22: ... 20 ADJUSTMENTS ...
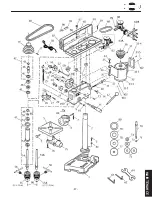
Page 29: ... 27 Parts Diagram MAINTENANCE ...
Page 35: ......
Page 36: ......

