international 23
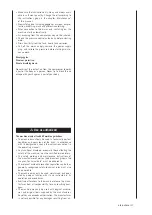
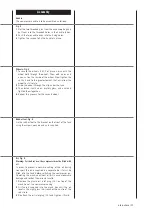
Air filter, Fig. 6
Warning:
The air filter must be fitted before the first use.
An operation without filter damages the compressor and
renders the warranty invalid.
The air-filter on the (15) is screwed tight on the right side
of the cylinder
Putting into operation
Warning:
Fill in oil before starting the compressor for the first time.
1
Make sure the place of setting up is clean, dry, and
well vented.
2
Make sure the crank box is filled with oil, and the air
filter is fitted.
3
Start the compressor as described in the chapter
„Switching on and off the compressor“. At switching
on for the first time, let the compressor run for ten
minutes at no load with the drain valve open, so that
all the parts get well lubricated.
Warning:
As compressed air comes off the output, the out-
put may not be directed towards the operator or people
in the vicinity. The air coming off the exit may not be in-
haled. Daily check the pressure control valve.
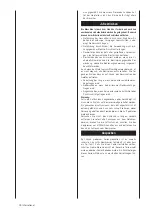
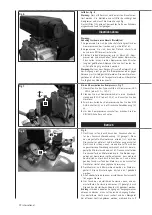
Switching on and off the compressor, Fig. 7
1
Check the model plate on the compressor: 230 – 240
V (or 110 – 120 V).
2
Plug the compressor cable into a standard socket (240
V or 120 V) and switch the compressor on.
3
For switching the compressor on, lift the ON/OFF switch
(3) on the pressure switch cover (2).
4
For switching the compressor off, depress the ON/OFF
switch.
Operation
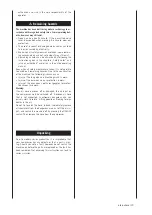
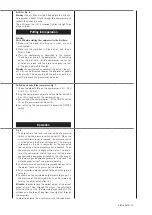
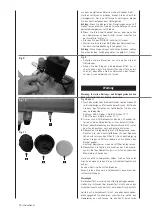
Fig. 8
1
The pressure in the tank is controlled by the pressure
switch under the pressure switch cover (2). When the
maximum pressure set is reached, the pressure switch
is activated and the motor switched off. The pressure
is reduced as the air is consumed by the connected
tool, until the minimum pressure set is reached. Then
the pressure switch re-engages the motor. The opera-
tor at the compressor should take care that the motor
engages and disengages dictated by the influence of
the increasing and decreasing pressure in the tank. The
motor engages without any previous warning.
2
The maximum and minimum pressure have been set in
the works. These settings may not be altered.
3
All accessories were connected to the adjustable drain
valve (6).
4
As shown on the adjustable output pressure gauge (7),
the pressure of the adjustable exit can be altered by
turning the adjustable button (5).
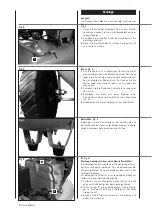
Attention:
In order to read the correct output at the output
gauge, air must flow through the output. The adjustable
valve must be set and the pressure gauge read with the
valve open, while the air flows from the output set through
the accessory.
In order to increase the air pressure, turn the valve clock-
Summary of Contents for cb 50
Page 88: ...88 international ...
Page 89: ...international 89 ...
Page 90: ...90 international ...
Page 91: ...international 91 ...

