9
1.
In the [Results] screen, users can view previous test results.
2.
After each test has completed, the system will automatically save the results to the
analyser memory.
3.
Adjust the dates to search for a sample. Select [OK].
4.
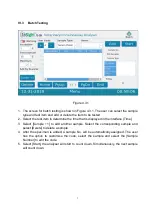
Select [Upload] in Figure 4.4.1 to upload the selected records or all records to the
PNS.
5.
Select [Print] in Figure 4.4.1 to print the selected records or all records on the internal
printer.
6.
Select [Export] in Figure 4.4.1 to export the selected records or all records to a USB.
7.
Select [Statistics] in Figure 4.4.2. After selecting a date range, select [OK] to view the
statistics of how many tests have run within the selected timeframe.
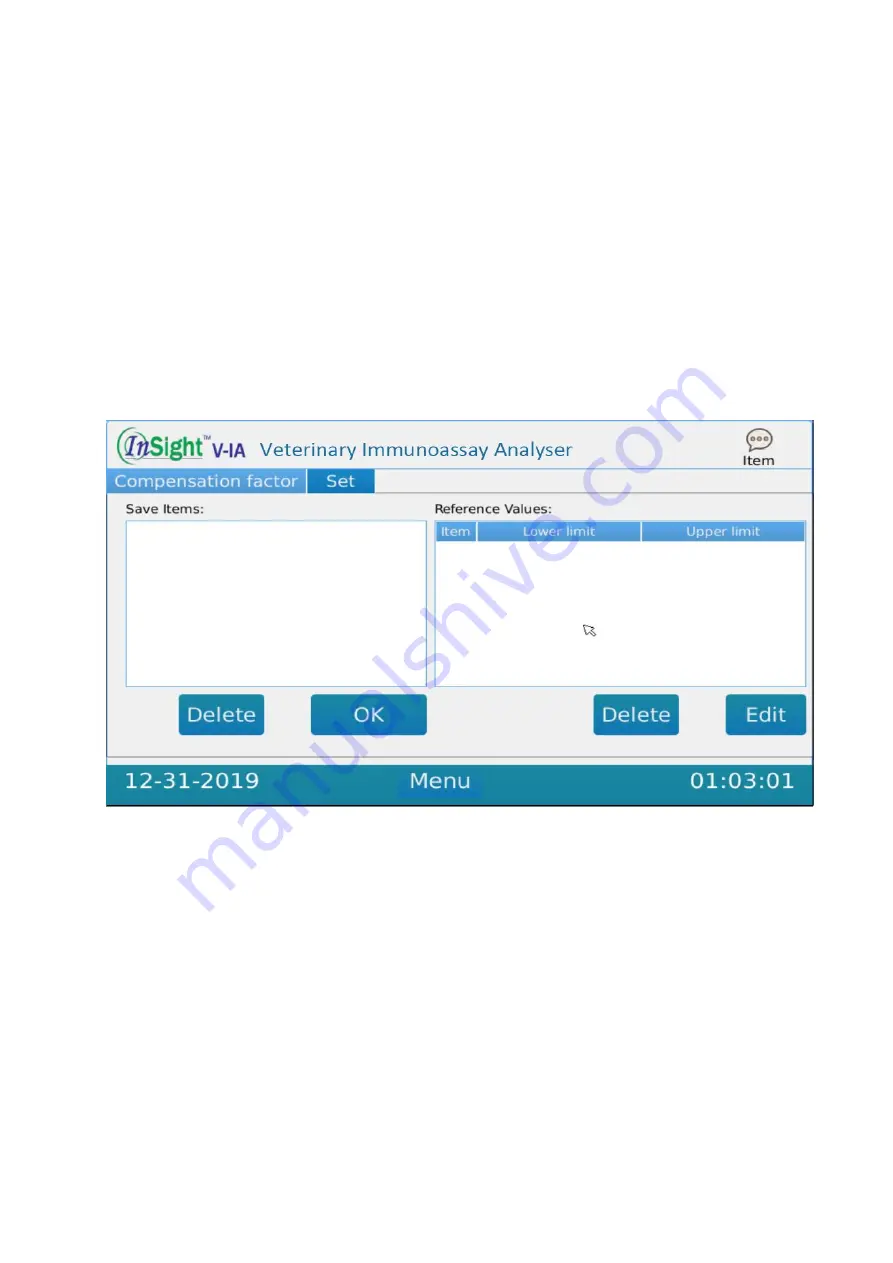
IV.5 Item Interface
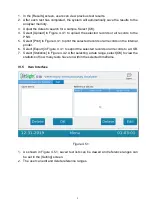
Figure 4.5.1
1.
As shown in Figure 4.5.1, saved test lists can be viewed and reference ranges can
be set in the [Setting] screen.
2.
The user can edit and delete reference ranges.


