Install the Inner Panel Magnet
1
Place the magnet anchor under the inner panel magnet
bracket.
2
Use a
3
/
16
" combination wrench to hold the magnet anchor
from underneath.
3
Turn the inner panel magnet clockwise to install it.
INNER PANEL ASSEMBLY REMOVAL
Uninstall the Unit
1
Turn off the power to the unit.
2
Remove the unit from the installation.
TIP: Removing the internal blower first may make uninstalling
the unit easier.
Remove the Inner Panel Assembly
1
Pull on the magnet side of the inner panel assembly to open
it and access the inner panel hinges.
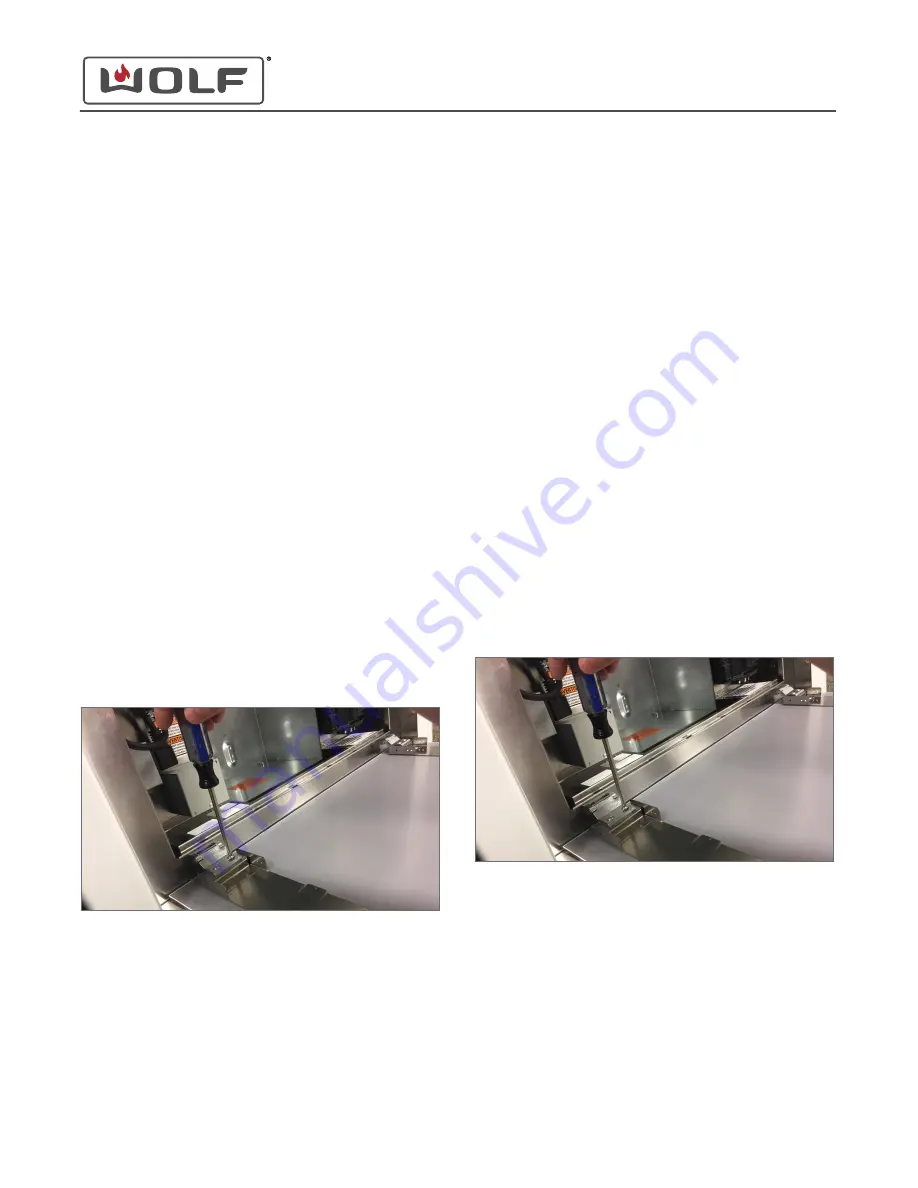
2
Use a Phillips screwdriver to remove the inner panel hinge
screws.
TIP: Support the inner panel assembly from underneath while
removing the inner panel hinge screws.
3
Remove the inner panel assembly from the unit.
INNER PANEL ASSEMBLY INSTALLATION
Install the Inner Panel Assembly
1
Place the inner panel assembly over the hinges.
2
Use a Phillips screwdriver to install the inner panel hinge
screws.
INNER PANEL HINGE REMOVAL
To remove the inner panel hinge, first remove the inner panel
assembly.
Uninstall the Unit
1
Turn off the power to the unit.
2
Remove the unit from the installation.
TIP: Removing the internal blower first may make uninstalling
the unit easier.
Remove the Inner Panel Assembly
1
Pull on the magnet side of the inner panel assembly to open
it and access the inner panel hinges.
2
Use a Phillips screwdriver to remove the inner panel hinge
screws.
TIP: Support the inner panel assembly from underneath while
removing the inner panel hinge screws.
3
Remove the inner panel assembly from the unit.
Remove the Inner Panel Hinge
1
Use the tip of a Phillips screwdriver to push the hinge pin
out of the inner panel hinge.
2
Remove the inner panel hinge leaf from the unit.
3
Use a Phillips screwdriver to remove the countersunk
screws that hold the inner panel hinge to the frame.
Ceiling-Mounted Hood
Install the Inner Panel Magnet (continued)
service.subzero.com
828149 REV. A
4


