19
INSTALLATION MANUAL
AIR HEATER TYPE DXC
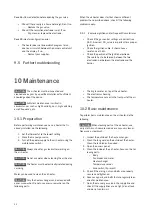
influence each other, always check both burner pressures
at least twice after any adjustment.
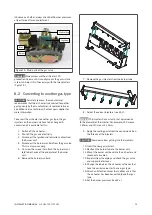
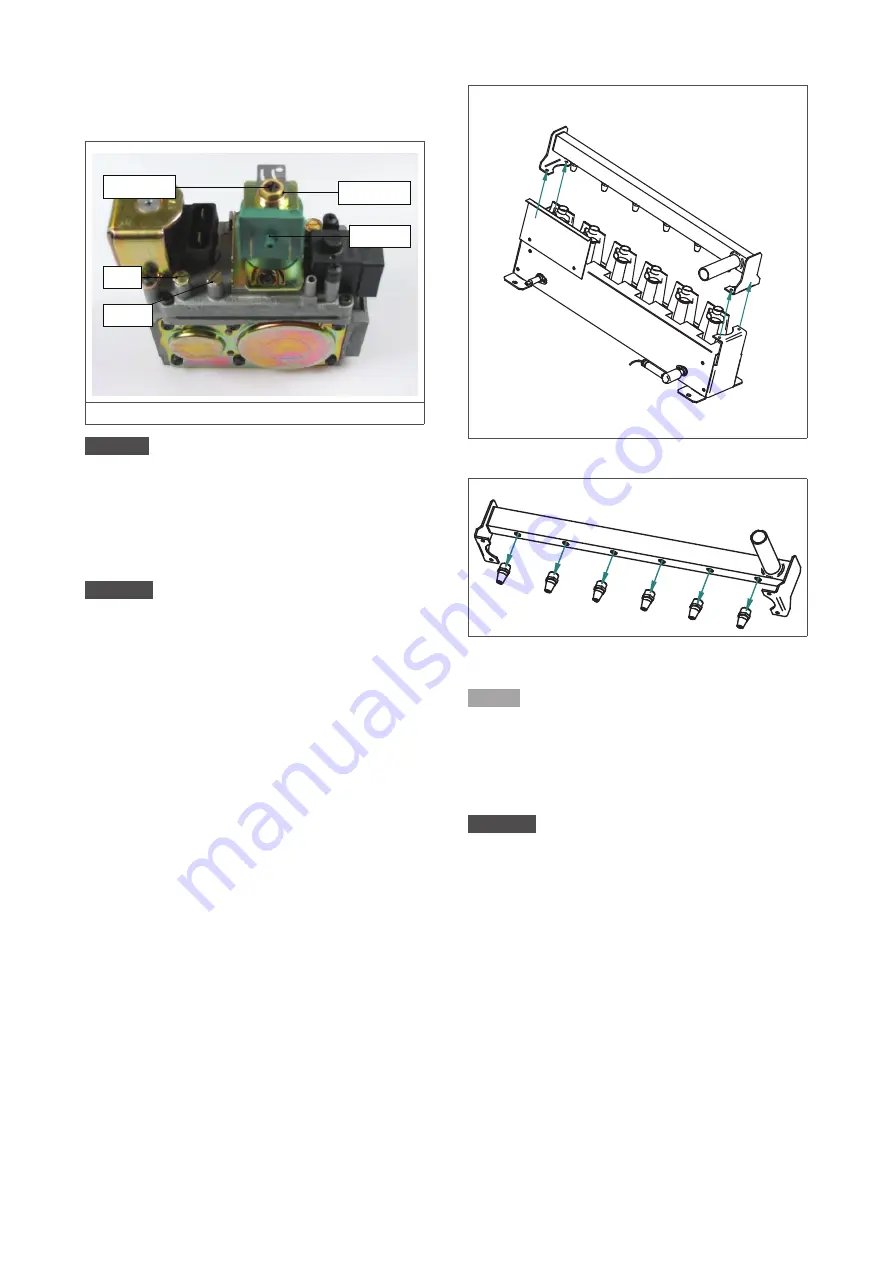
Inlet
Low setting
High setting
High/Low
Burner
Figure 19 - Main parts of the gas valve
DANGER!
Always measure the air heater’s CO
production. Too much CO usually means the gas mixture
is too rich. Adjust this if necessary with the two adjusters
(figure 19 ).
8.2 Converting to another gas type
CAUTION!
For safety reasons, the manufacturer
recommends that the air heater is converted to another
gas type only by the manufacturer, its representative or
a qualified service technician. Contact your supplier for
more information.
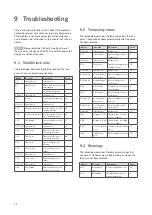
To convert the air heater to another gas type, the gas
injectors on the burner unit have to be changed. A
conversion kit is available for this:
1. Switch off the air heater.
2. Shut off the gas and electricity.
3. Disconnect the ignition and ionisation cables from
the burner unit.
4. Disconnect the burner manifold from the gas valve.
This is a clamp coupling.
5. Unscrew the screws that attach the burner mani-
fold to both ends of the endplates of the burner
unit.
6. Remove the burner manifold.
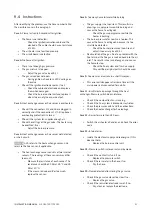
7. Remove the gas injectors from the burner tube.
8. Select the correct injectors (see §3.2).
NOTICE
The injectors have a stamp that corresponds
to the diameter of the injector. For example, 130 means
1.30mm and 210 means 2.10mm.
9. Apply the sealing paste from the conversion kit on
the threads of the injectors.
CAUTION!
Avoid paste from getting into the injectors.
10. Insert the new gas injectors.
11. Reattach the burner tube to the burner unit.
12. Mount the burner unit back into the air heater and
reconnect all cables.
13. Expel air from the piping and check the gas valve
and supply line for leaks.
14. Change the labels on the air heater with ones that
have the correct values for the new gas type.
15. Attach an Attention sticker that notifies users that
the air heater has been converted to another gas
type.
16. Set the burner pressures (see §3.2).

