20
PRINTING AND REMOVING MODELS
5.3 Removing 3D Objects from the Bed
Once the ModelMaker has completed printing your 3D printed
object follow these steps to remove it from the print bed.
1. Turn OFF your 3D printer and wait for the extruder to cool.
2. Remove the model and lift the magnetic print mat from the
print bed base.
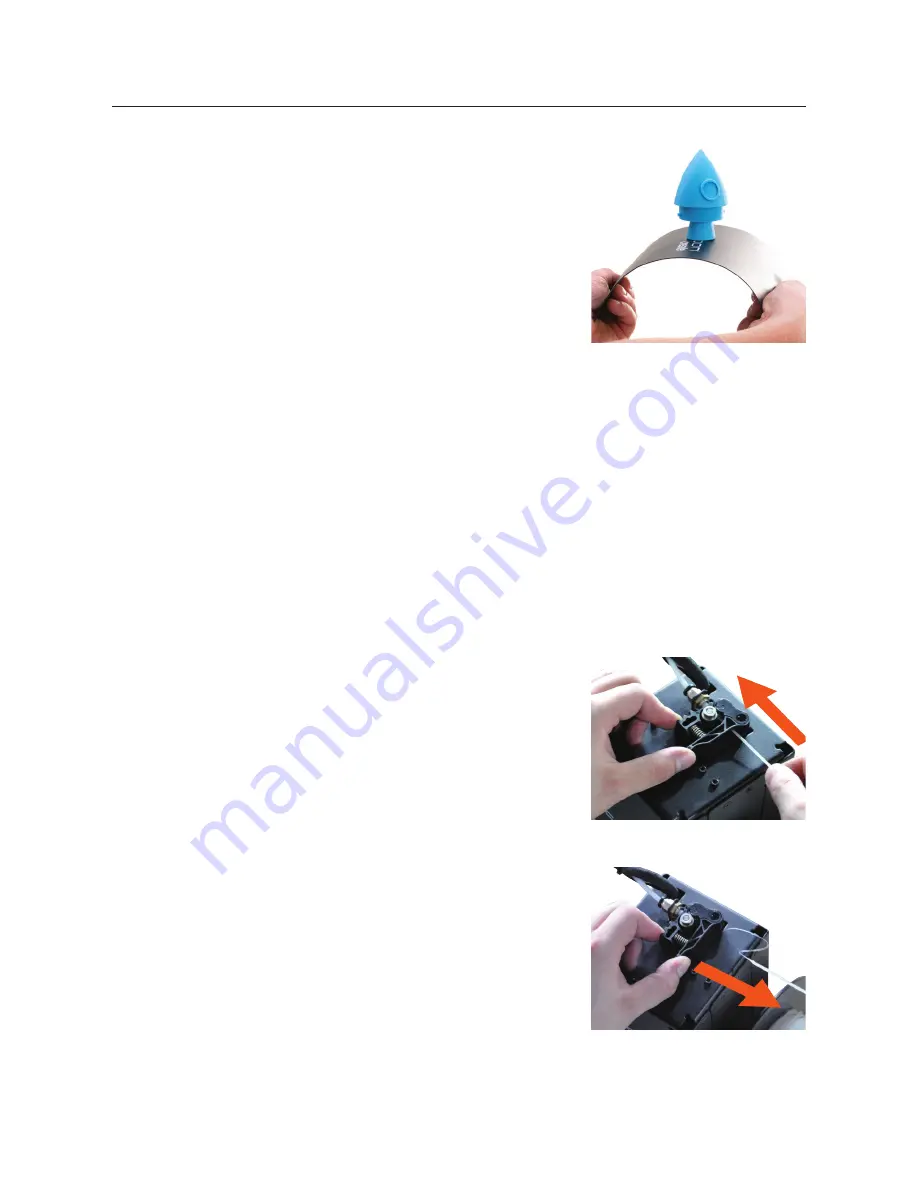
3. Slowly and gently bend the sides of the magnetic mat down
to raise the centre of the mat. This will allow the object to
slowly peel away from the mat.
4. In the vast majority of cases, this will negate the need to use a scraper to dislodge your model.
5. Alternatively, you may also use the supplied scraper to remove the 3D object. Carefully
‘wedge’ the scraper under one of the edges of the 3D object. Take care to keep the scraper
flat with the print bed to prevent damaging the print mat. As one edge begins to lift, gently
manoeuvre the scraper forward to continue to ‘wedge’ between the 3D object and the print
bed
6. Once the 3D object has fully separated from the print bed, it is safe to remove
7. Replace and centre the magnetic mat on the print bed once the model is dislodged.
8. Clean the magnetic bed.
NOTE:
• Always take care when using the scraper. Never use excessive
force or scrape towards your hand. Scrape away from the body
and keep hands clear to prevent injury
• Always keep the scraper as level as possible. Scraper can damage
the print mat if not used correctly
• Removing a 3D object, particularly one with a large surface size,
can be a long process. Never rush when removing a 3D printed
object
TIP:
If you are persistently having trouble removing 3D printed
objects, try the following:
• Use a layer of blue masking tape (designed to not leave behind
residue) on the print bed. Be sure to remove and replace after
each print
• Check if the printing mat is damaged and replace if needed
• Replacement mats can be purchased at
www.cocoonproducts.com.au/
Summary of Contents for Cocoon Create Model Maker HE170703
Page 1: ...MODELNUMBER HE170703 INSTRUCTIONMANUAL VERSION 1 ISSUED 03 07 18...
Page 2: ......
Page 37: ......
Page 39: ......
Page 40: ......


