


after starting the camera in SETUP mode). After entering the SIM pin code once, the
camera will not ask for the SIM pin code next time. If this function is greyed out in your
camera menu, this means that there is no SIM pin code on your SIM card.
GPS:
Here you can turn the GPS function
ON
or
OFF
. The camera can determine its
location quite accurately based on the network signal from multiple cell towers in the area,
and this GPS location can then be stored in the metadata of the captured images. However,
it is not possible to use this feature to find out where your camera is if it is stolen, for
example, because the GPS location determination and transmission only takes place when
the camera is switched on and an email is sent to your account. There is no chance that
someone who stole the camera would leave it on with your email address in it as the
recipient of the images. In addition, turning this feature on uses more batteries than
turning it off.
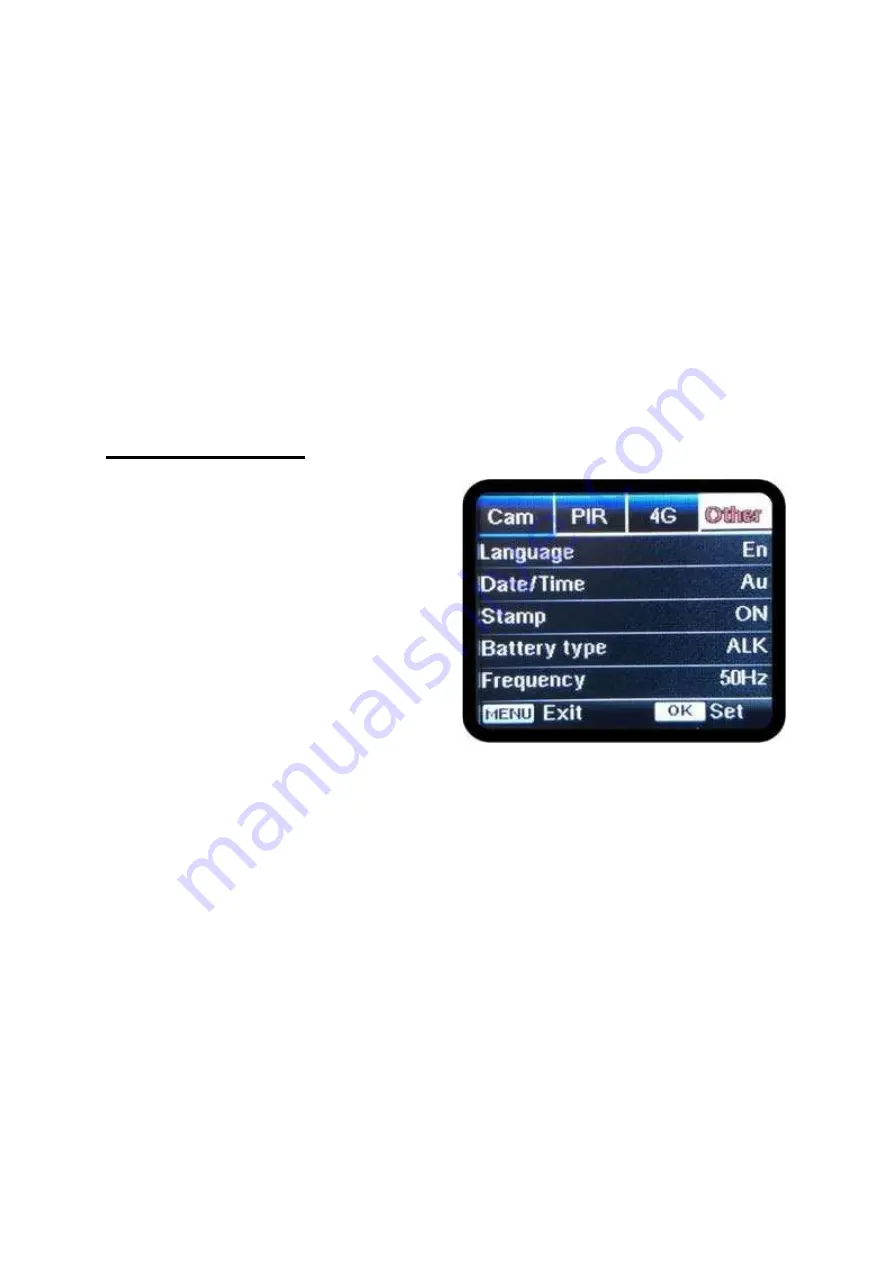
Tab: OTHER
Language:
Here you can set the language of
the camera menu.
Date/time:
Here you can set the date and
time manually or automatically. If you choose
Automatic
, the camera will automatically
synchronise the date and time with the data
sent by the mobile network every time it is
switched on. You still need to indicate in which
time zone you are (for the Netherlands this is
"
+ 01:00
"). If you choose
manual
, you can
configure the date and time manually here.
Please note that in this case, the camera does
not adjust itself according to summer and winter time.
Date format:
Here you can select how you want the date to be displayed, you can choose
from YYYY/MM/DD (CN), MM/DD/YYYYY (US), EN DD/MM/YYYY (EU). The EU format is our
standard.
Stamp:
Here you can turn the information bar that normally appears at the bottom of each
photo
ON
or
OFF
. When it is
ON
, the following things will be shown on the photos/videos:
camera ID, moon phase, temperature, date and time.
Battery type:
Here you can specify the type of batteries you use. You can choose from
ALKALINE/LITHIUM
or
NIMH rechargeable
. Because NiMH rechargeable batteries
(e.g. our Panasonic Eneloop and Eneloop Pro batteries) have a lower voltage than non-
rechargeable alkaline and lithium batteries, this setting ensures that the camera displays
the battery percentage as accurately as possible. By choosing this setting correctly, the
camera will therefore work optimally.
Frequency:
Here you can set the frequency of the monitor in the camera, you can choose
between 50Hz and 60H z. The default is 50Hz.


