Automated Pet Care Products, Inc.
40 W. Howard, Suite B-5, Pontiac, MI 48342
Toll Free: 877-250-7729 Fax: 248-253-1797
www.Litter-Robot.com
10
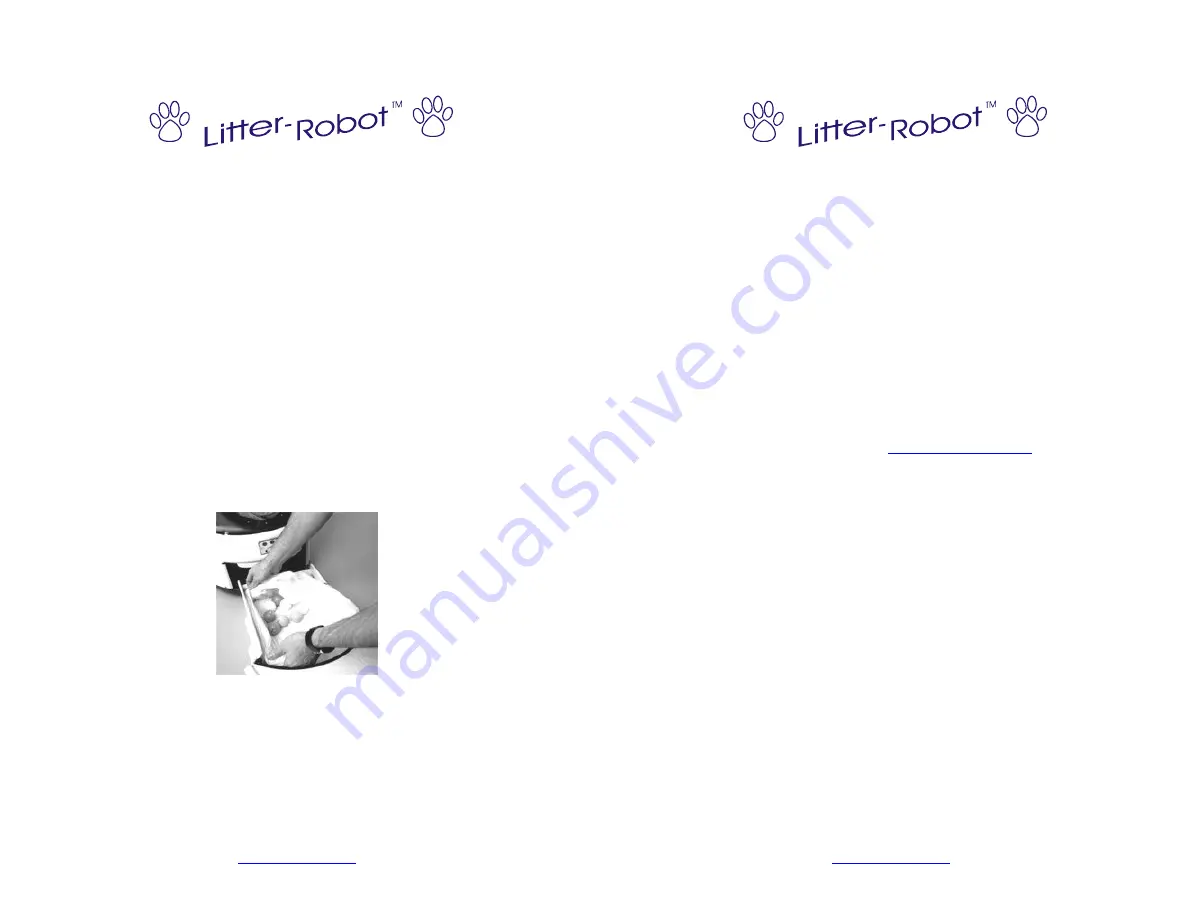
Installing Garbage Bags in the Waste
Drawer
Your Litter-Robot is shipped with a 13 gallon trash bag
already installed in the waste drawer - two extra trash
bags have been provided. The standard 13 gallon bags
were chosen for their size, availability, and low cost.
Standard 8 gallon trash bags also work well.
To install a 13 gallon trash bag in the waste drawer,
open the bag and slide the rim of the bag behind the
four mounting clips in the drawer. Make sure that the
opening of the bag is taut and that it covers the entire
perimeter between the four mounting clips.
Automated Pet Care Products, Inc.
40 W. Howard, Suite B-5, Pontiac, MI 48342
Toll Free: 877-250-7729 Fax: 248-253-1797
www.Litter-Robot.com
11
Filling the Litter-Robot with Litter
The Litter-Robot litter sifting system requires a clumping
type litter to work properly. Clumping clay litter is
recommended. This type of litter will have the words
“clumping” or “scoopable” on the bag or container. The
Litter-Robot is also compatible with World’s Best Cat
Litter, Litter Pearls, and crystals. Litters that do not
work in the Litter-Robot are the strictly absorbent clay-
based, non-clumping litters, newspaper based litters and
Feline Pine. If you are using a litter alternative not listed
here, you can contact us at
to
make sure you are using a compatible litter.
If you are filling the Litter-Robot for the first time we
recommend that you do not switch litter brands at this
time. Your cats need to get used to this new litter box
and introducing a new kind of litter may increase their
level of apprehension. However, if you are currently
using a non-clumping litter you will need to switch to a
clumping style litter.
To fill the Litter-Robot with litter, follow these steps:
1.
Make sure the Litter-Robot power cord is plugged in
and that the Globe is in the home position.
2.
Litter can be added to the Globe in two ways:
•
Filling through the entrance opening (Step 3)
•
Filling through the square waste ports (Step 4)


