ST-1100
Link: https://help.wextelematics.com/installation-guide/st-1100/ Last Updated: January 23rd, 2017
Copyright ©2021 Wex Telematics
Page 4 of 6
Clean the area with the supplied alcohol pads, and wipe with a clean rag.
3.
Apply 3M Primer to the surface and allow to dry.
4.
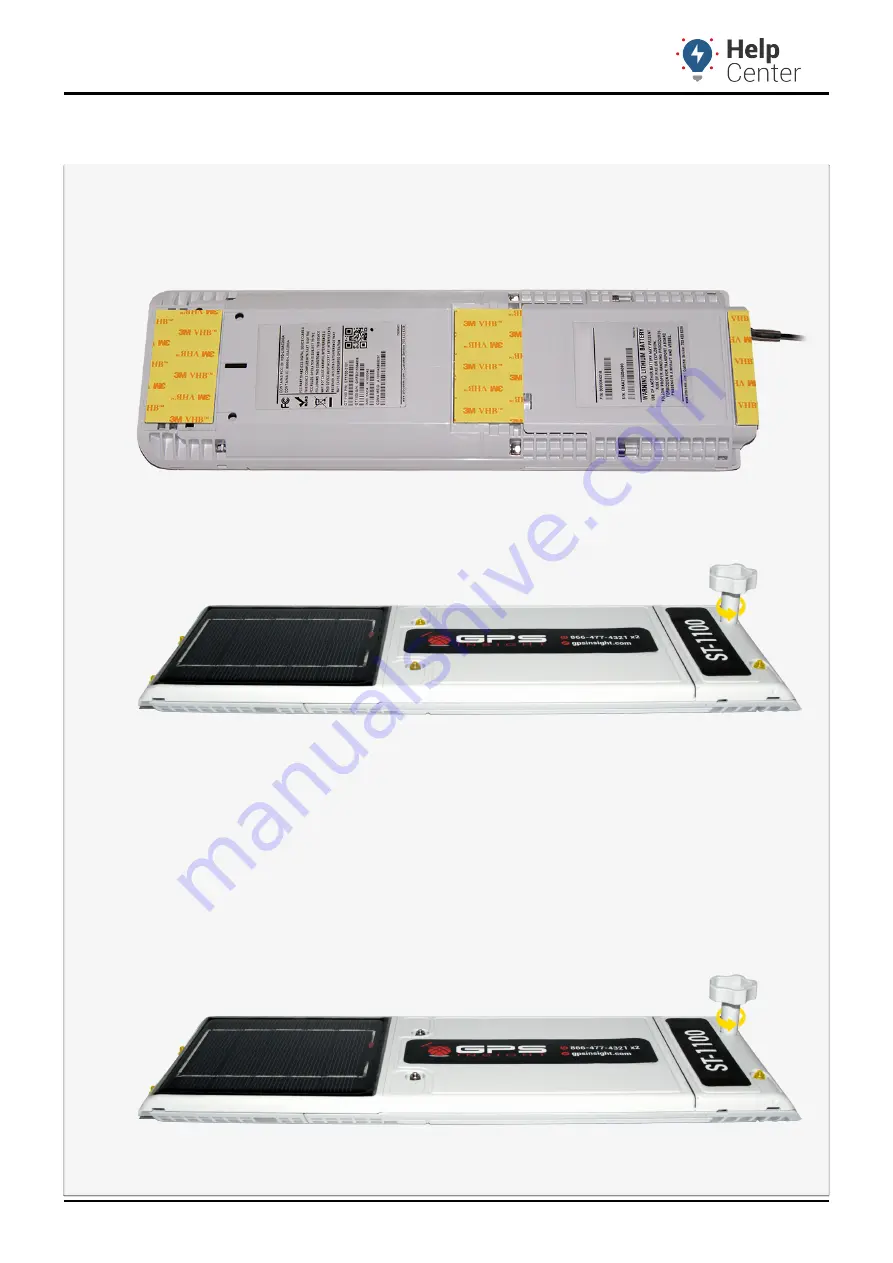
Remove the backing tape from the bottom of the studded brackets and lightly press the device in
5.
the desired location.
Using the supplied plastic nut wrench, remove the six nuts and remove the device from the
6.
studded brackets, and then apply firm pressure to each of the studded brackets for at least 60
seconds.
Place the device back on the studded brackets, and secure all six nuts.
7.
Plate Mount
This mounting method does not require the use of the device tether. The tether should be removed and
stored for future use.
Using the supplied plastic nut wrench, remove the two nuts at each end of the device and separate
1.
the brackets from the device.
Match the smaller mounting plate (mounting plate A) with the smaller studded bracket (studded
2.
bracket A), and the larger mounting plate (mounting plate B) with the larger studded bracket


