ST-1100
Link: https://help.wextelematics.com/installation-guide/st-1100/ Last Updated: January 23rd, 2017
Copyright ©2021 Wex Telematics
Page 1 of 6
The installation kit contains a registration card, the ST-1100, three 5/16″ (8mm) self-tapping screws, one
abrasive pad, two alcohol wipes, one 3M Primer stick, one plastic nut wrench, and two mounting plates.
Additional tools and supplies that you may need include a cordless drill, 1/8″ (3mm) drill bit, 5/16″ (8mm) nut
driver drill attachment, silicone, clean rag, and an extension ladder.
Note.
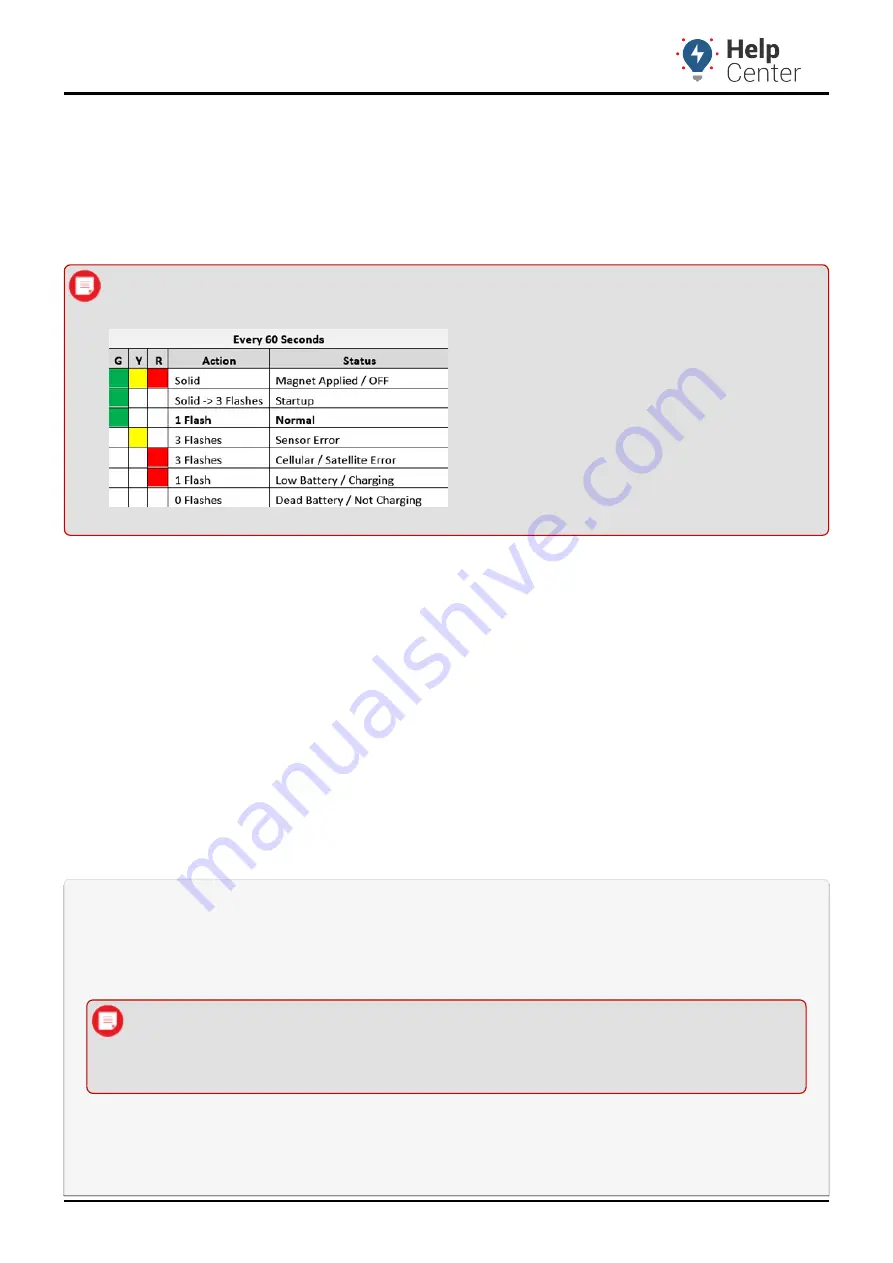
Devices that are not installed within 30 days of purchase should be recharged prior to
installation. If your device has light indicators, assess prior to installation.
Installation Overview
The following steps provide an overview of the installation process:
Install preparation.
1.
Determine mounting location.
2.
Device installation.
3.
Verify the installation.
4.
Installation Steps
1. Install preparation.
Complete the registration card by locating the thirteen-digit serial number on the bottom of the device
and copying the nine numerical digits onto the card.
Note.
Be sure you write down the correct serial number (GT-1100 S/N), as there are two
serial numbers listed on the back of the device.


