


2-5
2.3.2 Operating system installation
1.
Connect the power to DC/DC adapter, and connect the power cord to the DC
power inlet.
2.
Press the power on switch to start the
VMT12
.
3.
Press “DEL” to enter the CMOS setting and check the BIOS setup.
4.
You may install your own O/S if it is not installed.
5.
When installing O/S for the
VMT12
, please follow the steps and use external
equipment as Keyboard and Mouse.
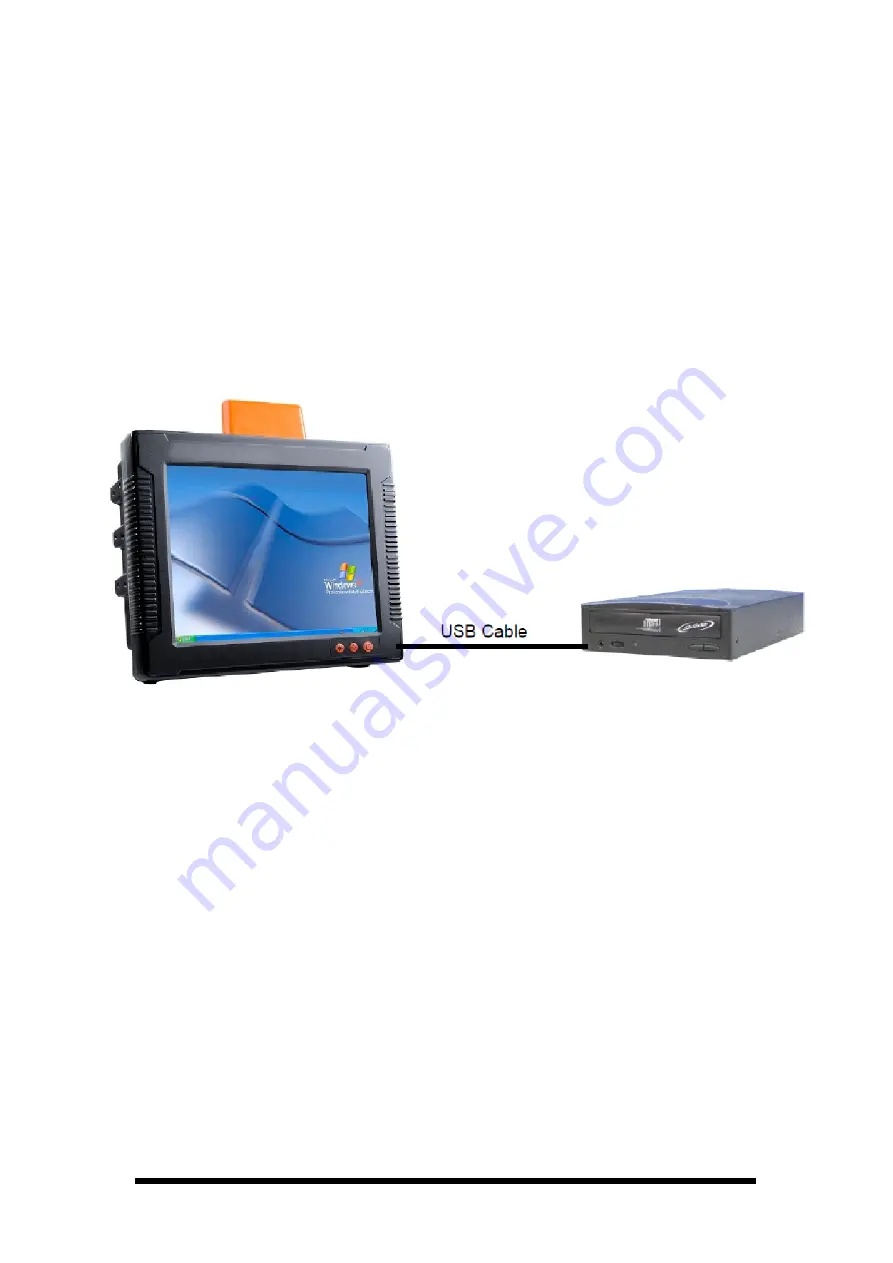
6.
Please use external USB DVD-ROM to run the O/S and Driver setting (as
picture showed below).
Figure 2-6 Operating system installation
2.3.3 Driver installation
The
VMT12
comes with a User’s Manual and Driver CD that contains most of the
drivers and utilities of your needs.
1.
Following the step by step to install Driver (Please refer Vehicle
Terminal
à
VMT12
à
Driver) include: Graphic, Chipset, VGA, Audio, LAN and
Touch Panel.
2.
Following the step by step to install the driver of WIFI, Bluetooth and WCDMA
if necessary
Summary of Contents for VMT12
Page 1: ...VMT12 User Manual Rugged Vehicle Mount Terminal...
Page 4: ...5 3 3 SUSI Utilities 45 5 3 4 SUSI Installation 46 5 3 5 SUSI Sample Programs 48...
Page 39: ...2 30 2 4 7 Help To tap can get help information for each program...
Page 49: ...10 3 3 2 Board Dimension Figure 3 3 Board Dimension layout Component side...
Page 50: ...11 Figure 3 4 Board Dimension layout Solder side Figure 3 5 Board Dimension layout Coastline...
Page 58: ...19 4 3 5 ACPI Settings Figure 4 8 ACPI Settings...
Page 75: ...36 4 7 Advanced Chipset Settings Figure 4 23 Advanced Chipset Settings...


