8
│
WMV911 USER MANUAL
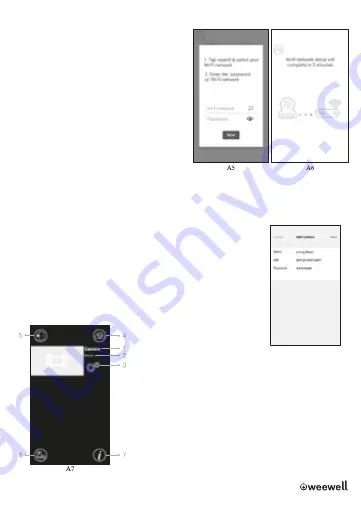
7. The camera will scan for available WiFi networks in
range. Select your WiFi network, and enter the
password of your WiFi router if necessary. (See A5)
a. If you select “Yes”, the camera will scan for available
Wi-Fi networks in range. Tap the name of your Wi-Fi
network, and enter the password of your Wi-Fi router if
necessary. Then the first-time setup is done.
Note:
Please make sure you enter the correct
password of WiFi network otherwise connection error
may occur.
b. It will take a few minutes for the camera to connect
to your WiFi network. Tap camera on the list to watch
live video. (See A6-A7)
Note:
If your monitor is on, the monitor will disconnect
and back in 10 seconds.
Android:
The APP will automatically search for
camera. Wi-Fi network otherwise connection error may
occur.
b. It will take a few minutes for the camera to connect
to your WiFi network.
Tap camera on the list to watch live video. (See A6-A7)
Note:
If your monitor is on, the monitor will disconnect
and back in 10 seconds.
UID
Once the camera is connected to the Wi-Fi router with Internet
access. The other smartphone/tablet can add the camera by UID and
password. Refer to the steps as below.
a. Tap “Add camera by unique ID” icon
b. Input the camera name UID (14 characters) and password you
assigned, then Save it. ( See U1)
U1
Camera List
1.
Camera’s name
2.
Connecting status
3.
Setting
4.
Refresh
5.
Quit
6.
Add camera
7.
APP information


