


F1505068
55L51D
W
-BOX 英文说明书(美洲 )(MSD 3393方案) T8大板
10
General Operating Instructions
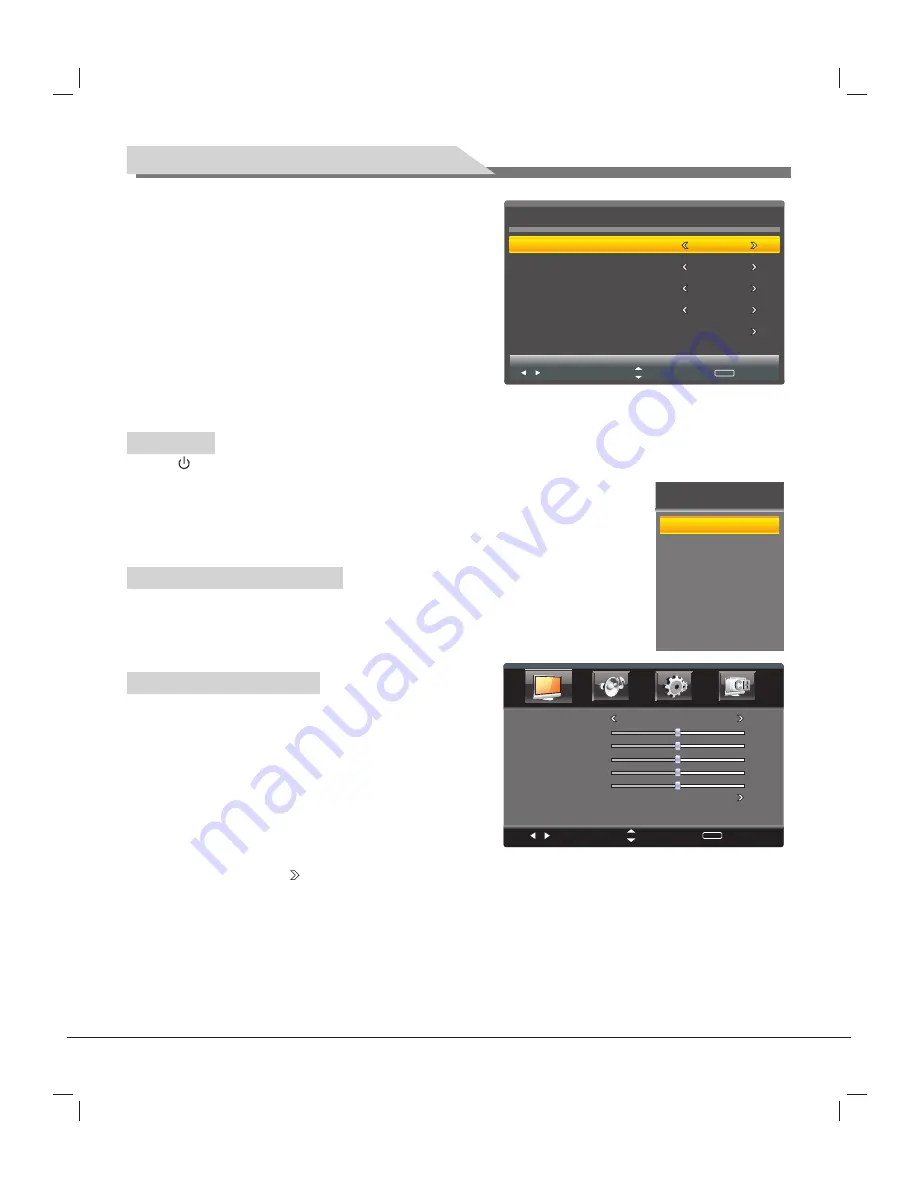
Menu Language
Time Zone
DST
Antenna
Auto Scan
Select
Move
MENU
Exit
English
Pacific
Off
Air
Setup Wizard
Standby
Signal source selection
INPUT SOURCE
TV
AV1
AV2
YPBPR
PC
HDMI1
HDMI2
HDMI3
2.
Time Zone:
Press [
t
] and [
u
] on the remote control or
[
VOL-
] and [
VOL+
] on the panel to select your time zone,
and then press [
OK
] to confirm your selection and enter
the next item "DST."
3.
DST
: Daylight Saving Time, press [
u
] on the remote
control to select from On/Off to enable or disable daylight
saving.
4.
Antenna
: Press [
u
] to select the TV receiving mode from
Air/Cable repeatedly.
5.
Auto Scan
: Auto channel scan selection. Press [
u
] on the
remote control to enter the auto channel scan page and
start scanning. You can also press [
EXIT
] to skip this operation and exit this page. Refer to the section TV
for detailed operation steps.
Press [ ] on the remote control or on the panel to enter the standby state.
★
Special Attention
1. If there is no signal input after turning on the TV, the system will automatically enter
the standby state a few minutes later.
2. If you are not going to use the TV soon,press the power button to turn
off the power.
Press [
SOURCE
] on the remote control or on the panel to enter the menu "Input
Source". Press [
▲
] and [
▼
] on the remote control or [
CH+
] and [
CH-
] on the panel to
select a signal source, and then press [
OK
] on the remote control to enter the signal
input source you've selected.
Select
Move
MENU
Return
Picture Mode
Contrast
Brightness
Saturation
Sharpness
Advanced Video
Tint
Personal
5 0
5 0
5 0
5 0
5 0
OSD menu operation
Press [
MENU
] on the remote control or panel to display the
main menu:
1. Press [
t
] and [
u
] on the remote control or [
VOL-
] and
[
VOL+
] on the panel to select a functional menu.
2. Press [
▼
] on the remote control or [
CH-
] on the panel to
enter the functional menu.
3. Press [
▲
] and [
▼
] on the remote control or [
CH+
] and
[
CH-
] on the panel to select an adjustment item from the
functional menu.
4. Press [
t
] and [
u
] on the remote control or [
VOL-
] and [
VOL+
] on the panel to change the analog value.
When there is an icon " " on the screen, you can press [
u
] on the remote control or [
VOL+
] on the panel to
enter the next sub-menu or press [
MENU
] to exit the current menu.
5. No matter which menu you have chosen, you can press [
MENU
] to exit the current menu, press [
EXIT
] to
exit the entire menu, press [
SOURCE
] to display the menu "Input Source", and then press [
SOURCE
] to exit
the menu "Input Source."
6. In menu operation, each disabled option will be automatically hidden with a purple icon. When you change
the OSD menu setting value, the new setting value will automatically take effect upon the disappearance of
the menu even if you do not press the relevant key to exit the OSD menu.
7. The operating instructions provided in this User's Manual for the menu "Picture," "Sound," "Setting" and


