background image

MAIN MENU

MAIN MENU

21

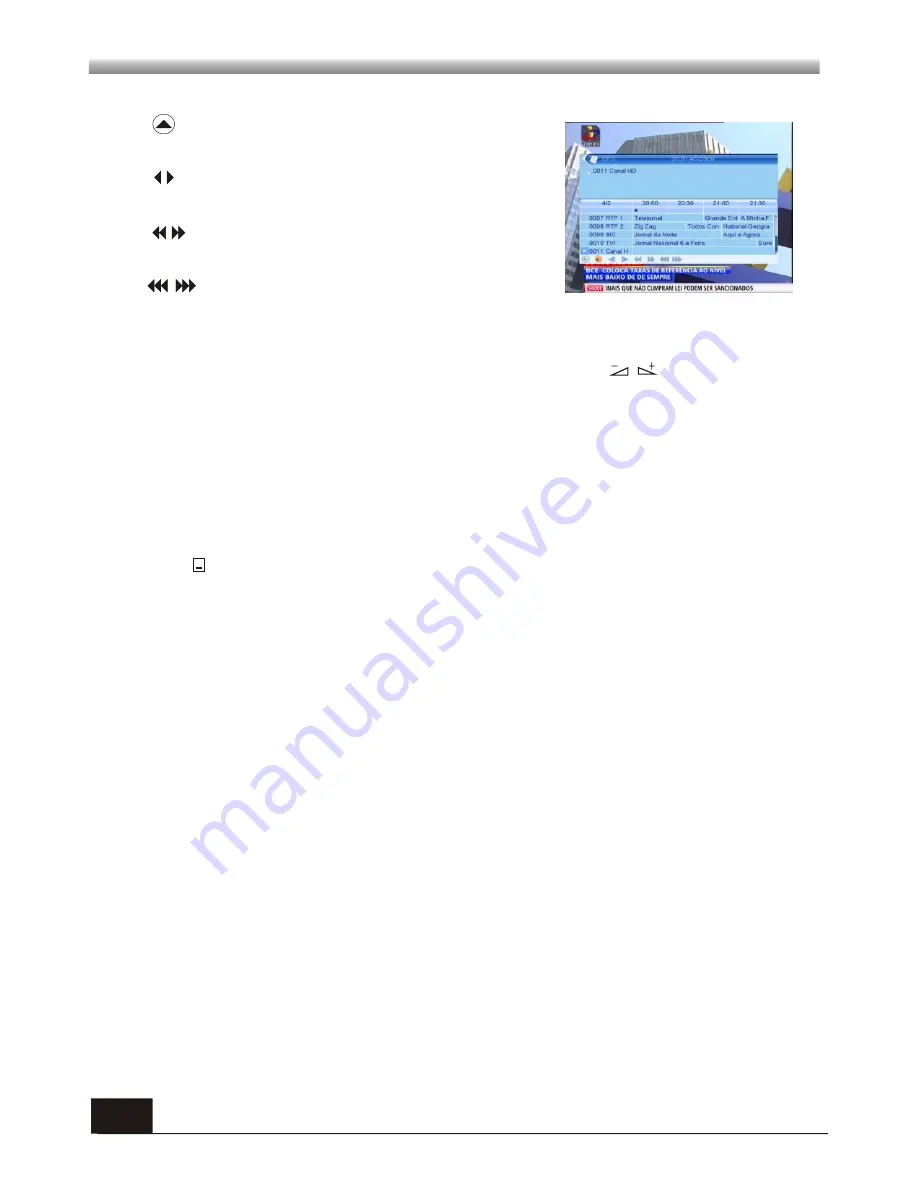
       : Press 

OK 

key at this button to move the 

cursor to the current time line.

        : Press  

OK

 key to push the time forward or 

backward by half an hour.

         : Press 

OK

  key to push the time forward or 

backward by 2 hours.

          : Press 

OK 

key to push the time forward or 

backward by a day. From the current day, you can 

switch among  the future 7 days in circle.

4. 

Press 

green 

colour key to enter into the 

Timer 

window.  You can add the current 

program to the Timer. If 8 timers  is already, system will inform "Timer is full!'.

3. Detail Information:

 In the 

EPG 

window, press 

PR+, PR-

            keys to select 

the channel and program, and press 

OK 

key to know the detail information of the 

current program.

Press       key to open the subtitle window on the screen. 

7.14  Subtitle

Summary of Contents for HD-95

Page 1: ...ALLATION P1 P5 P8 MAIN MENU Main Features For your Safety Unpacking General Operation RCU P1 P2 P3 P3 P4 1 Edit Channel 2 Installation 3 System Setup 4 Tools 5 Game 6 REC 7 Hot key P8 P11 P12 P14 P17 P18 P19 TROUBLE SHOOTING P22 P7 WELCOME PAGE ...

Page 2: ...ys Electronic Program Guide EPG Picture in Graphics PIG support 256 colors On Screen Display Channel search in automatic manual search Various channel editing functions favorite move lock rename and sort Parental control for channels Ease to use Menu System Software upgrades through USB port Time set by GMT offset automatic and manual Summer Time support Automatic turn on off by Timer setting mult...

Page 3: ...ains out of service for an extended period Do not touch the receiver during thunder since that might create electric shock hazards Do not block ventilation holes of the Receiver so that air can circulate freely Do not expose the receiver un der the sunlight And keep it away from the heat source Keep the receiver away from flower vases tubs sinks etc in order to avoid damaging the equipment To avoi...

Page 4: ...All functions can be carried out using the buttons on the RCU and some of the functions can also be carried out using the buttons on the front panel The receiver is easy to use always at your command and adaptable for future advances Please be aware that new software may change the functionality of the receiver Should you experience any difficulties with the operation of your receiver please consu...

Page 5: ...oup list Show information of the current channel Switch to teletext mode Moves up down a page in the list FAV INFO Executes the selected item in the menu screen or enters the desired value in any input mode When watching a channel change channels or move to the next higher or lower item in the menu When watching a channel adjust the volume or move to the left or right item in the menu Call up the ...

Page 6: ...e make the object as the standard Rear Panel Connecting to TV using SCART support CONNECT TO TV SET HDMI OUT INPUT POWER CABLE CONNECT TO DIGITAL AMPLIFIER DTR Antenna CONNECT TO TV USING ASCART CABLE TV SCART IN ANT IN CONNECTTO ANTENNA LOOP CONNECT TO ANOTHERRECEIVER ...

Page 7: ...Connecting to Digital Amplifier INSTALLATION INSTALLATION 6 The picture is only for reference please make the object as the standard R L SPEAKER DIGITAL AUDIO CONVERTOR OR AMPLIFIER SPDIF DTR Antenna ...

Page 8: ...welcome page like below Press keys to move the cursor to choose your choice Press PR PR keys to move highlight to select Region Display Mode Aspect Mode and language Press EXIT key to exit this menu Move highlight to OK option and press OK key to enter Auto Scan menu ...

Page 9: ...cates the playing program in the small window 1 1 TV Channel List 2 Press FAV key to move the FAV button upward Select the program and press OK key to pop up the favourite group list In the list select the group that you want to add into and press OK key and then you will find the favourite mark is displayed at the right side of the selected program Press FAV key again to exit from the fav mode an...

Page 10: ...e colour key to enter into the Edit channel window Press red colour key to pop up the Sort drop down list Name A Z The ascending order omitting the character the number is ahead then the capital letter at last the lowercase Name Z A The opposite order of the above Name A Z Free Scrabmle All FTA programs are listed ahead while all scrambled programs are listed last Lock all locked programs are list...

Page 11: ...h the deletion mark You can cancel this mark by pressing OK key again Press EXIT key to pop up the dialogue Are you sure to save Select Yes button and press OK key to save or select NO button and press OK key to exit without saving iii Delete blue colour key Move cursor to the Delete All item and press OK Key to pop up the dialogue Warning Do you really want to delete all channel Press EXIT key to...

Page 12: ... range of Ch Number is from 13 to 61 When scan band is VHF and region is China the range of Ch Number is from 1 to 12 It s according to region When you complete your configuration move highlight to search option and press OK key to start scanning Press EXIT key to exit the scanning and save the current parameters 2 3 Aerial Adjustment When you enter Antenna feeding the screen will display as besid...

Page 13: ...r 1 Region Select the region 2 GMT Usage Select between On and Off If select Off the GMT Offset and Summer Time item will turned gray 3 GMT Offset When select ON in GMT Usage item system will get the date and time information from the screen automatically Date and Time two items will turn grey Select the proper option in the GMT Offset item The default setting is GMT ON 4 Summer Time Select betwee...

Page 14: ...nput the valid date Duration Set the gap time After waking up system will power off automatically after the duration time Press MENU or EXIT key to save and exit Before entering into the Parental Lock window you need input the correct password The default password is 0000 1 Menu Lock Press keys to select between Off and On If select On you can not enter into the most sub menu before entering the p...

Page 15: ...ss EXIT key or key to move the focus to the left menu 4 Tools 4 1 Information When you enter Information menu you should see the screen like it displays on the right This screen displays receiver information You should press EXIT key to cancel this menu 4 2 Load Factory Setting If you choose Yes all the parameters of this receiver will reset to the default value Note Please use this function caref...

Page 16: ...File feature All code File named as abs Main Code File named as abs Radio back File named as abs the picture will be used as both radio back and menu back Default db File named as abs Select the upgrade mode and upgrade file then you can start upgrade by USB 4 4 S W Upgrade by OTA 1 Frequency Use numeric keys to input the proper value 2 Bandwidth Select among 6 7 8MHz 3 Down load PID Use numeric k...

Page 17: ...ey 1 to add all images to the Play List 3 Press INFO key to display the Setup window 4 Press FIND key to display the Sort window Function Key FAV Press FAV key add Play List Press FAV key to add the image or music to Play List Press OK on Play List button you can see the image or music you selected and in this list you can play and delete them Red key Playing the image in full screen Yellow key De...

Page 18: ...A Z The ascending order omitting the character the number is ahead then the capital letter at last the lowercase Name Z A The opposite order of the above Name A Z 4 7 Remove USB Device safely 1 Press OK key on Remove USB device safely it will pop up a dialog You can safely remove USB device now Press OK on Yes button to remove the USB device Setup Show Image Size Select between full and real Slide...

Page 19: ...e recorder in full screen as below picture 6 Press Pause key to pause Press Pause key repeatedly to realize the step function Press key to fast Forward or fast backward Press key to slow forward or slow backward 6 3 HDD Format Show you the information in windows as besides Press OK key on format button to format the disk 6 2 DVR HDD Information Show you the removable device information in windows ...

Page 20: ...nel in full screen 3 Press MENU or EXIT key to close this window 7 8OK Use the numeric keys 0 9 to input the number of the desired channel If the inputted number is beyond the valid channel number system will Invalid number and press OK key to close this message 7 1 Number In normal mode press TV RADIO key to switch between TV mode and Radio mode 7 2 TV RADIO Press PR PR keys to change the channel...

Page 21: ... keys to select up or down left or right 2 Press red colour key to pop up the Time Bar window Press PR PR keys to select up or down while press keys to select left or right in the time bar Press OK key at this button to return to the EPG window 1 Press key to enter into the Audio window 2 Press keys to select between Left Right Mono and Stereo 3 Changing the audio mode is only connected with the c...

Page 22: ...kward by a day From the current day you can switch among the future 7 days in circle 4 Press green colour key to enter into the Timer window You can add the current program to the Timer If 8 timers is already system will inform Timer is full 3 Detail Information In the EPG window press PR PR keys to select the channel and program and press OK key to know the detail information of the current progr...

Page 23: ...noise factor The antenna is faulty Change the antenna The picture is not displayed on the screen when switching on The system is connected by RF leads Check the UHF channel fixed in your system and tune the UHF channel properly The system is connected by RF leads and the output program of the receiver interferes with an existing terrestrial programs or Video signal Change the receiver output progr...

Reviews: