15
MAIN MENU
MAIN MENU
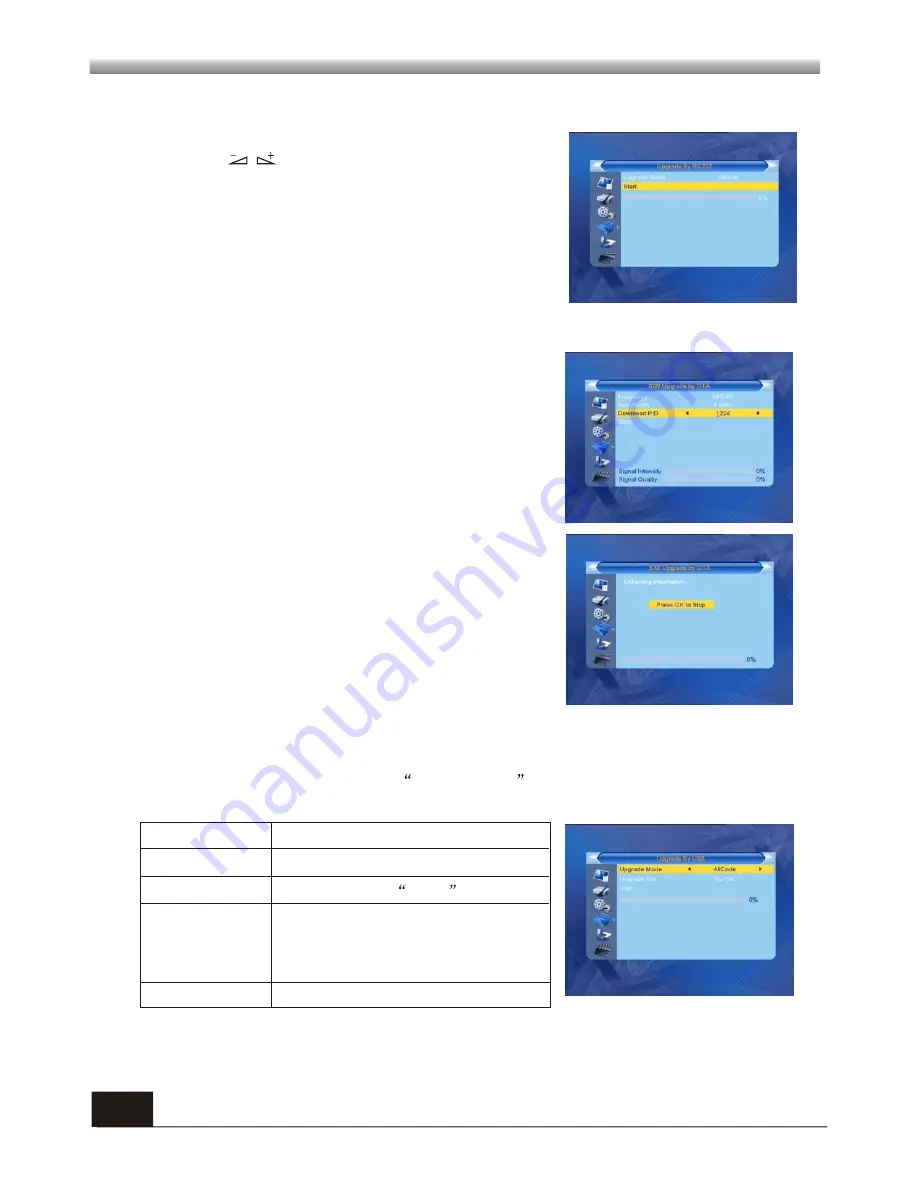
4.3 Upgrade By RS-232
1. Press keys to select among allcode,
m a i n c o d e , c a r d , R a d i o b a c k , k e y d a t e d e f a u l t d b ,
userdb. The default option is allcode.
2. Press OK key at the Start button to start checking
serial port.
1.Upgrade File: Show the Upgrade File.
2.Upgrade Mode: Select among AllCode, maincode, conaxca and radioback. When
users switch the upgrade mode,
Upgrade File
will show the corresponding file
according to the table below:
4.5 Upgrade by USB
3.Press OK key on start button to start receiving the data from USB device.
When the USB device is not connected, this item is grey, you can not edit it now.
Upgrade Mode File feature
All code : File named as "*.abs"
Main Code: File named as
*.abs
Radio back: File named as "*.abs", the picture
will be used as both radio back and
menu back
Default db: File named as "*.abs"
Select the upgrade mode and upgrade file, then you can start upgrade by USB.
4.4 S/W Upgrade by OTA
1. Frequency:
Use numeric keys to input the proper
value.
2. Bandwidth:
Select among 6, 7, 8MHz.
3. Down load PID:
Use numeric keys to input the proper
value.
3. Start:
Press
OK
key to start upgrading.
If no correct searching information, system will inform
"Collecting information". You can press Exit button to
return to the previous window.
System will start upgrading after collecting information
successfully. Press
OK
key at the Download button and
press
OK
key at the Burnflash button to start burning.
After booting, press
OK
key at the Reboot button to
reboot.


