background image

5

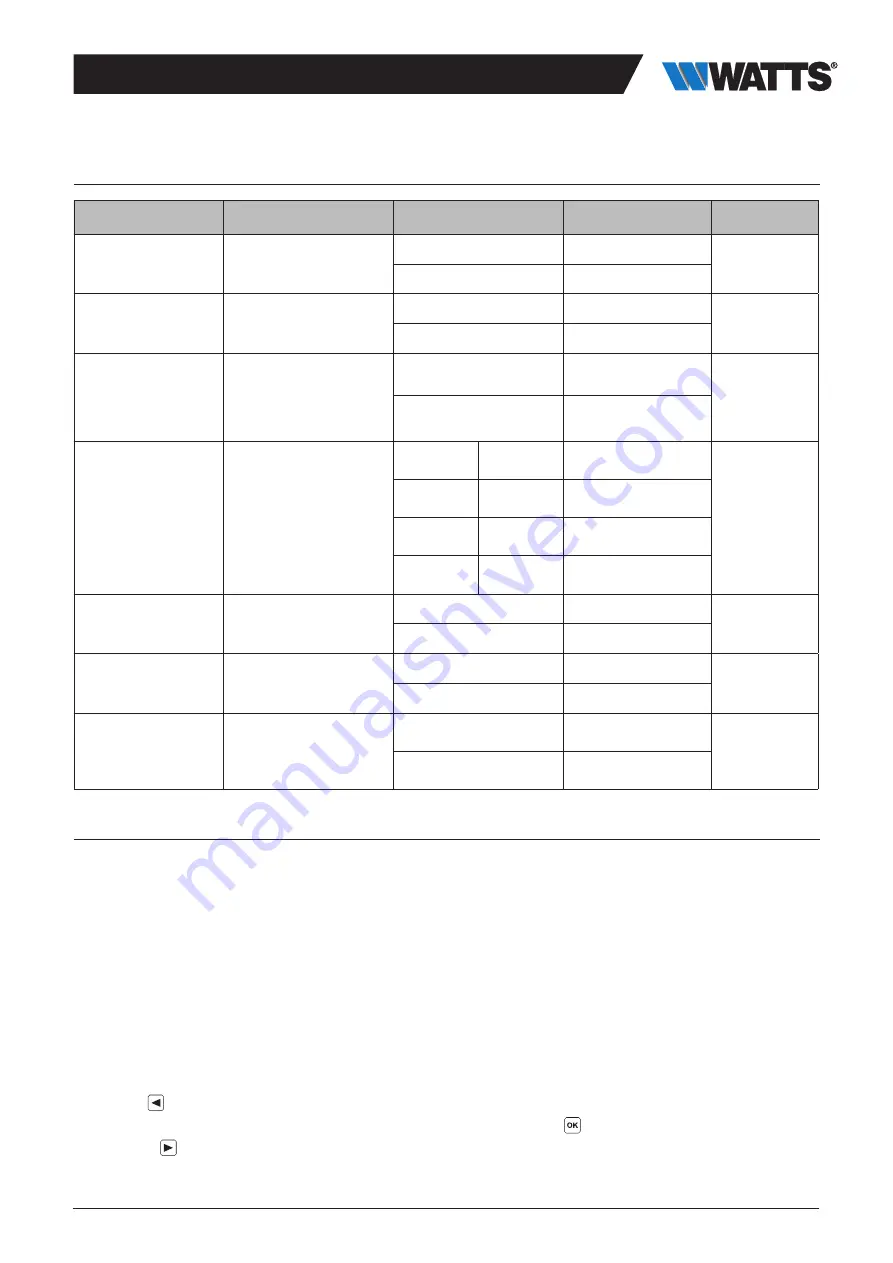
3.3 DIP switch configuration (In Orange)

DIP switch number

Function

Value (default: OFF)

Configuration

Description

DIP1

Controller function

OFF

Local Pump

See 4.3

ON

Global pump

DIP2

Actuator types

OFF

NC actuator

See 4.6

ON

NO actuator

DIP3

Pump start delay (for the 
first actuator in demand)  
and actuator stop delay 
(for the last actuator in 
demand)

OFF

2min/5min

See 4.3
and 4.6

ON

5min/5min

DIP4 and DIP5

H&C switch control

OFF

OFF

Central Unit
BT-CT02 RF

See 4.2

OFF

ON

Master thermostat 
BT-D03 RF

ON

OFF

WFC-03 HCM RF

ON

ON

WFC-03 HC RF

DIP6

Anti Grip

OFF

Enabled

See 6.1

ON

Disabled

DIP7

Humidity management

OFF

Safety approach

See 4.5

ON

Comfort approach

DIP8

Humidity sensor

OFF

ON/OFF sensor

See 4.5

ON

Pipe temperature 
sensor

3.4 USB stick

USB connectivity allows: 
    • To update the Software of the controller
    • To record data for system monitoring (datalog)

For the software update, please refer to wattswater.eu for getting the file, put the file on an USB stick. The name of the file should 
be WATnew.mot.
    • Insert the USB stick on the controller
    • Switch OFF/ON the controller
    • During update:
        . Green LED are power On from Z1 to Z6/Z10
        . All LED become red
        . Red LED are power Off from Z6/Z10 to Z1
    • After update, you can remove the USB stick

For trouble shooting, datalog is useful to record data on an ASCII file stored on the USB dongle for trouble shooting.
By pressing  

  for 5 seconds, the master goes in Features menu. The LED of the first zone blinks either in Red (Datalog is enable) 

or in green (Datalog is disable). You can enable or disable the datalog by clicking on  

.

Long press on     allow to leave the feature menu (Otherwise there is a timeout of 10s before leaving automatically the feature menu).

1 log file is created every 14 days. In the file, a record is made every 10min.

Summary of Contents for WFC-03 6Z HC RF 24

Page 1: ...wattswater fr WFC 03 6Z HC RF 24 WFC 03 6Z HC RF 230 WFC 03 10Z HC RF 24 WFC 03 10Z HC RF 230 Water Floor Controller Wireless Heating Cooling Installation manual...

Page 2: ...nfiguration 5 USB stick 5 INPUTS OUTPUTS 6 Power Supply 6 Heating cooling Input 6 Pump Output 7 Security input 7 Humidity detection input 8 NC NO actuators 9 External antenna 9 SYSTEM CONFIGURATION 10...

Page 3: ...ith existing regulations before operation to ensure proper use of the installation 2 Presentation The Connecting box WFC HC RF is especially designed to control your Under Floor Heating and Cooling sy...

Page 4: ...the system switches in Heating mode Pump Drier Led Green Blue Red Fix Green Pump is triggered Red blinking System error security detection humidity sensor error Blue blinking Global humidity detection...

Page 5: ...the Software of the controller To record data for system monitoring datalog For the software update please refer to wattswater eu for getting the file put the file on an USB stick The name of the fil...

Page 6: ...ostat in manual or automatic mode only one thermostat per installation If you have multiple WFC 03 HC RF in the system the H C mode should be controlled by only one controller Without central the syst...

Page 7: ...rity input should be used on a controller with a pump When the contact is opened The local pump output is stopped even if DIP1 ON i e global pump on the controller The actuators are closed The Pump Dr...

Page 8: ...module WFC 03 HCM RF to enable the global dehumidifier for at least 15min and up the disappearance of the alarm if no remote dehumidifier is available in the zone If the controller is a sub controlle...

Page 9: ...ation Many heat pumps have a built in turn off delay to avoid successive switch OFF ON In this case the heat pump continues to run for x minutes beyond the actual switch off time It is important to ke...

Page 10: ...sition indicator Already paired zone is fix green Thermostats Put product in RF pairung mode refer to corresponding instruction manual If RF pairing is done the LEDs of the zones selected on the WFC 0...

Page 11: ...03 HC RF BT WR02 RF Option WFC 03 HCM RF 230 Option BT A03 RF Device 1 Device 2 Remarks By pressing for 5 seconds the controller goes in RF pairing menu By using and select zone 3 Red led press to en...

Page 12: ...vice mode All LEDs are blinking red When RF pairing is done both WFC 03 HC RF return to pairing mode Exit of the controller pairing menu Long press on Device 1 WFC 03 HC RF Device 2 BT CT02 RF Remarks...

Page 13: ...oes in RF pairing menu By using and select zone 4 Red blinking led press to enter in dehumidifier Pairing mode Choose the zones with and Zones are defined by paired thermostat channels For example if...

Page 14: ...y input is opened If you not using a security thermostat make sure you have installed a strap on the security thermostat input Otherwise control the temperature of the pipe too hot in heating mode too...

Page 15: ...WFC 03 10Z HC RF 24 WFC 03 10Z HC RF 230 Electrical protection Class II with functional earth IP Protection IP30 Shipping and storage temperature 10 C to 50 C 14 F to 122 F Power supply 230 Vac 10 50H...

Page 16: ...ectromagnetic disturbance 2014 30 UE Restriction of the use of certain hazardous substances Directive RoHS 2011 65 EU Directive on the restriction of the use of certain hazardous substances in electri...

Page 17: ...ion sheet are supplied by way of information only and are not binding Watts Industries reserves the right to carry out any technical and design improvements to its products without prior notice Warran...

Reviews: