


14
Need help or have any questions? Call us at 1-714-963-0329 or send us an email to [email protected]
❑
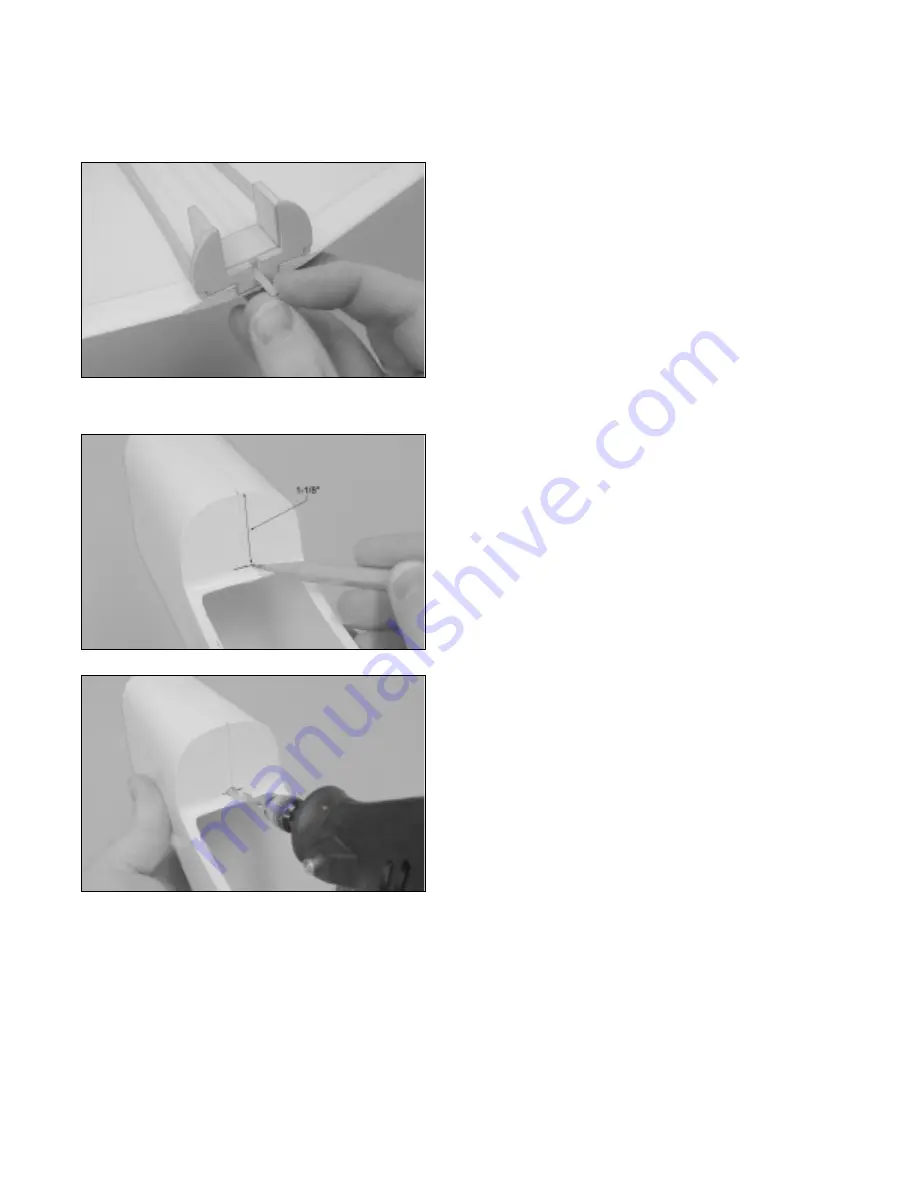
Test-fit the 30mm long fiberglass dowel into the hole. The
dowel should be pushed into the hole deep enough so that
3/8" of it is beyond the leading edge. It is also important that
the dowel be straight and not angled up, down or side to side.
❑
Using a ruler and a pencil, carefully mark the location of
the wing dowel hole at the front of the wing saddle. The hole
should be located on the centerline of the fuselage (the mold
seam) and 1-1/8" up from the bottom of the fuselage.
❑
Using the tip of your modeling knife, carefully make a
small pilot hole in the centerline of the fuselage at the mark
you drew.
❑
Using a 1/8" drill bit, carefully drill a hole through the
fuselage, using the pilot hole as your guide.
☞
When drilling the hole, try to drill it parallel with the
bottom of the fuselage.
❑
Place the wing into the wing saddle and push the trailing edge down firmly into place.
☞
Double-check that the dowel in the leading edge of the wing fully engages the hole in the fuselage. You may have to
push the wing forward firmly and/or make fine adjustments to the hole so that the front of the wing sets properly in the wing
saddle. It is normal for there to be a 3/32" or wider gap between the front plate and the fuselage. This will be covered up
by the belly pan when it is installed later.
❑
Carefully align the centerline of the wing, at the trailing edge, with the centerline of the fuselage (the mold seam).
❑
When satisfied with the alignment, glue the dowel into place using a generous amount of 5 minute epoxy. Remove any
excess epoxy using a paper towel and rubbing alcohol, and hold the dowel in place and aligned until the epoxy sets up.