http://www.wansview.com
Figure 6 network settings interface diagram
Operation Steps:
1) Click “Search (F3)
2) Choose
the
device
3) On” IP Config” area, make sure IP address – Subnet Mask – Gateway – DNS, the
same as the” Local PC Information” – only the red circle is different.
4) Click
“Update(F5)”
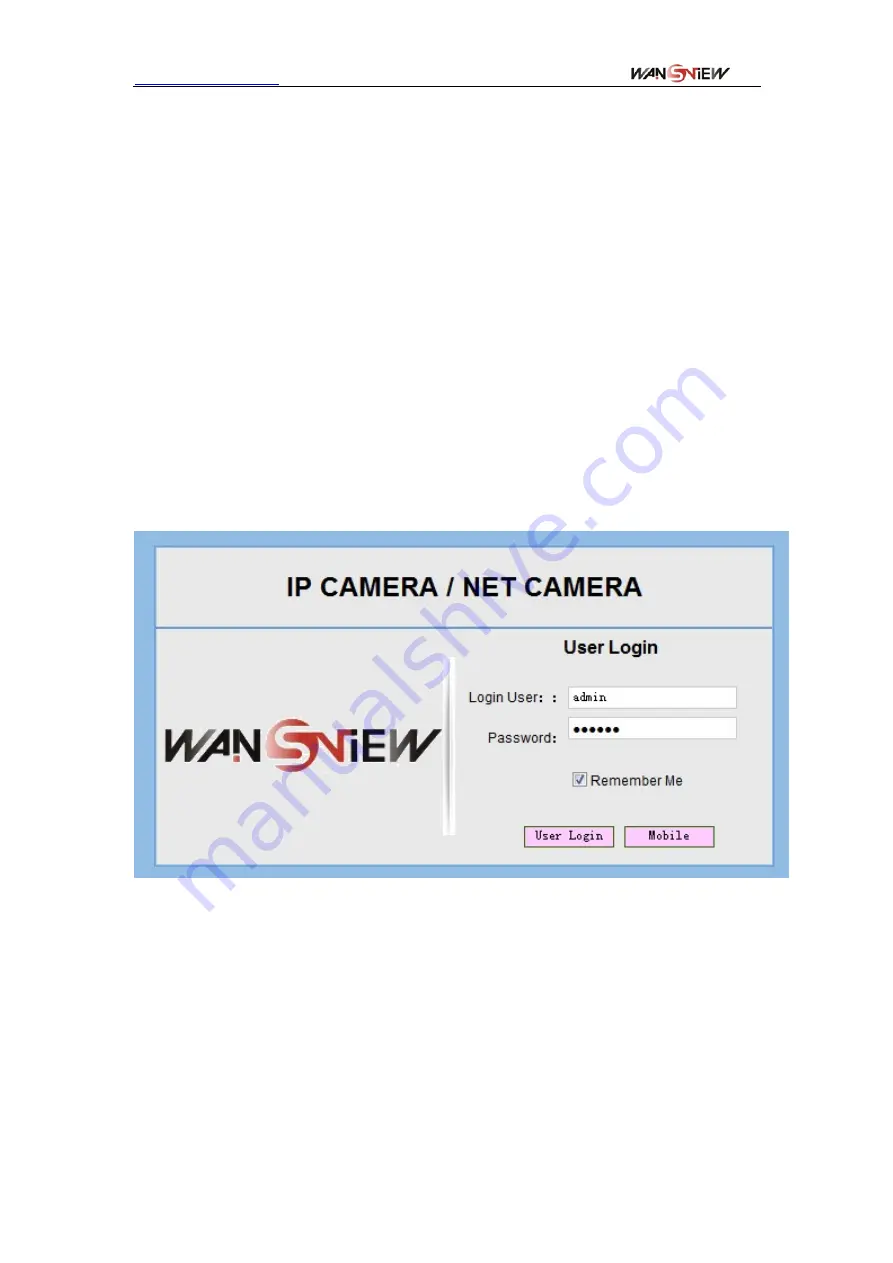
5) After successfully update, click “Search (F3)”, choose the device and click “Browse
(F4)”. Then you may view the IP camera, like figure 7.
NOTE:
1) On “Local PC Information” Area, if you PC have more than 1 network Adapter,
please chooses the one which you are using now.
2) If you have the firewall software in your PC, when run the B1Search_en.exe, it may
pop up a window to say “whether you want to block this program or not”, then you
should choose not to block.
3) The default IP address is assigned by DHCP and default http port is 80.
Figure 7 Video access
3.3 Visit IP Camera
Click the "Login" to access the video, Suggest use IE browser (which have more
function), but need to install video player. When first time use , in figure 8, click on the
link "Download and install OCX", will pop-up dialog box shown in Figure 9, Click run, the
player will automatically download and install.
8


