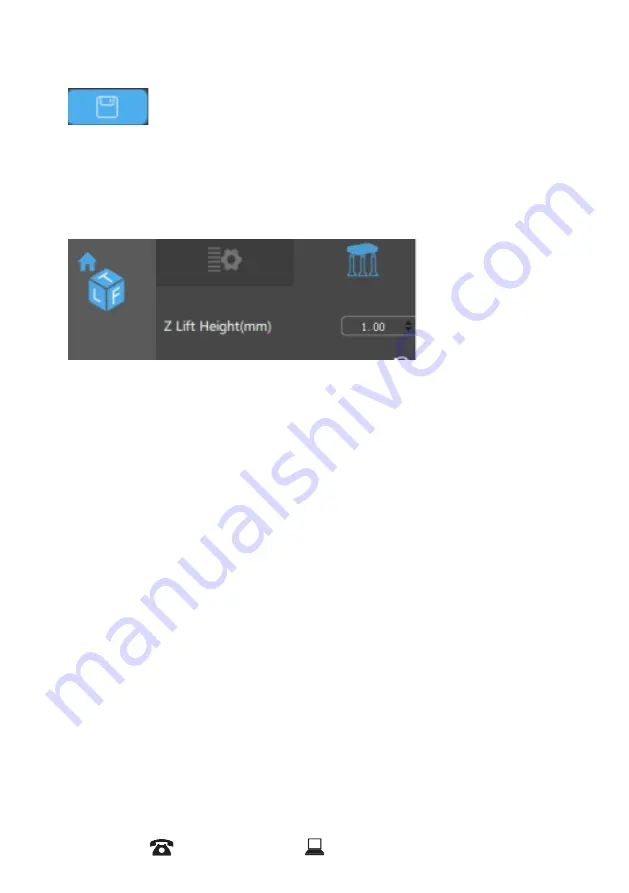
11. Save a Scene
12. Motor Control
Save File:
Click this to save the current object as a .STL file. The .STL
format can be used as a template for repeated use with supports and positioning
information pre-loaded. After models have been loaded and manipulated on the
build platform, the entire scene settings can be save in the .STL model for future use
in creating scenes with supports, slicing scenes, and loading without needing to re-
slice the object.
Control the motors of the printer from this screen. This will allow movement along
the Z-axis of the build base, as well as control of the LCD. The Z Rate value at the
bottom allows you to change the speed of progress, and is measured in millimeters
per minute.
13. Others functions
Wall Thickness:
This field is to set the thickness of each slice in mm. The default is
.05mm (20 slices per mm)
Bottom Layer Count:
This specifies the number of ‘bottom layers’ that receive the
longer exposure time.
Exposure Time Per Layer:
This time value specifies how long the projector will
display an image slice on a per-layer basis.
Bottom Layer Exposure Time:
In order to ensure the model is properly adhered to
the bottom of a vat, a longer exposure time can be used for a specified number of
bottom layers.
Light -Off Delay:
This setting can delay the UV led lighting before starting to print.
Bottom Light -off Delay This setting can delay the bottom lighting before starting to
print.
Lifting Speed:
When a layer is printed on a bottom up machine, a large amount of
force may be required to separate the slide from the vat. This speed indicates how
fast to perform the lift, a slower speed may be required to help vat separation.
Retract Speed:
After the lift occurs, this speed indicates how fast the z axis should
travel back to the initial start position.
AFTER SALES SUPPORT
86-571-63379578
25


