English
- 15 -
Channel
Channel can be changed by “ ” or “ ” button or
numeric buttons.
Colour System
Press “ ” or “ ” button to select Colour System. Use
“ ” or “
” button to change the colour system to PAL,
PAL 60, SECAM or AUTO.
Sound System
Press “ ” or “ ” button to select Sound System.
Press “ ” or “ ” button to change the sound system
to BG,DK, I, L or L’.
Fine Tune
Press “ ” or “ ” button to select Fine Tune. Press “
” or “
” button to adjust the tuning.
Search
Press “ ” or “ ” button to select Search. Use “ ”
or “ ” button to start programme searching. You can
also enter the desired frequency using the numeric
buttons while Search item is highlighted.
Store
Press “ ” or “ ” button to select Store. Press “ ”
or
OK
button to store the settings. “
Stored...
” will be
displayed on the screen.
Install Menu in AV Modes
The following screen appears in the install menu when
the TV is in AV modes. Note that limited options will
be available. Switch to TV mode for viewing complete
version of the
Install
menu.
Colour System
Press “ ” or “ ” button to select
Colour System
. Use
“ ” or “ ” button to change the colour system to
PAL,
SECAM, PAL60, AUTO, NTSC 4,43
or
NTSC 3,58.
Store
Press “ ” or “ ” button to select
Store Program
.
Press “ ” or
OK
button to store the settings.
“
Stored...
” will be displayed on the screen.
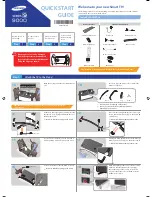
Program Table
Select
Program Table
by pressing “ ” or “ ”
button.
By moving the cursor in four directions you can reach
20 programmes in the same page. You can scroll the
pages up or down by pressing the navigation buttons
to see all the programmes in TV mode (except for the
AV modes). By cursor action, programme selection is
done automatically.
Name
To change the name of a programme, select the
programme and press the
RED
button.
The first letter of the selected name will be highlighted.
Press “ ” or “ ” button to change that letter and “ ”
or “ ” button to select the other letters. By pressing
the
RED
button, you can store the name.
Move
Select the programme which you want to insert by
navigation buttons. Press the
GREEN
button. By
navigation buttons move the selected programme to
the decided programme space and press the
GREEN
button again.
Delete
To delete a programme, press the
YELLOW
button.
Pressing the
YELLOW
button again erases the
selected programme from the programme list, and
the following programmes shift one line up.
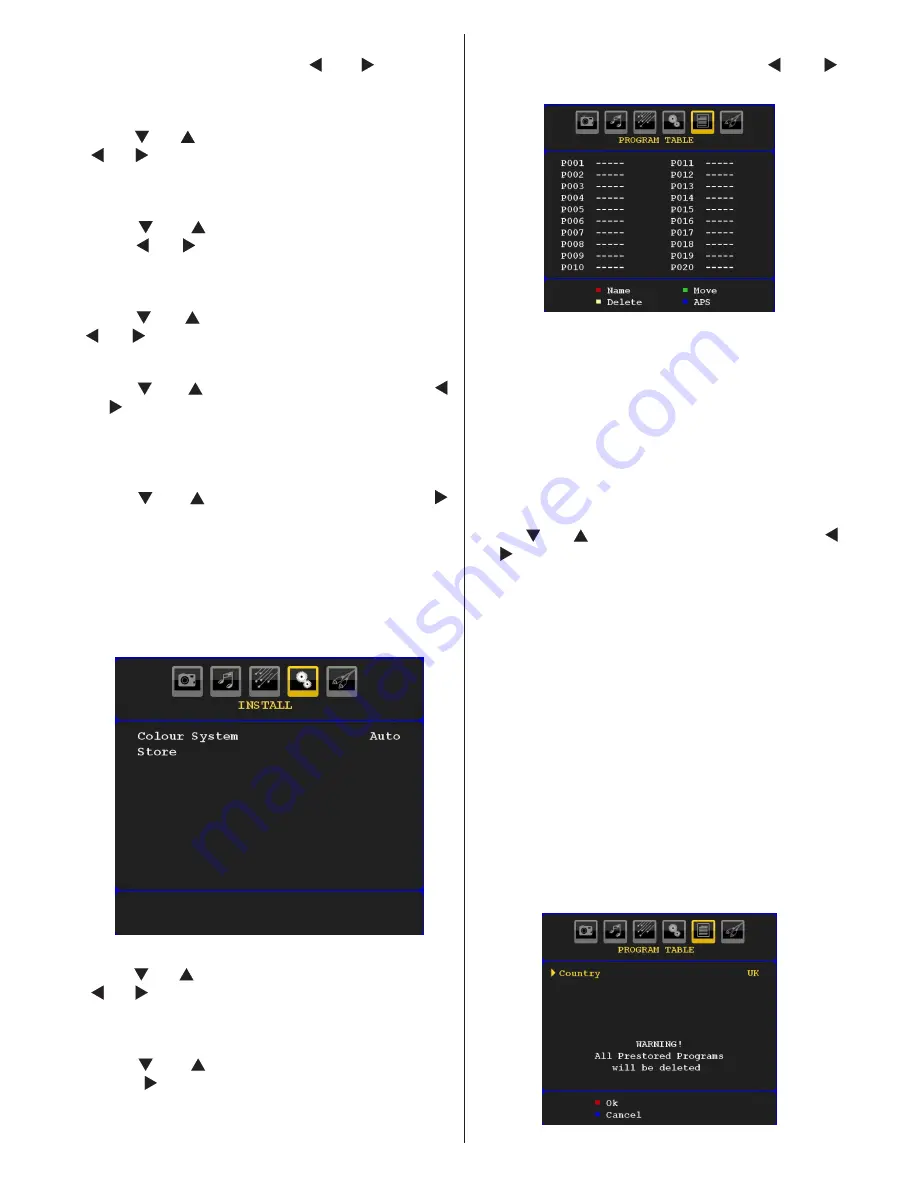
APS (Auto Programming System)
When you press the
BLUE
button for starting
automatic tuning,
Auto Programming System
menu
will appear on the screen: