OWNER’S MANUAL
Safety, Assembly, Operating, and Maintenance Instructions
and ILLUSTRATED PARTS MANUAL
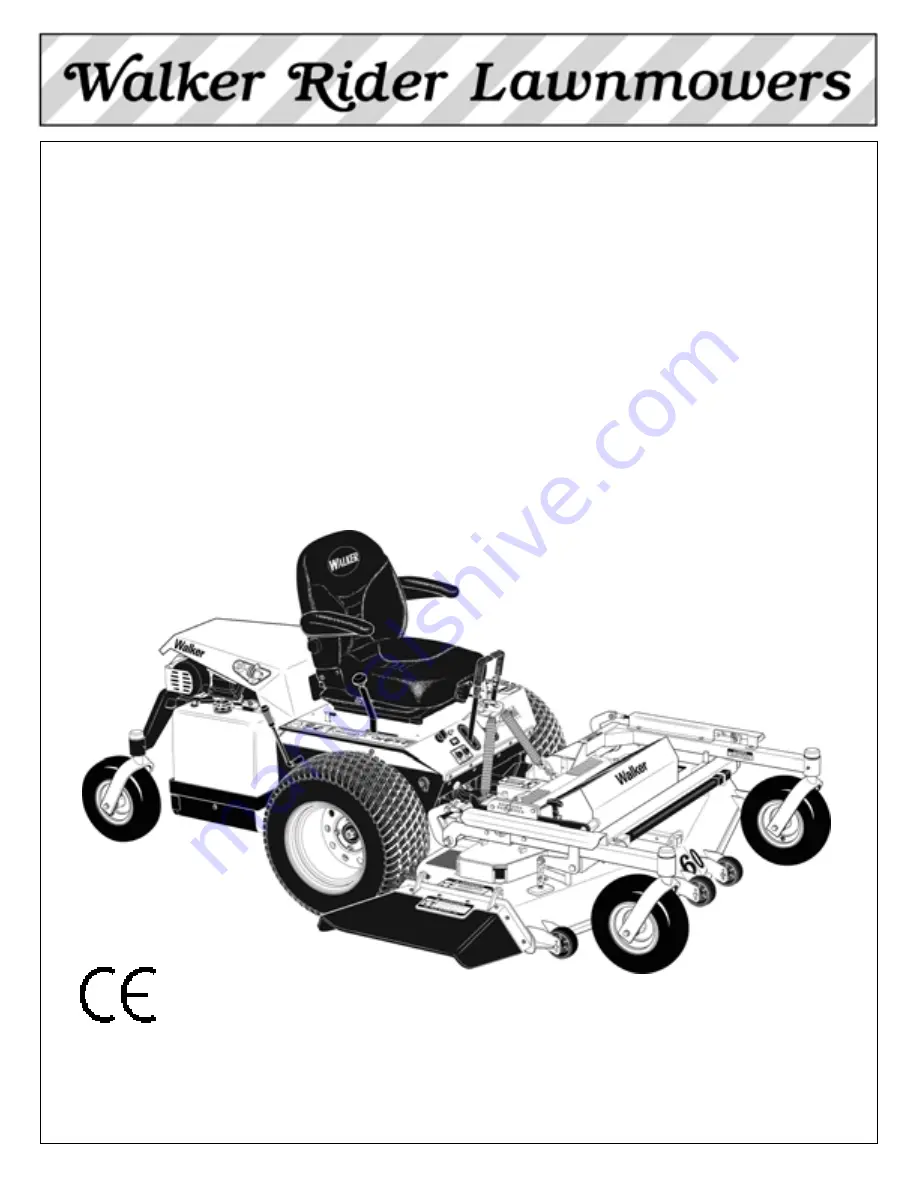
Model MBSSD (27 HP)
Please Read and Save These Instructions
Effective Date: 03-31-08
For Safety, Read All Safety and Operation
P/N 2000-1
Instructions Prior to Operating Machine
™


