30
31
NOTE
In order to ensure the longevity of the power pack you must charge the power
pack to full capacity before using the monitor for the first time. Use the power
pack until it is completely discharged. Then recharge the power pack to full
capacity. Repeat these steps about 2 times.
• Only connect the device to an earthed socket
NOTE
After use disconnect the device from the local power supply by simply pulling out
the mains plug.
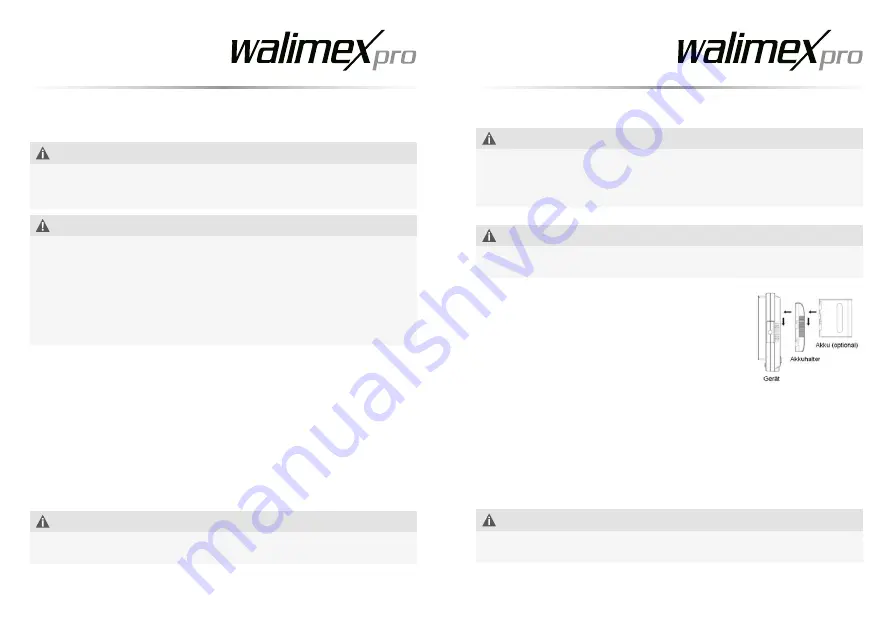
7. Attaching the powerpack to the monitor
• Slide the powerpack compartment on the rear of the
device into the guide and attachment rail. (depen-
ding on the model)
• Insert the correct battery into the powerpack com-
partment into it clicks into place .
• Removing the powerpack: Press the unlock button on the side and pull the
powerpack out of the compartment.
7.1 Using the power supply unit (optional) DC 12 V:
• Insert the cable plug into the power supply unit of the device.
• Then connect the power supply unit to the mains. Note: Only connect the
device to an earthed socket.
NOTE
Compare the local power supply with the connected load of the device. If the
values differ, please contact [email protected] or tel. +49 843294890.
5. Quick reference guide
NOTE
Detailed instructions for the following activities can be found in the relevant sec-
tions of these instructions for use. Strictly follow the sequence of the following
activities during first time use, to prevent damage to the device.
WARNING
With any action you take you should pay attention to the safety notes in
the corresponding paragraphs.
• Charge process
• Use with power supply unit
• Mount the unit on a tripod (optional).
• Adjust the inclination angle.
• Connect the device to the electric power supply.
• Switch the unit on / off - dimmer function
6. Charging batteries
• Insert the round battery charger plug into the charger socket.
• Only connect the device to an earthed socket.
• The battery display LEDs will light up shortly after inserting 1 or 2 batteries
(depending on model) to show the current charge level.
• If the batteries are not fully charged, the charger will automatically start to
charge after a short time.
• During charging, the LED diodes will flash, showing that charging is taking
place and the level of charge that has been reached.
• As soon as the battery or batteries has/have been charged, the LEDs will re-
main lit. The charging process has ended and we recommend that you remove
the batteries.
NOTE
Use only powerpacks mentioned in these operating instructions. Never leave the
charger unattended.
Artikel-Nr. 21317
Seite
8
von
21
-
Verbinden Sie das Ladegerät mit dem mitgelieferten
Netzkabel an die Steckdose. Hinweis: Schließen Sie das
Gerät nur an eine schutzgeerdete Steckdose an.
-
Führen Sie den Akku in die Ladevorrichtung des
Ladegerätes. Das Ladegerät fängt an zum Laden (LED
Leuchte – leuchtet rot).
-
Nach Beenden des Ladevorganges (LED Leuchte – leuchtet
grün oder je nach Modell erlischt die LED Leuchte)
-
Entnehmen Sie den Akku in dem Sie diesen aus der
Ladevorrichtung ziehen.
Akku an den Monitor anbringen:
Schieben Sie den Akkuhalter auf der Rückseite des Gerätes
in die Führungs- und Befestigungsschiene. (Optional je
nach Model)
Führen Sie den passenden Akku in die Akkuhalterung bis er
einrastet.
Entnehmen des Akkus: Drücken sie den seitlichen
Entriegelungsbutton und ziehen Sie den Akku aus der
Akkuhalterung ab.
Nutzung mit dem Netzteil (optional) DC 12V:
Stecken Sie den Kabelstecker des Netzteils in die Netzbuchse
des Gerätes.
Summary of Contents for Director III
Page 22: ...42 43...


