17
86%,QSXW2SHUDWLRQDQG'ULYHU,QVWDOODWLRQ
7KHGL86%,QSXWSURYLGHVWKHFDSDELOLW\WRSOD\
-
back music from a computer, when the computer is
FRQQHFWHGWRWKHUHDUSDQHO86%FRQQHFWRU
1RWH7KH86%,QSXWLVIRUGLUHFWFRQQHFWLRQWRDFRP
-
SXWHURQO\7RSOD\EDFNPXVLFIURPD86%'ULYH
FRQQHFWWKH86%'ULYHWRDQRWKHU86%3RUWRQ
WKHFRPSXWHUDQGVHOHFWWKH86%'ULYHZLWKWKH
0HGLD3OD\EDFN3URJUDP
7KHGL86%,QSXWLVFRPSDWLEOHZLWK3&
&RPSXWHUVXVLQJ0LFURVRIW:LQGRZV63DQG
:LQGRZV,WLVDOVRFRPSDWLEOHZLWK$SSOH0D
-
FLQWRVK&RPSXWHUVXVLQJ26RUODWHU
When using a PC Computer with Windows, a spe-
FLDO:DGLD86%$XGLR6RIWZDUH'ULYHUQHHGVWREH
installed on the PC Computer. The driver needs to be
LQVWDOOHGEHIRUHFRQQHFWLQJWKHGL86%,QSXWWRWKH
86%3RUWRQWKHFRPSXWHU
Note: If an Apple Macintosh computer is used with the
GLQRDGGLWLRQDOGULYHULVUHTXLUHG
7KH:DGLD86%$XGLR:LQGRZV'ULYHULVDYDLO
-
DEOHIRUGRZQORDGIURPWKH:DGLD:HE6LWH
KWWSZZZ:DGLDFRPHQXVSURGXFWVGL
8QGHU³352'8&76VHOHFW³GL´WKHQVFUROO
down to the bottom of the Wadia di322 to the
³'2:1/2$'$5($´6HOHFWWKH³:$',$GL
3&'5,9(56(783´DQGGRZQORDGWKH3&:LQGRZV
Driver. Follow the instructions below to install the
Wadia di322 Driver:
Purpose:
7R,QVWDOOWKH:DGLD86%$XGLR:LQGRZV
Driver for use with Wadia Products with
DQ86%'LJLWDO$XGLR,QSXW
Requirements:
1. A PC Computer with a
functioning
86%3RUW
:LQGRZV63RUJUHDWHURU
:LQGRZV2SHUDWLQJ6\VWHP
How to Operate the di322
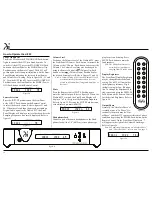
Figure 73
Figure 74
$Q86%&DEOHZLWK7\SH$WR
Type B Connectors.
,QVWDOOLQJWKH6RIWZDUH
It is important to first install the downloaded software
on your computer before connecting the Wadia Prod-
uct to the computer
7KH86%'ULYHULVLQFOXGHGLQWKH
downloaded software package.
1RWH%HIRUHLQVWDOOLQJWKLVVRIWZDUHSOHDVHFKHFNWRVHH
LIWKH:DGLD3URGXFWVZLWKWKH86%'LJLWDO$XGLR
,QSXWKDVWKHODWHVWILUPZDUHYHUVLRQLIQRWXSGDWH
WKHILUPZDUHILUVW
8Q]LSWKHGRZQORDGHG:DGLD:LQGRZV86%
'ULYHU6RIWZDUH3DFNDJH
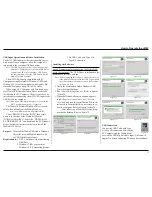
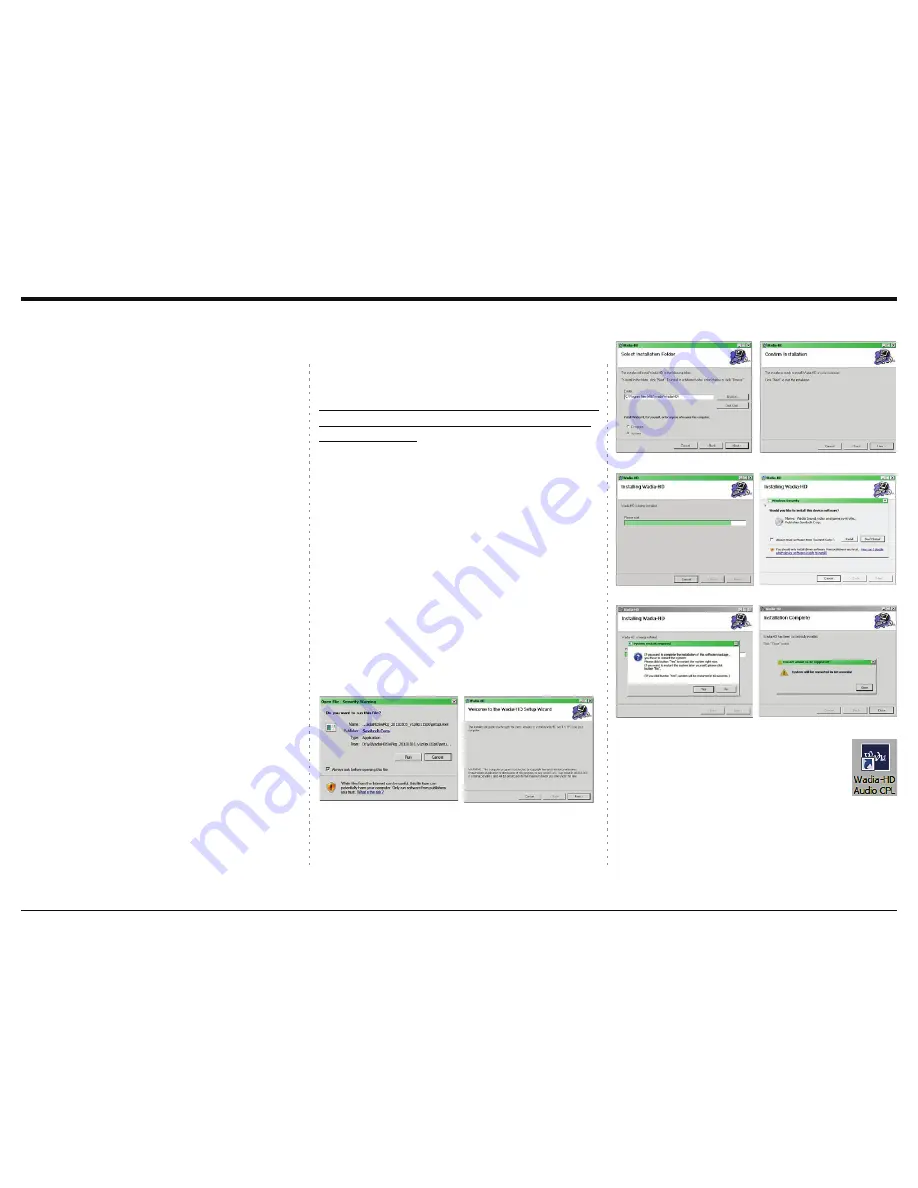
2. Run
³:DGLD+'6Z3NJ6HWXSPVL´
. Refer to figures
71 thru 76.
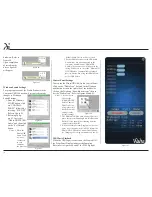
:KHQWKH:LQGRZV6HFXULW\ZLQGRZDSSHDUV
check the
$OZD\VWUXVWVRIWZDUHIURP³6DYLWHFK
&RUS´
box and then the Install button. When the
software has been installed it is necessary to re-
boot the computer. Refer to figures 76 thru 78.
After rebooting, a Wadia-HD icon will ap-
pear on the desktop. Refer to figure 79.
86%&RQQHFWLRQ
&RQQHFWWKH86%&DEOHZLWK7\SH
A to Type B connectors between the
PC Computer and the Wadia Prod-
XFWZLWKWKH86%'LJLWDO$XGLR,QSXW$Q,FRQZLOO
DSSHDU2Q6FUHHQLQGLFDWLQJ:LQGRZVKDVIRXQGQHZ
Figure 71
Figure 72
Figure 75
Figure 77
Figure 76
Figure 78
Figure 79
Summary of Contents for di322
Page 15: ...15 Notes ...
Page 20: ...20 ...
Page 21: ...21 Photos ...
Page 27: ...di322 digital audio decoder ...


