Installation
4
2
Installation
You have to install the client before you can use it. Installation involves setting up the hardware and
connecting the peripherals required for normal use.
To install the Itona TC 63yy hardware, perform the following steps:
1. Unpack the unit.
2. Prepare to connect.
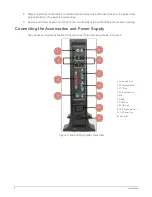
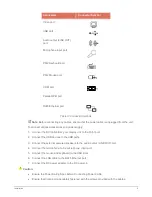
3. Connect the accessories and power.
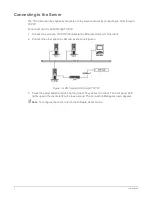
4. Connect to the server
Each step is explained in detail in this chapter.
Unpacking the Unit
Unpack the unit from its carton box, handle safely to ensue you do not damage any components
during unpacking.
The carton in which the product was shipped to you contains the following:
Itona TC 63yy Series Thin Client
Power cord (optional)
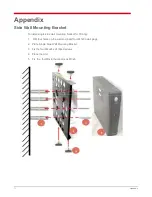
Wall mounting bracket-single side
Hardware Installation Guide
Ensure that all the contents mentioned above are in the carton. Contact the dealer or reseller from
whom you have purchased the product if any of those are missing.
Note:
Please retain the original carton and packing material for future use.
Preparing to Connect
1. Ensure that the following are available at the site where you want to install the product.
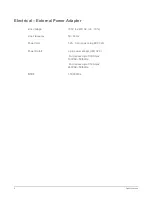
100~240V AC, 0.65A, 50/60 Hz, 3-pin power inlet for power adapter .
Note:
Ensure that the power inlet plug is regulated and earthed. A floating ground/chassis
could cause an electric shock.
Well ventilated, clean, dry and dust free atmosphere.
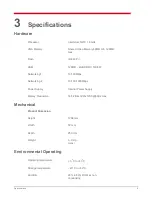
Specified environmental conditions. For more information see, Environmental Operating
Specifications on page 8.
Note:
The product can only be used in vertical position. Do nor placed it flat on a desk as it
will block the air vents and heat up.


