4. Quick Installation and Set Up:
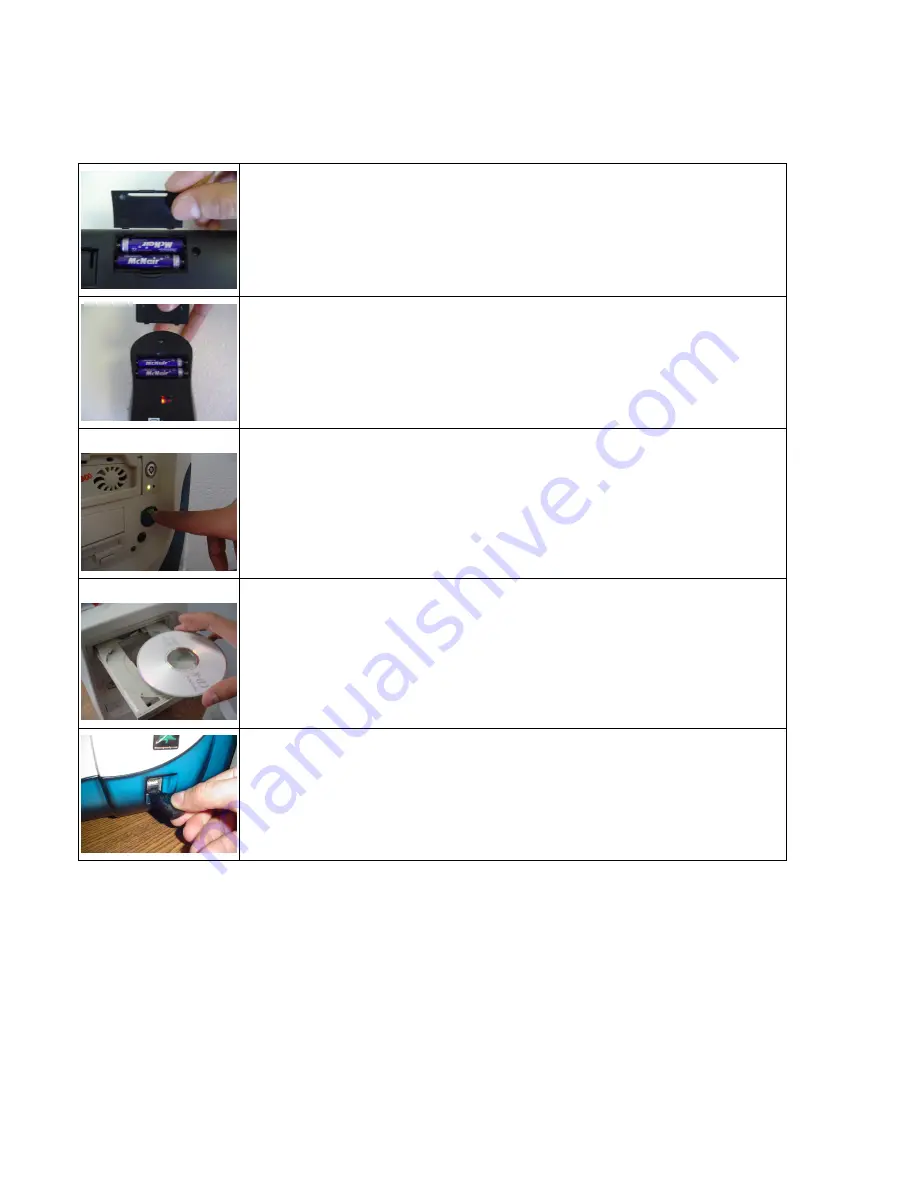
Open the battery compartment located underneath the keyboard
and install the 2 AAA batteries. Note the polarity signs in the battery
compartment.
Open the battery compartment located underneath the mouse and
install the 2 AAA batteries. Note the polarity signs in the battery
compartment.
Turn on the power to your computer and make sure your Windows
operating system is active.
Install the Software CD Driver that has been included and you may
now go on to section 4-2, Programming the Hot Keys on the
Keyboard and Mouse.
Note:
Install the Software before plugging in
the receiver.
Insert the USB Receiver into an available USB port. Your computer
will recognize the USB device and make the proper settings to
enable you to operate your keyboard and mouse. Click on any key
on your keyboard to connect with the receiver. Move the mouse
over the surface to establish a connection with the receiver.
1) If the mouse and/or keyboard do not work, please see the Troubleshooting
information on page 9 of this manual.
2) Caution: Before your mouse and keyboard can be connected, you need to position
the devices within 6 feet of the receiver to establish the initial connection.


