1 1
Handset Menu
Calls Log
(dialing key 3) - review Caller ID data; select and dial from
the Caller ID data or from the Redial list that accounts for the last 10 dialed
phone numbers.
Pictures
(dialing key 4) - choose from the many preset images or
download new images into the Handset to be used as your idle screen (wall
paper) or assign an image to a specific phonebook directory.
Sounds & Alerts
(dialing key 5) - Record custom sound clips, turn
ringer and vibrate feature on and off, select main ringer tone, turn tones
(low battery, keypad, and out-of-range) on and off.
Settings
(dialing key 6) - Set the time; adjust screen contrast; reset to
default settings; change color of the text; register new Handsets; change
screen language.
Press the joystick , ,
or
to navigate to the desired menu option. You
can also press the dialing key assigned to each menu item. The top menu is
assigned to dialing key 1 and so forth on down the menu.
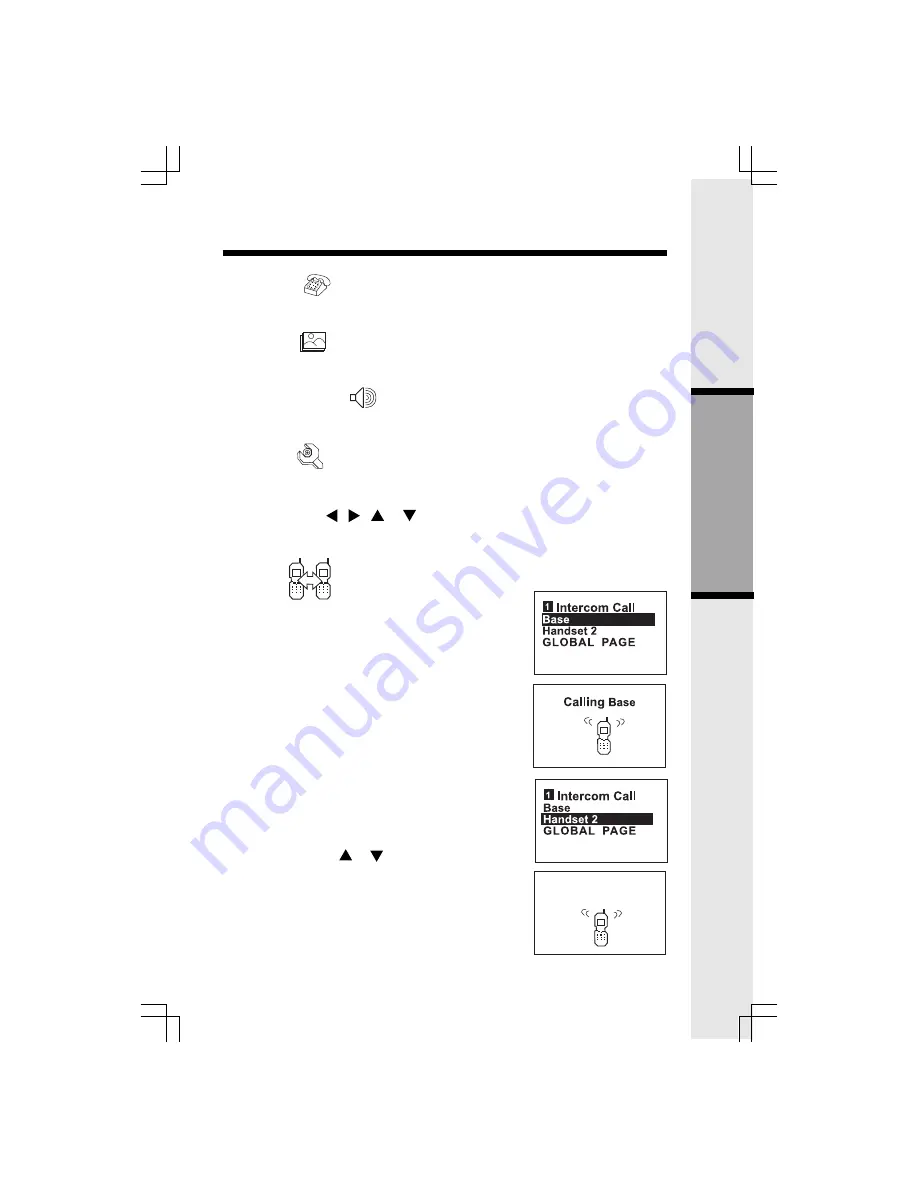
Intercom
From Handset to Base
•
With the Intercom icon highlighted, press the
joystick in or assigned dialing key to reveal your
intercom options, for example:
•
With the Base option highlighted, press the joysick
in or press the left soft key for confirmation. Or, press
the assigned dialing key 0. The screen will display:
•
The Base will ring, then automatically enter intercom
mode.
•
To end the intercom call, press OFF on the
Handset or INTERCOM on the Base.
From Handset to Handset
•
With the Intercom icon highlighted, press the
joystick in or or press the left soft key.
•
Press the joystick
or
to navigate to the desired
Handset. Press the joystick in or press the left soft
key for confirmation. Or press the assigned dialing
key (1 – 6) directly.
•
The ringing Handset can respond by pressing ON
or any of the number keys.
•
To end an intercom call, press OFF on either Handset.
Calling
Handset 2
Basic Operation


