The VST SuperDisk drive lets you save or copy files to a SuperDisk diskette
or floppy diskette in the same manner that you use to save or copy files to
other storage media. After inserting the diskette into the drive, simply drag
your file to the diskette icon. (Details about using diskettes are found in the
next section.)
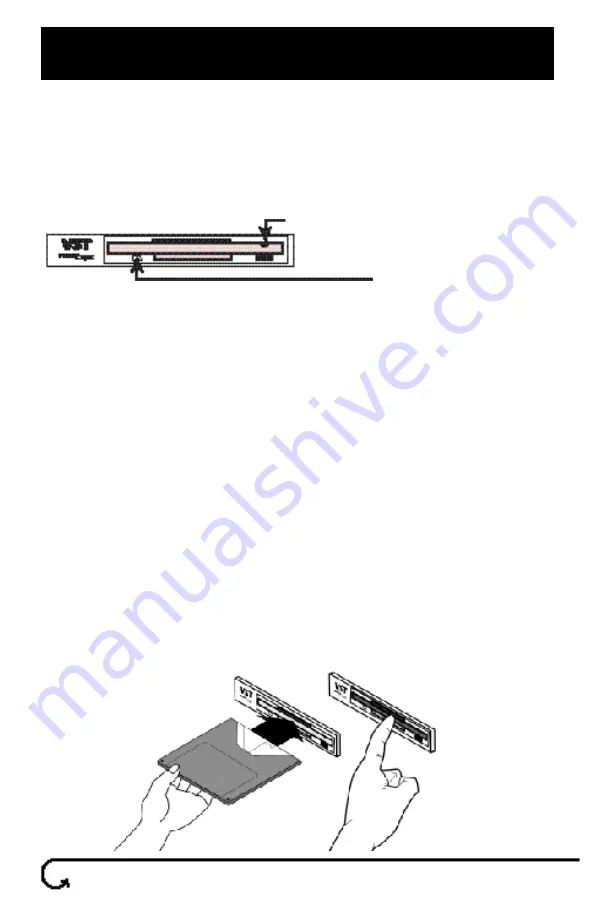
Some SuperDisk drive features are shown in the following figure and
described after the figure.
•
Disk Eject Button —The disk eject button is disabled during normal
operation on Mac OS computers.
•
Emergency Eject Hole — provided for ejecting a diskette when you
lose power to your system. See “Emergency Diskette Ejection” for
details about when and how to use this feature.
•
SuperDisk Busy LED — check the status of the SuperDisk drive by
looking at the state of SuperDisk Busy LED. The LED flashes under
the following conditions:
- While data is being transferred to or from the diskette
- While a diskette is being inserted into the drive or removed.
During diskette removal, the SuperDisk Busy LED blinks as the
SuperDisk drive spins down. The drive takes a few seconds to
eject the diskette.
Diskette Insertion and Removal
Once the SuperDisk Drive is inserted into the expansion bay, insert or
remove a diskette as follows.
•
Insert a diskette — Hold the diskette label side up and gently insert it
into the drive. The mechanism engages and looks for the disk when
the disk is fully inserted
•
When you insert a SuperDisk diskette, the green busy light will flash
4
Operating your VST SuperDisk Drive
Diskette Eject Button (Flashes when drive is
transferring data or when inserting a diskette)
Emergency Eject Hole
Insert Gently!
Diskette Inserted


