3
Installing the VST SuperDisk Drive
for PowerBook G3 Series
Before using your new VST SuperDisk Drive for the PowerBook, it is neces-
sary to install driver software to allow the drive to function properly with
your computer. (See “Setting Up the VST SuperDisk Software” on the
previous page.)
It is important that your PowerBook is turned off when you insert the
SuperDisk Drive into the expansion bay for the first time. After software
installation, the drive is hot-swappable (the drive can be removed and
inserted without shutting down) on the PowerBook G3 Series.
You will need to restart your computer during installation, so be sure
to quit all open applications and save your files.
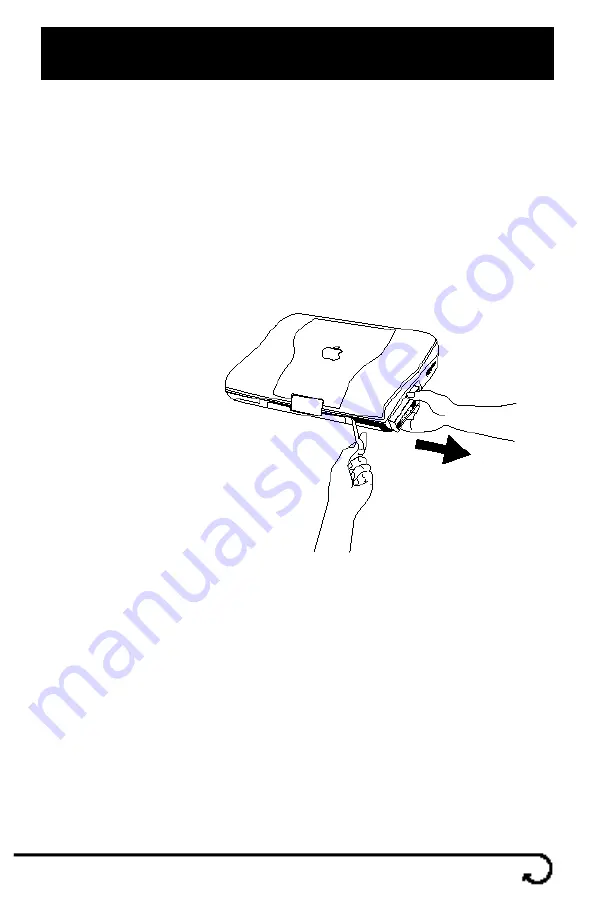
1.
With the power off,
remove the floppy
or CD drive.
By gently pulling
the eject lever
toward you
(see drawing
on the right).
2.
Remove the floppy or CD drive
from the expansion bay.
3.
Gently slide the SuperDisk
Drive into the bay until it
snaps into place.
The SuperDisk Drive for the PowerBook G3 Series fits into either the right
or left expansion bay. Two drives (CD, floppy, SuperDisk or Zip) may be
used simultaneously in conjunction with an AC power adapter.


