40
The configuration menu
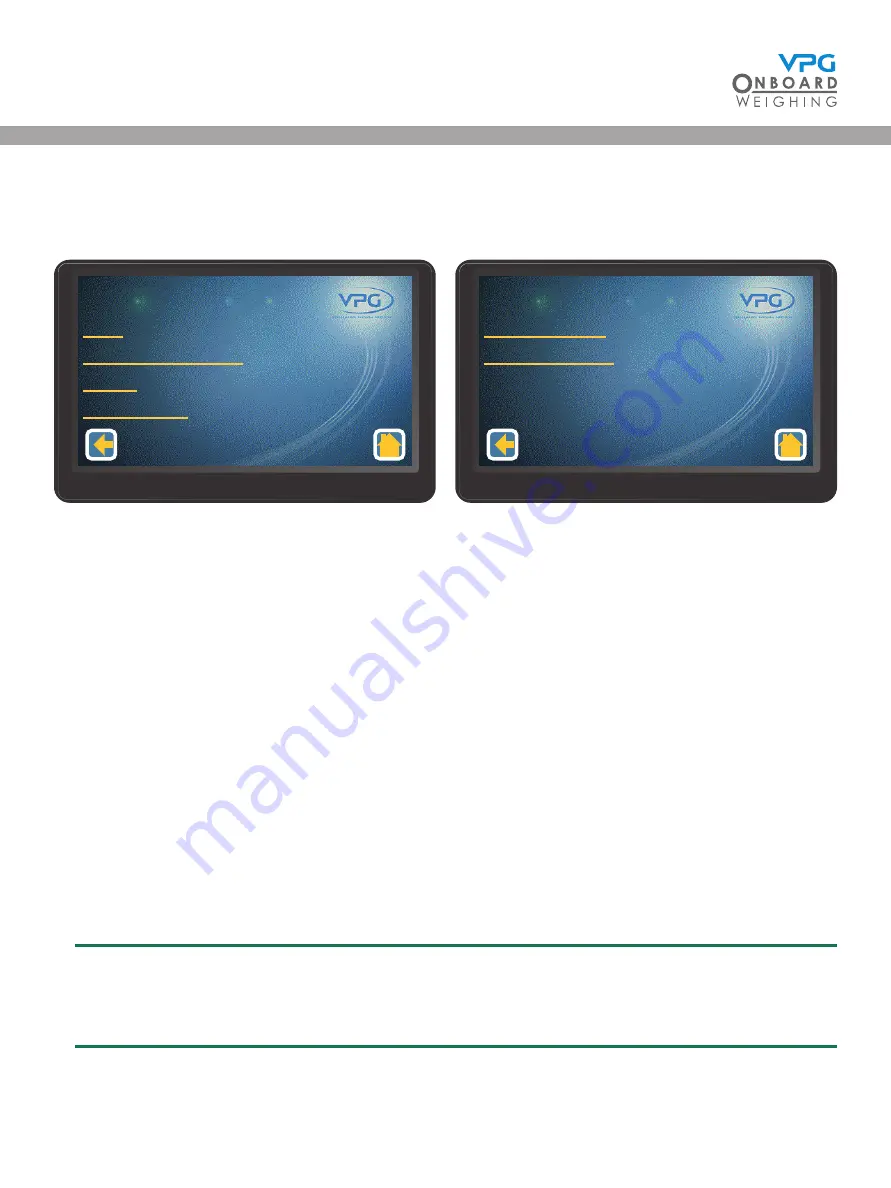
Tap the configuration icon on the home page to open the configuration menu:
There are six submenus in the configuration screen:
• Login. Use this option to login to the VanWeigh® system. This will allow you to edit the
configuration options.
•
Vehicle Configuration. Use this menu to input the vehicle configuration into the VanWeigh®
system. This is a step by step process that allows you to configure the junction box and alarms
and finally calibrate the system. The vehicle will start to display weight measurements when
the calibration is complete.
•
Display. Use this menu to configure the brightness, language, volume, date & time and power
off timer settings of the display unit.
•
System Config. Use this menu to configure any additional features, such as a serial
scoreboard output.
•
Weighing Config. Use this menu to configure the weighing units and how the weight values are
displayed.
• PIN Management. Use this menu to edit the PIN numbers that allow access to the VanWeigh®
system.
The weighing units are set to kg by default. Change this to the correct unit before configuring
and calibrating the display unit, if required. See
“How to configure the weighing units” on
Weighing Config
PIN Management
Configuration
2/2
Login
Vehicle Configuration
Display
System Config
Configuration
1/2
VanWeigh
®
Summary of Contents for VanWeigh
Page 1: ...vpgonboard com VanWeigh Installation Setup and Calibration Manual ...
Page 2: ...2 VanWeigh ...
Page 5: ...5 VanWeigh ...
Page 8: ...8 VanWeigh ...
Page 9: ...9 Installation VanWeigh ...
Page 33: ...33 System Overview VanWeigh ...
Page 39: ...39 Configuration 2240 VanWeigh ...
Page 59: ...59 System info and Diagnostics VanWeigh ...
Page 67: ...67 Appendix A VanWeigh ...
Page 70: ...70 VanWeigh ...
Page 71: ...71 Appendix B VanWeigh ...
Page 73: ...73 Appendix C VanWeigh ...
Page 76: ...76 VanWeigh ...
Page 77: ...77 Appendix D VanWeigh ...


